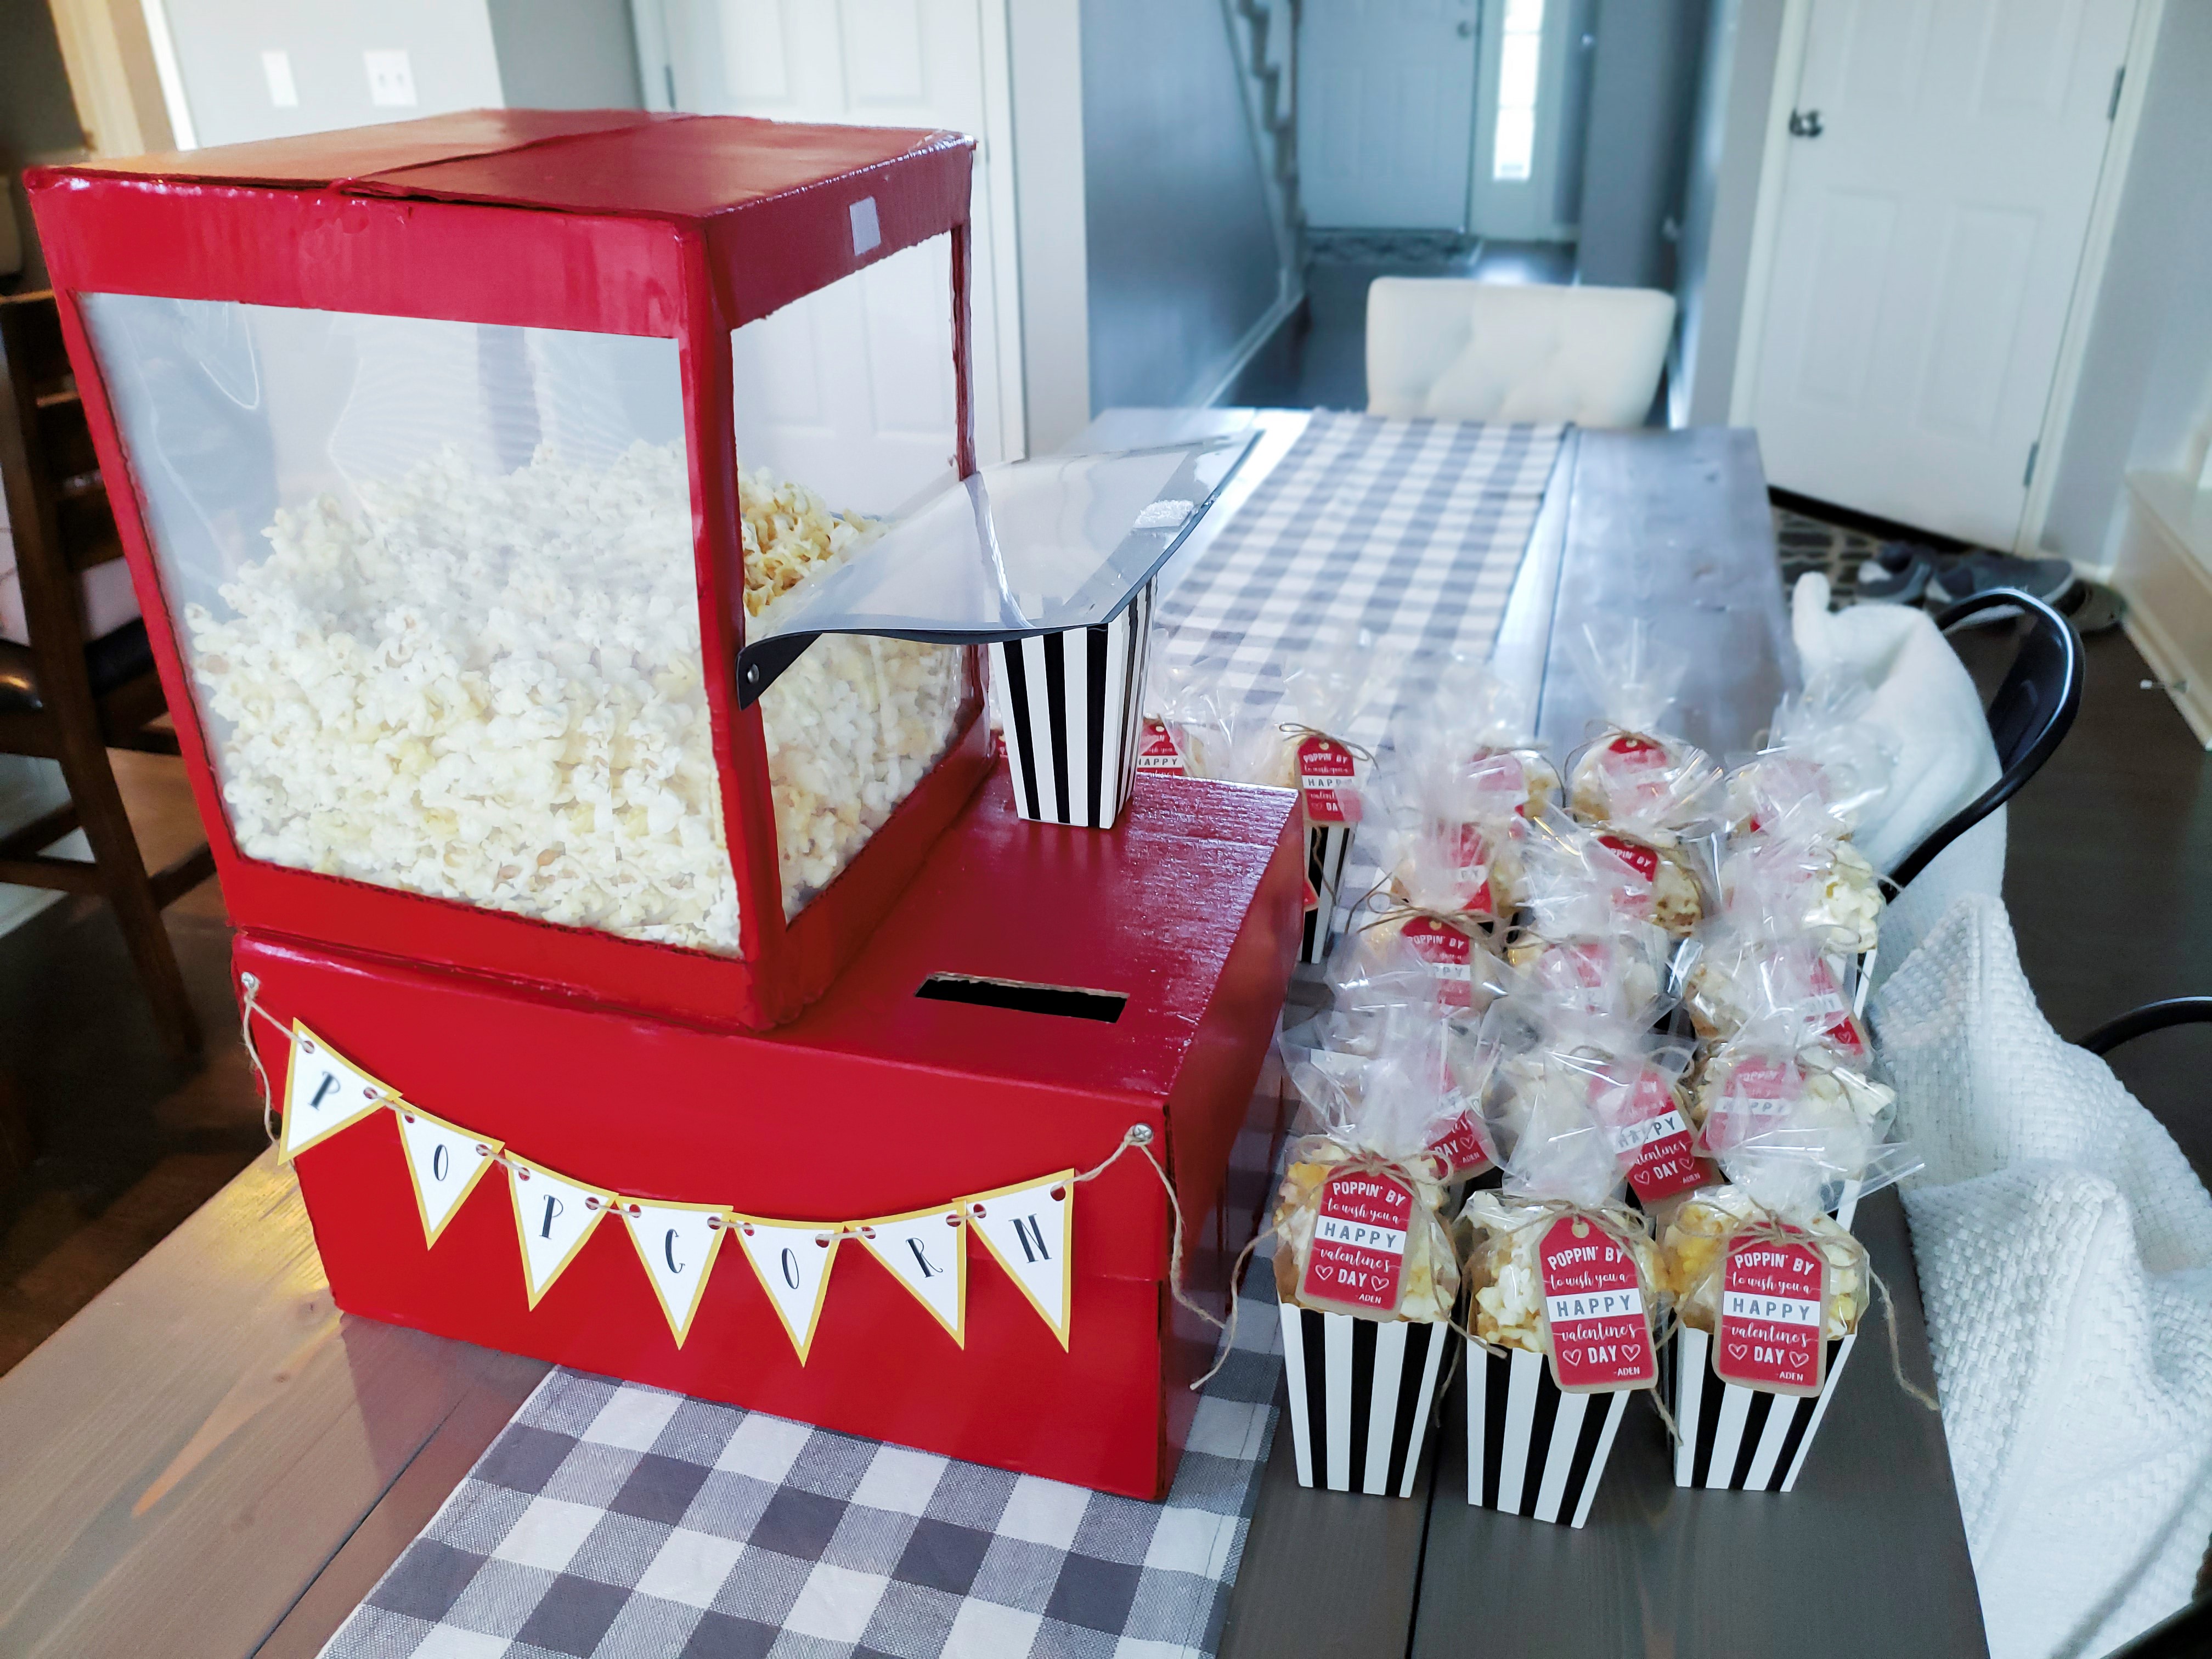
So, last year we struggled with what to do for Aden’s Valentine’s Day box for his school party. We’ve done Batman, Minecraft Creeper, a (very cool) Piranha Plant, and a Super Mario Mystery Box. Problem is, the boy is getting older and isn’t as into character stuff. *Minus Fortnite, but I refused to center V-day around Fortnite.* After a lot of thought, we decided on a Popcorn Machine box & popcorn treats. Aden is obsessed with popcorn and we figured popcorn would be a nice salty treat for the kiddos amidst all the sweets. We basically had to wing the entire thing and didn’t really have intentions of posting. I had NO idea how it would even turn out. So forgive me for not taking more photos along the way or having better instructions 🙂
Here is a *rough* breakdown of how we made it happen!
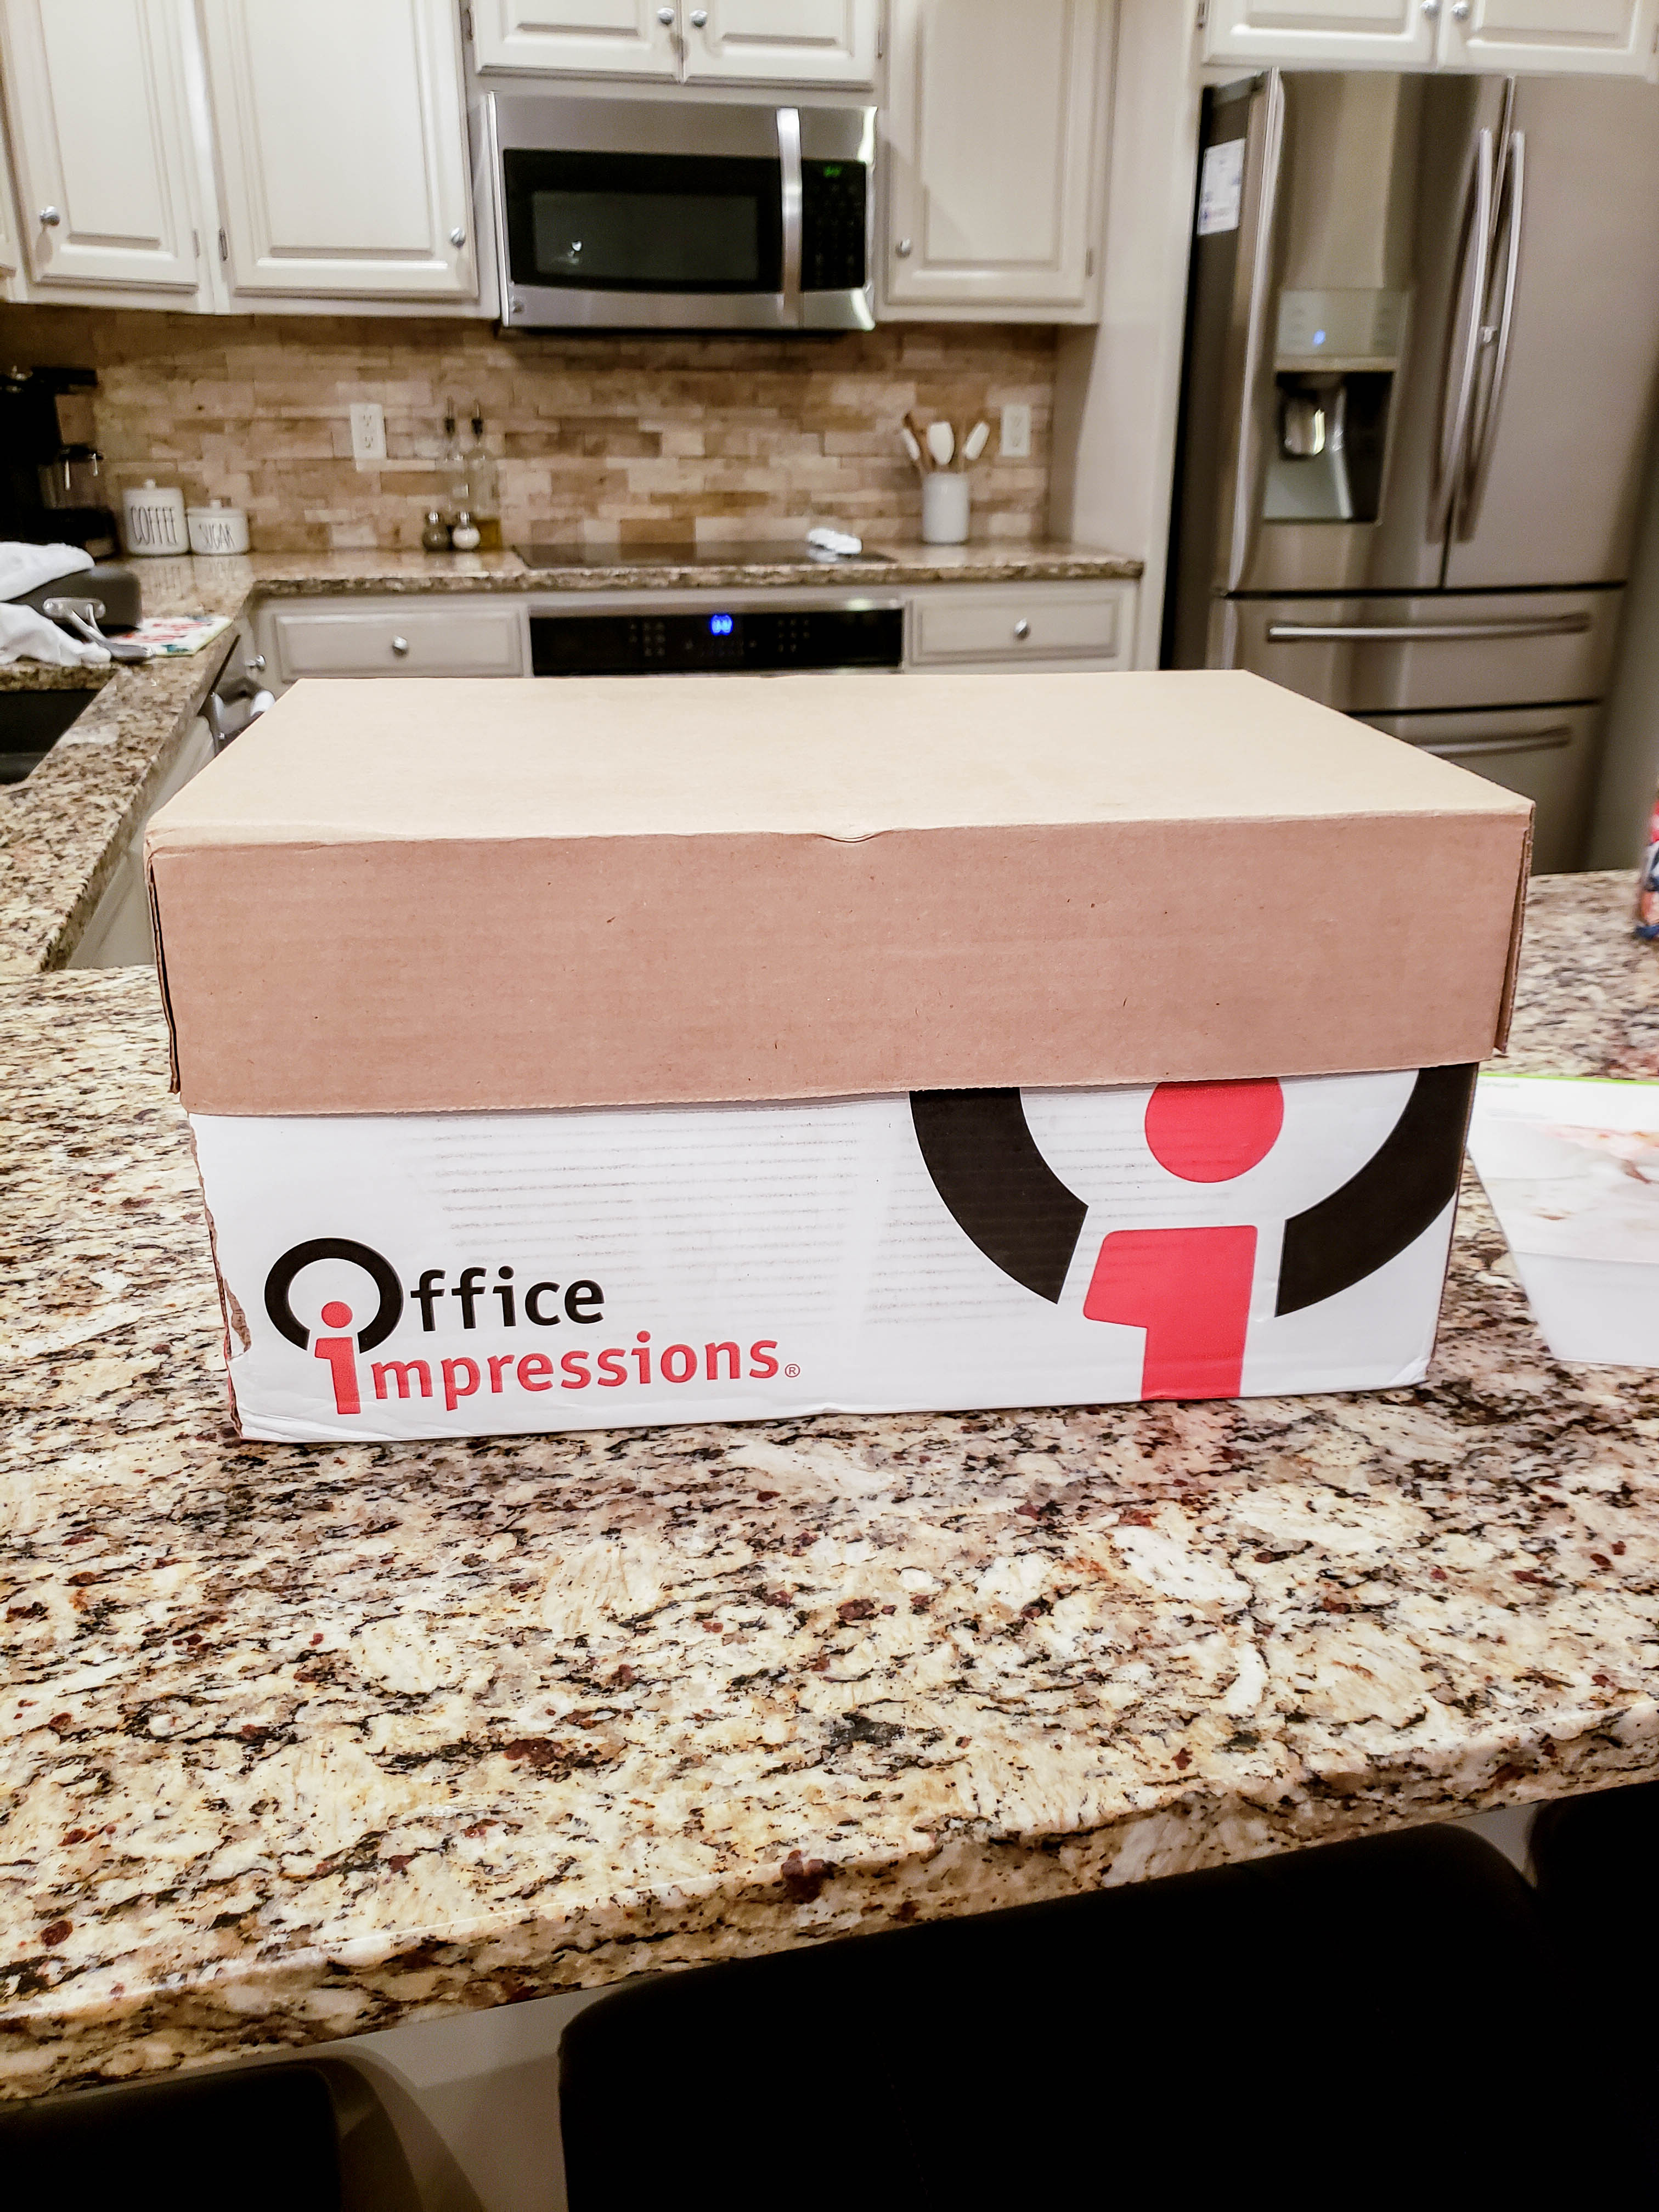
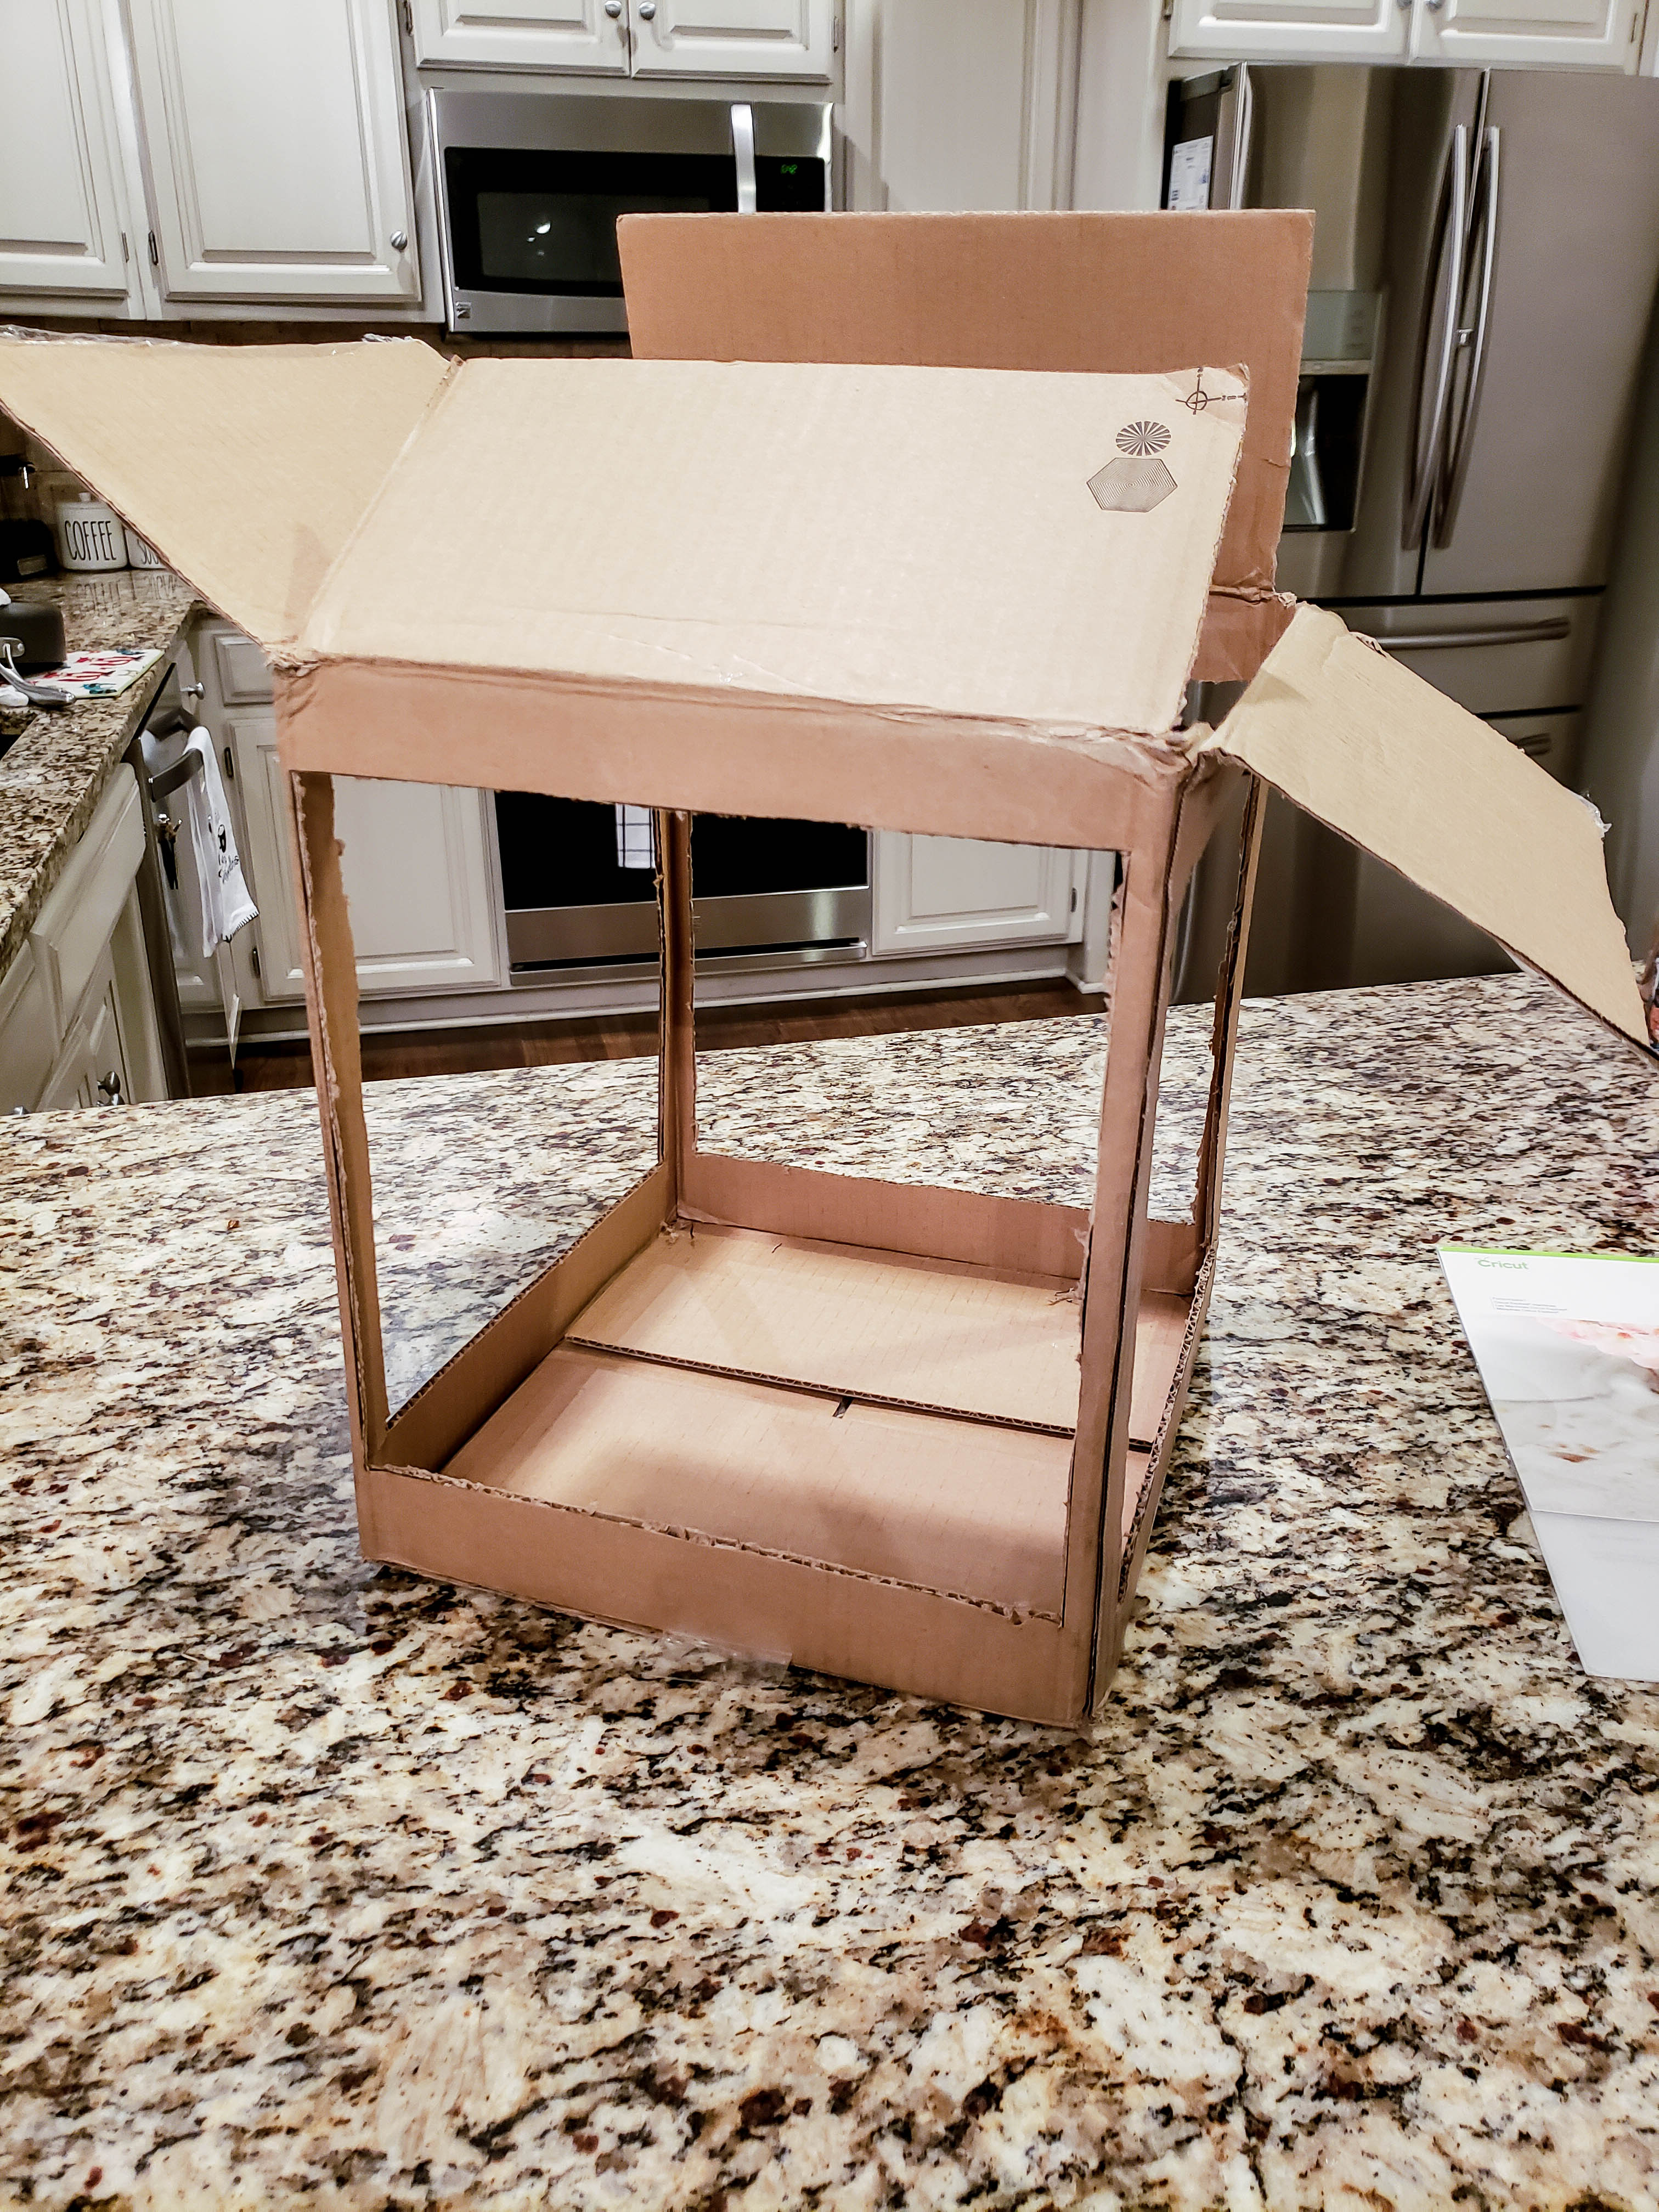
Prepping the boxes was the first step. We used a copy paper box with a lid for the base – this came in handy so the top half could be removed. Made it easy to get Valentines out at the end of the day. For the top we just used a square box. With the square box we cut out “windows” on all 4 sides, secured the top flaps down with tape, and then spray painted both boxes red.
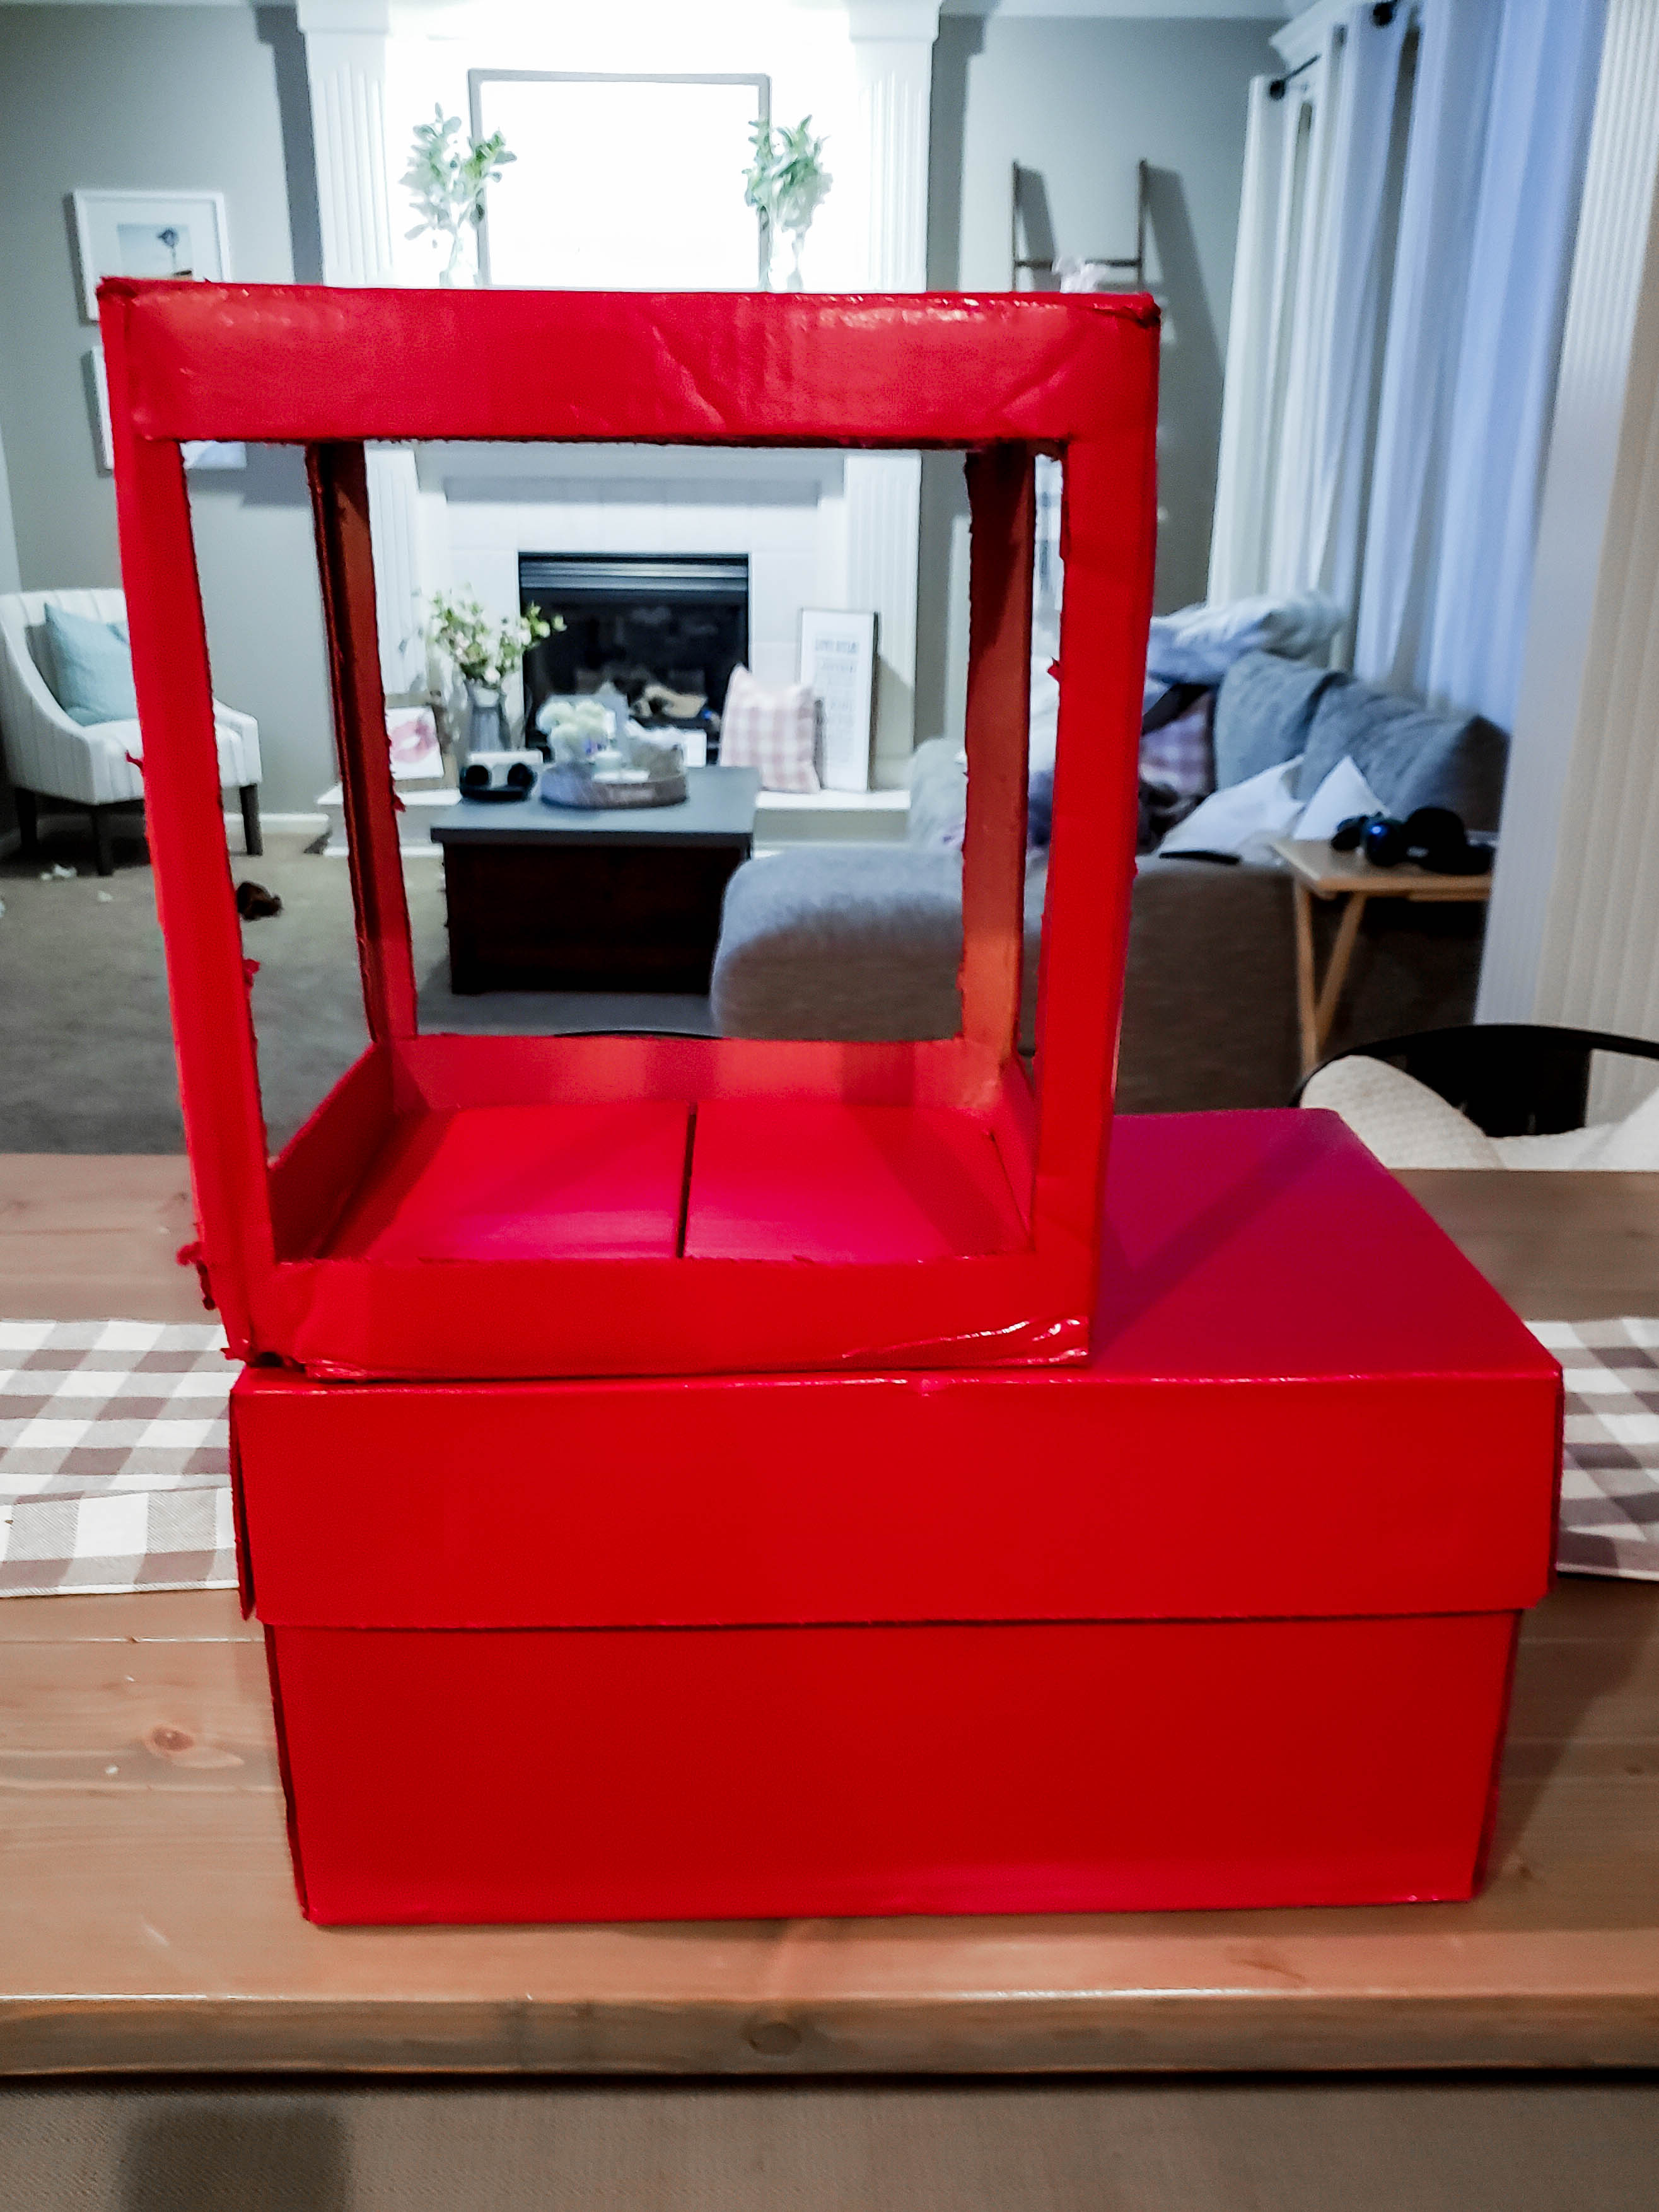
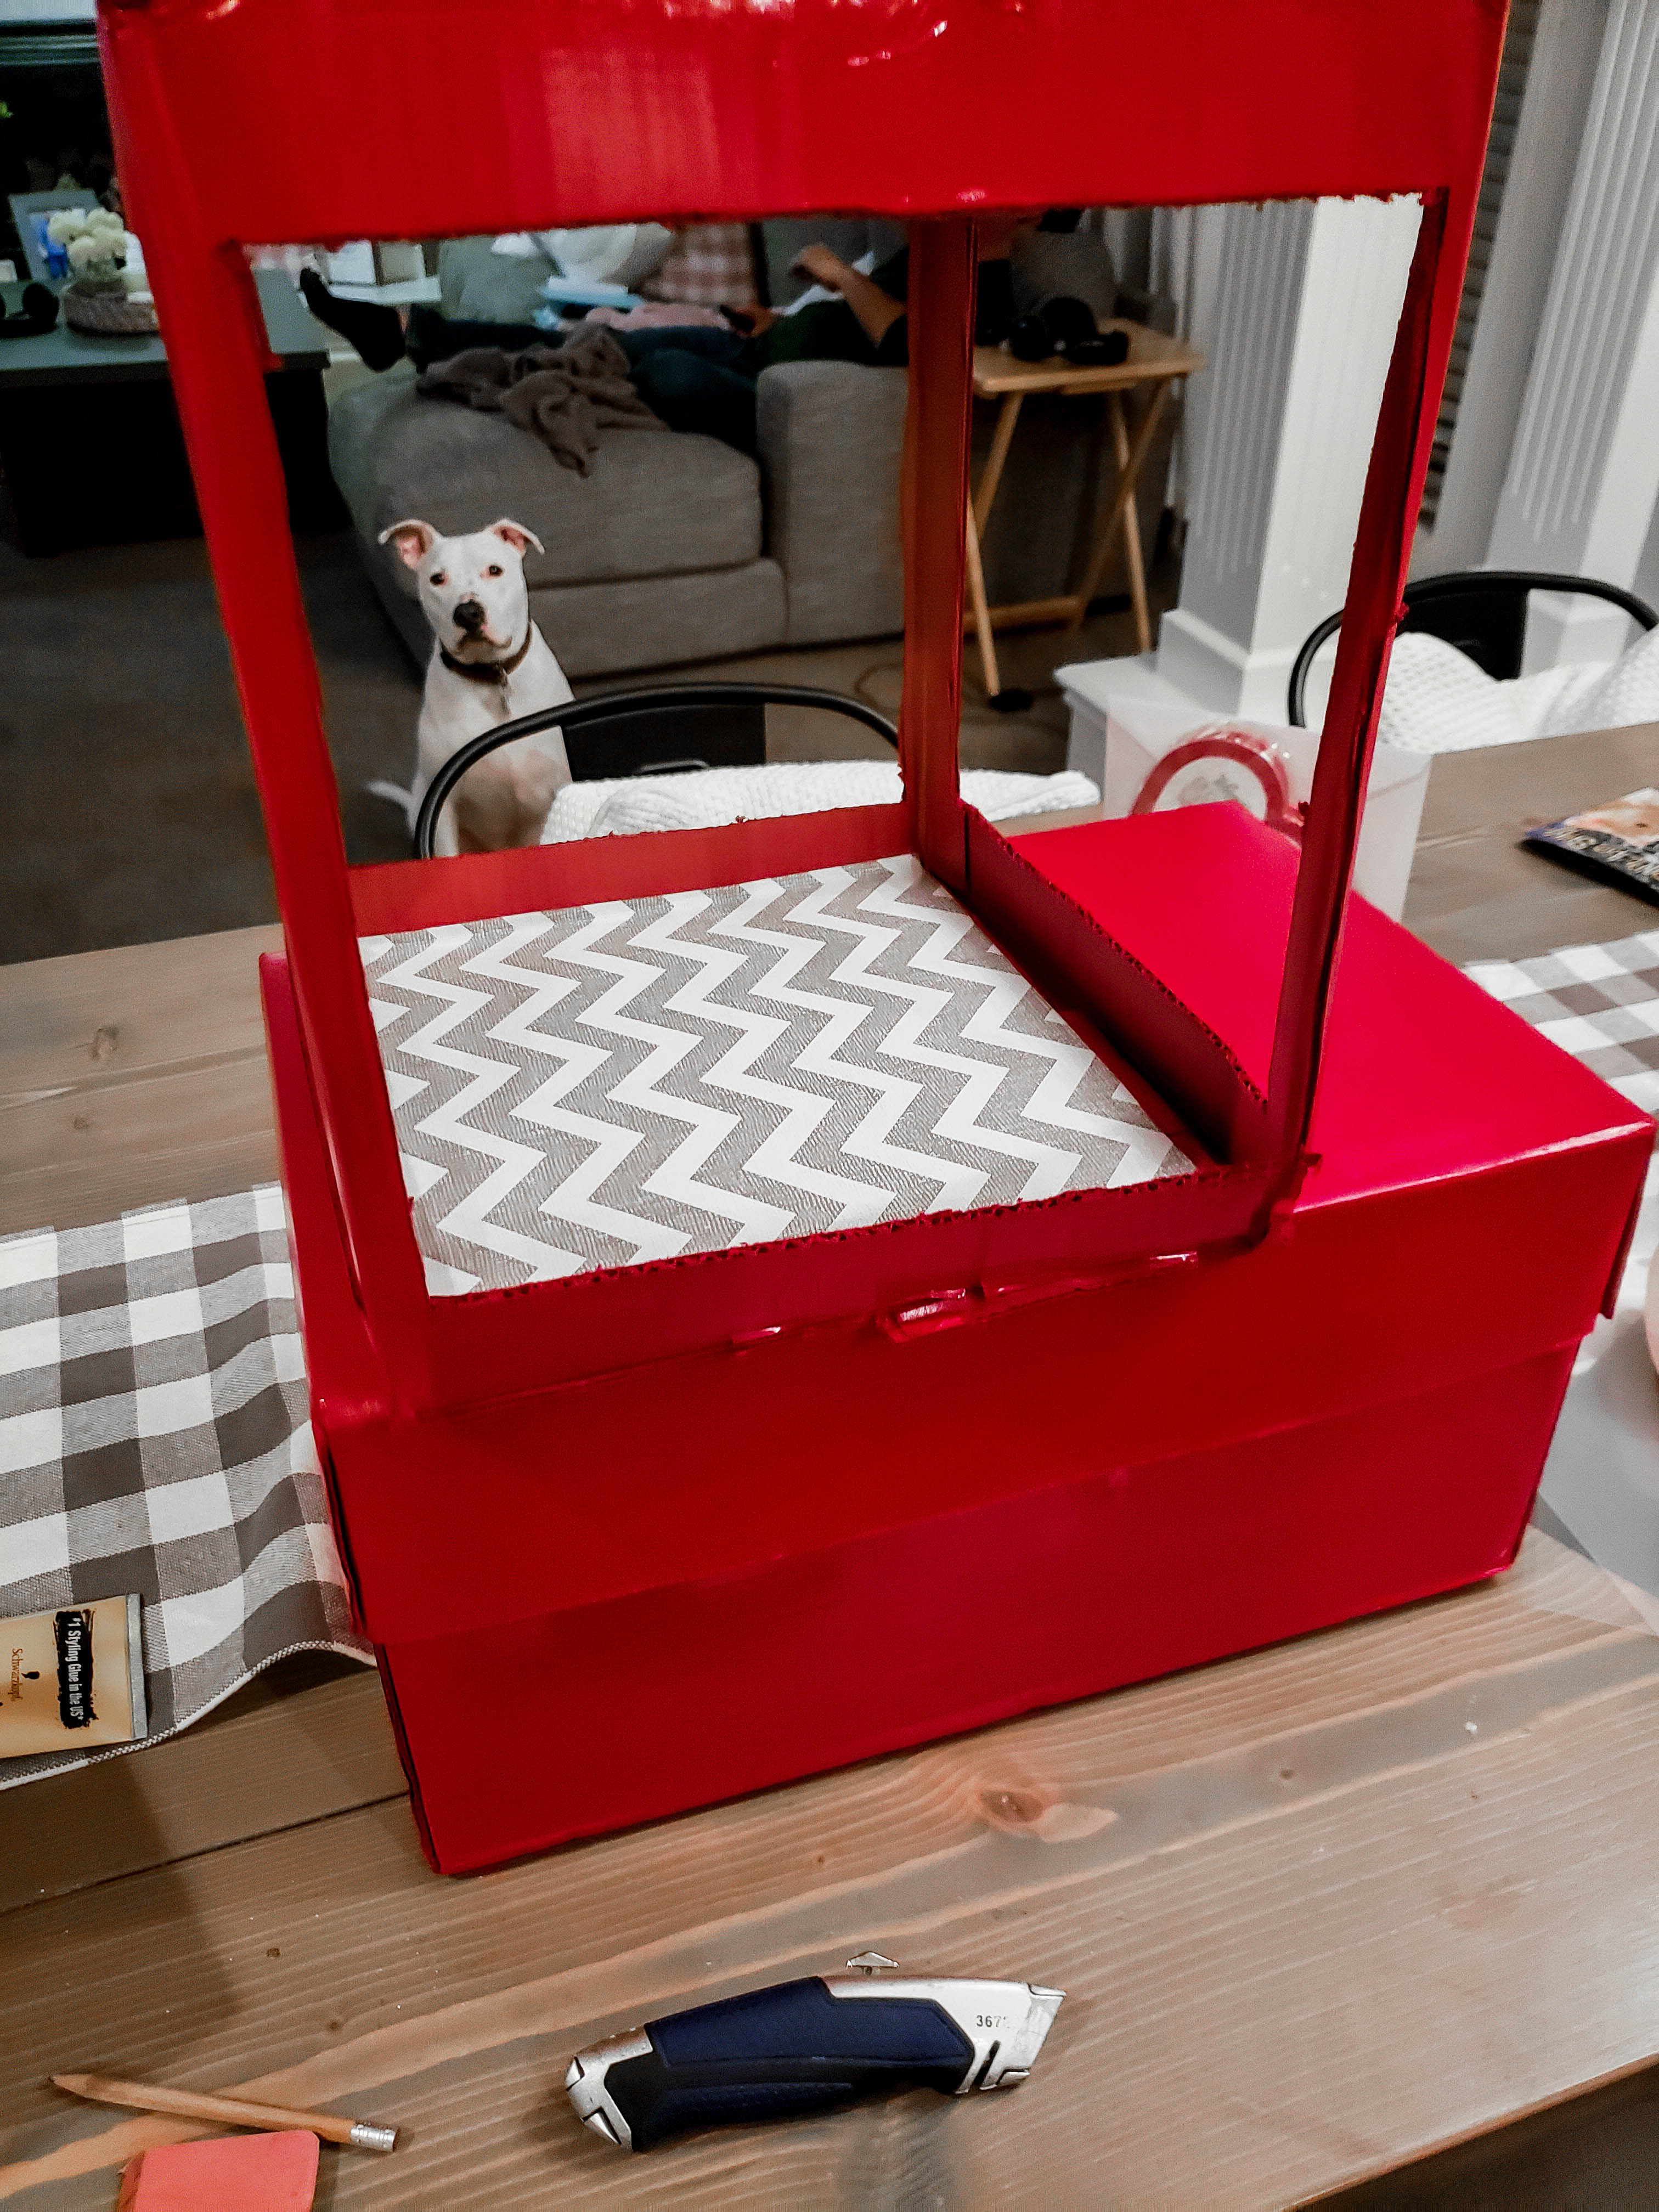
Here are the boxes after a few coats of red spray paint and fully dried. I did put contact paper down in the top box to protect the cardboard from the buttery popcorn. Oh, and hi Arlo! He was helping 🙂
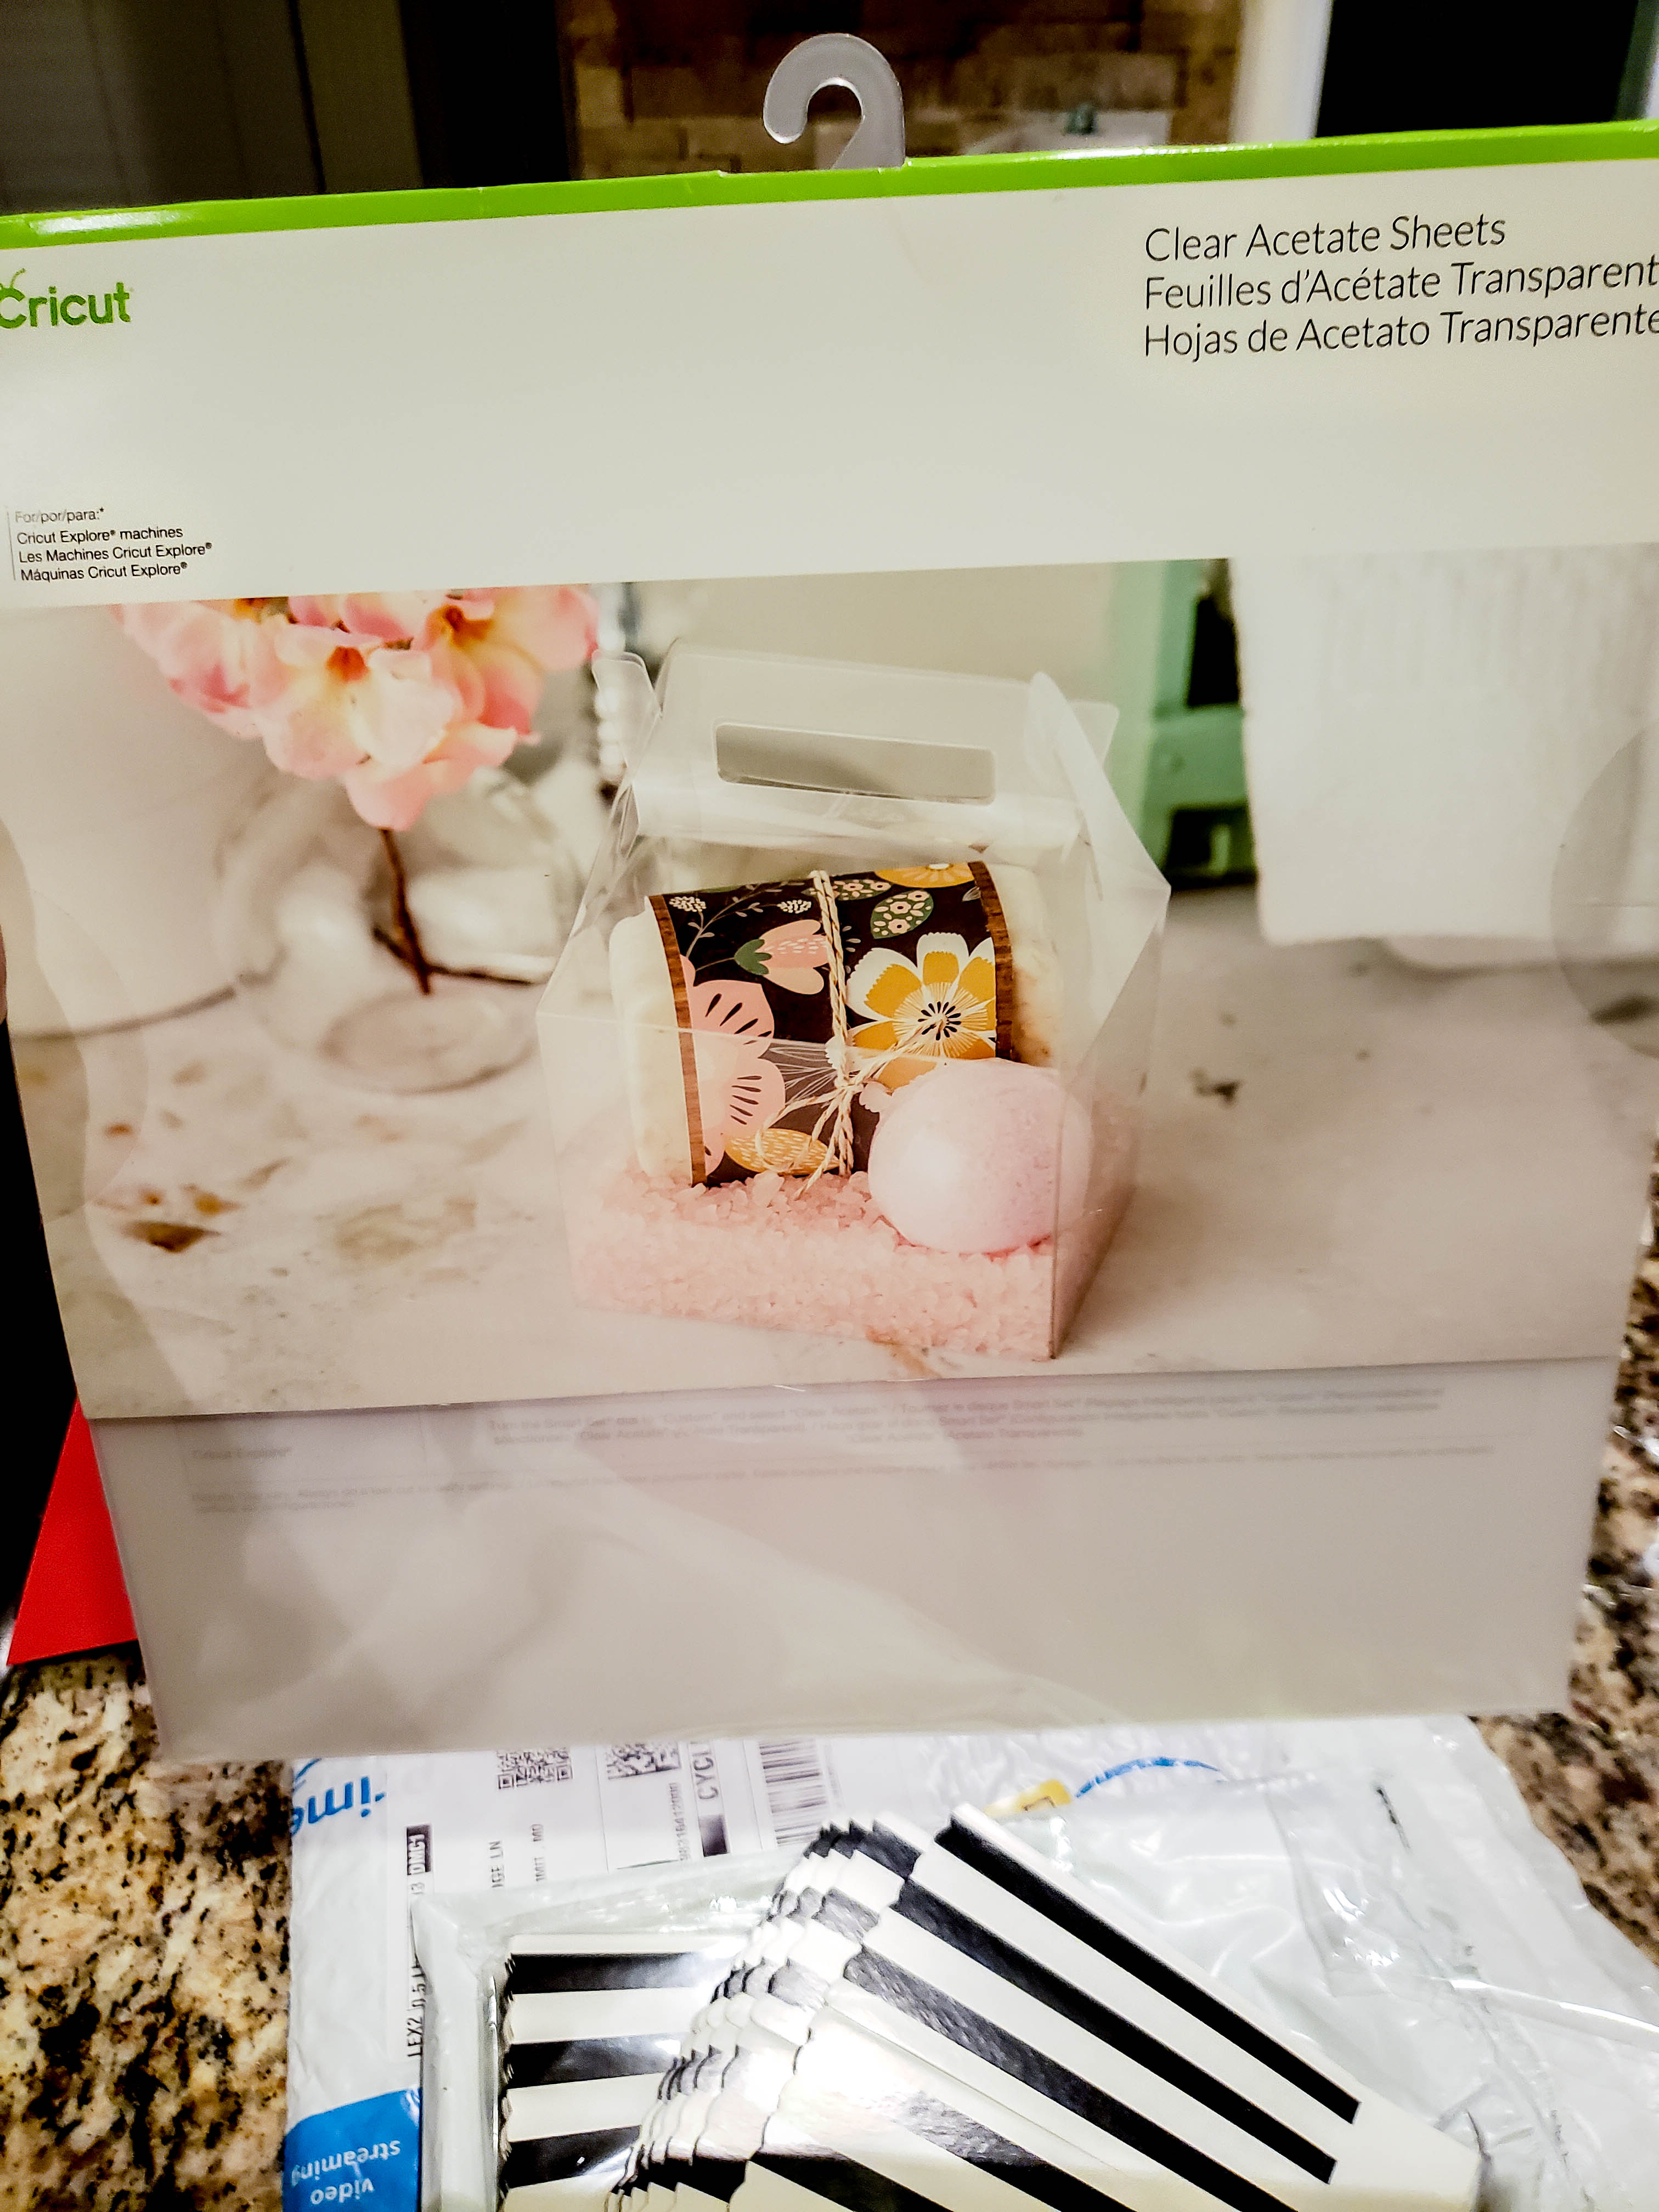
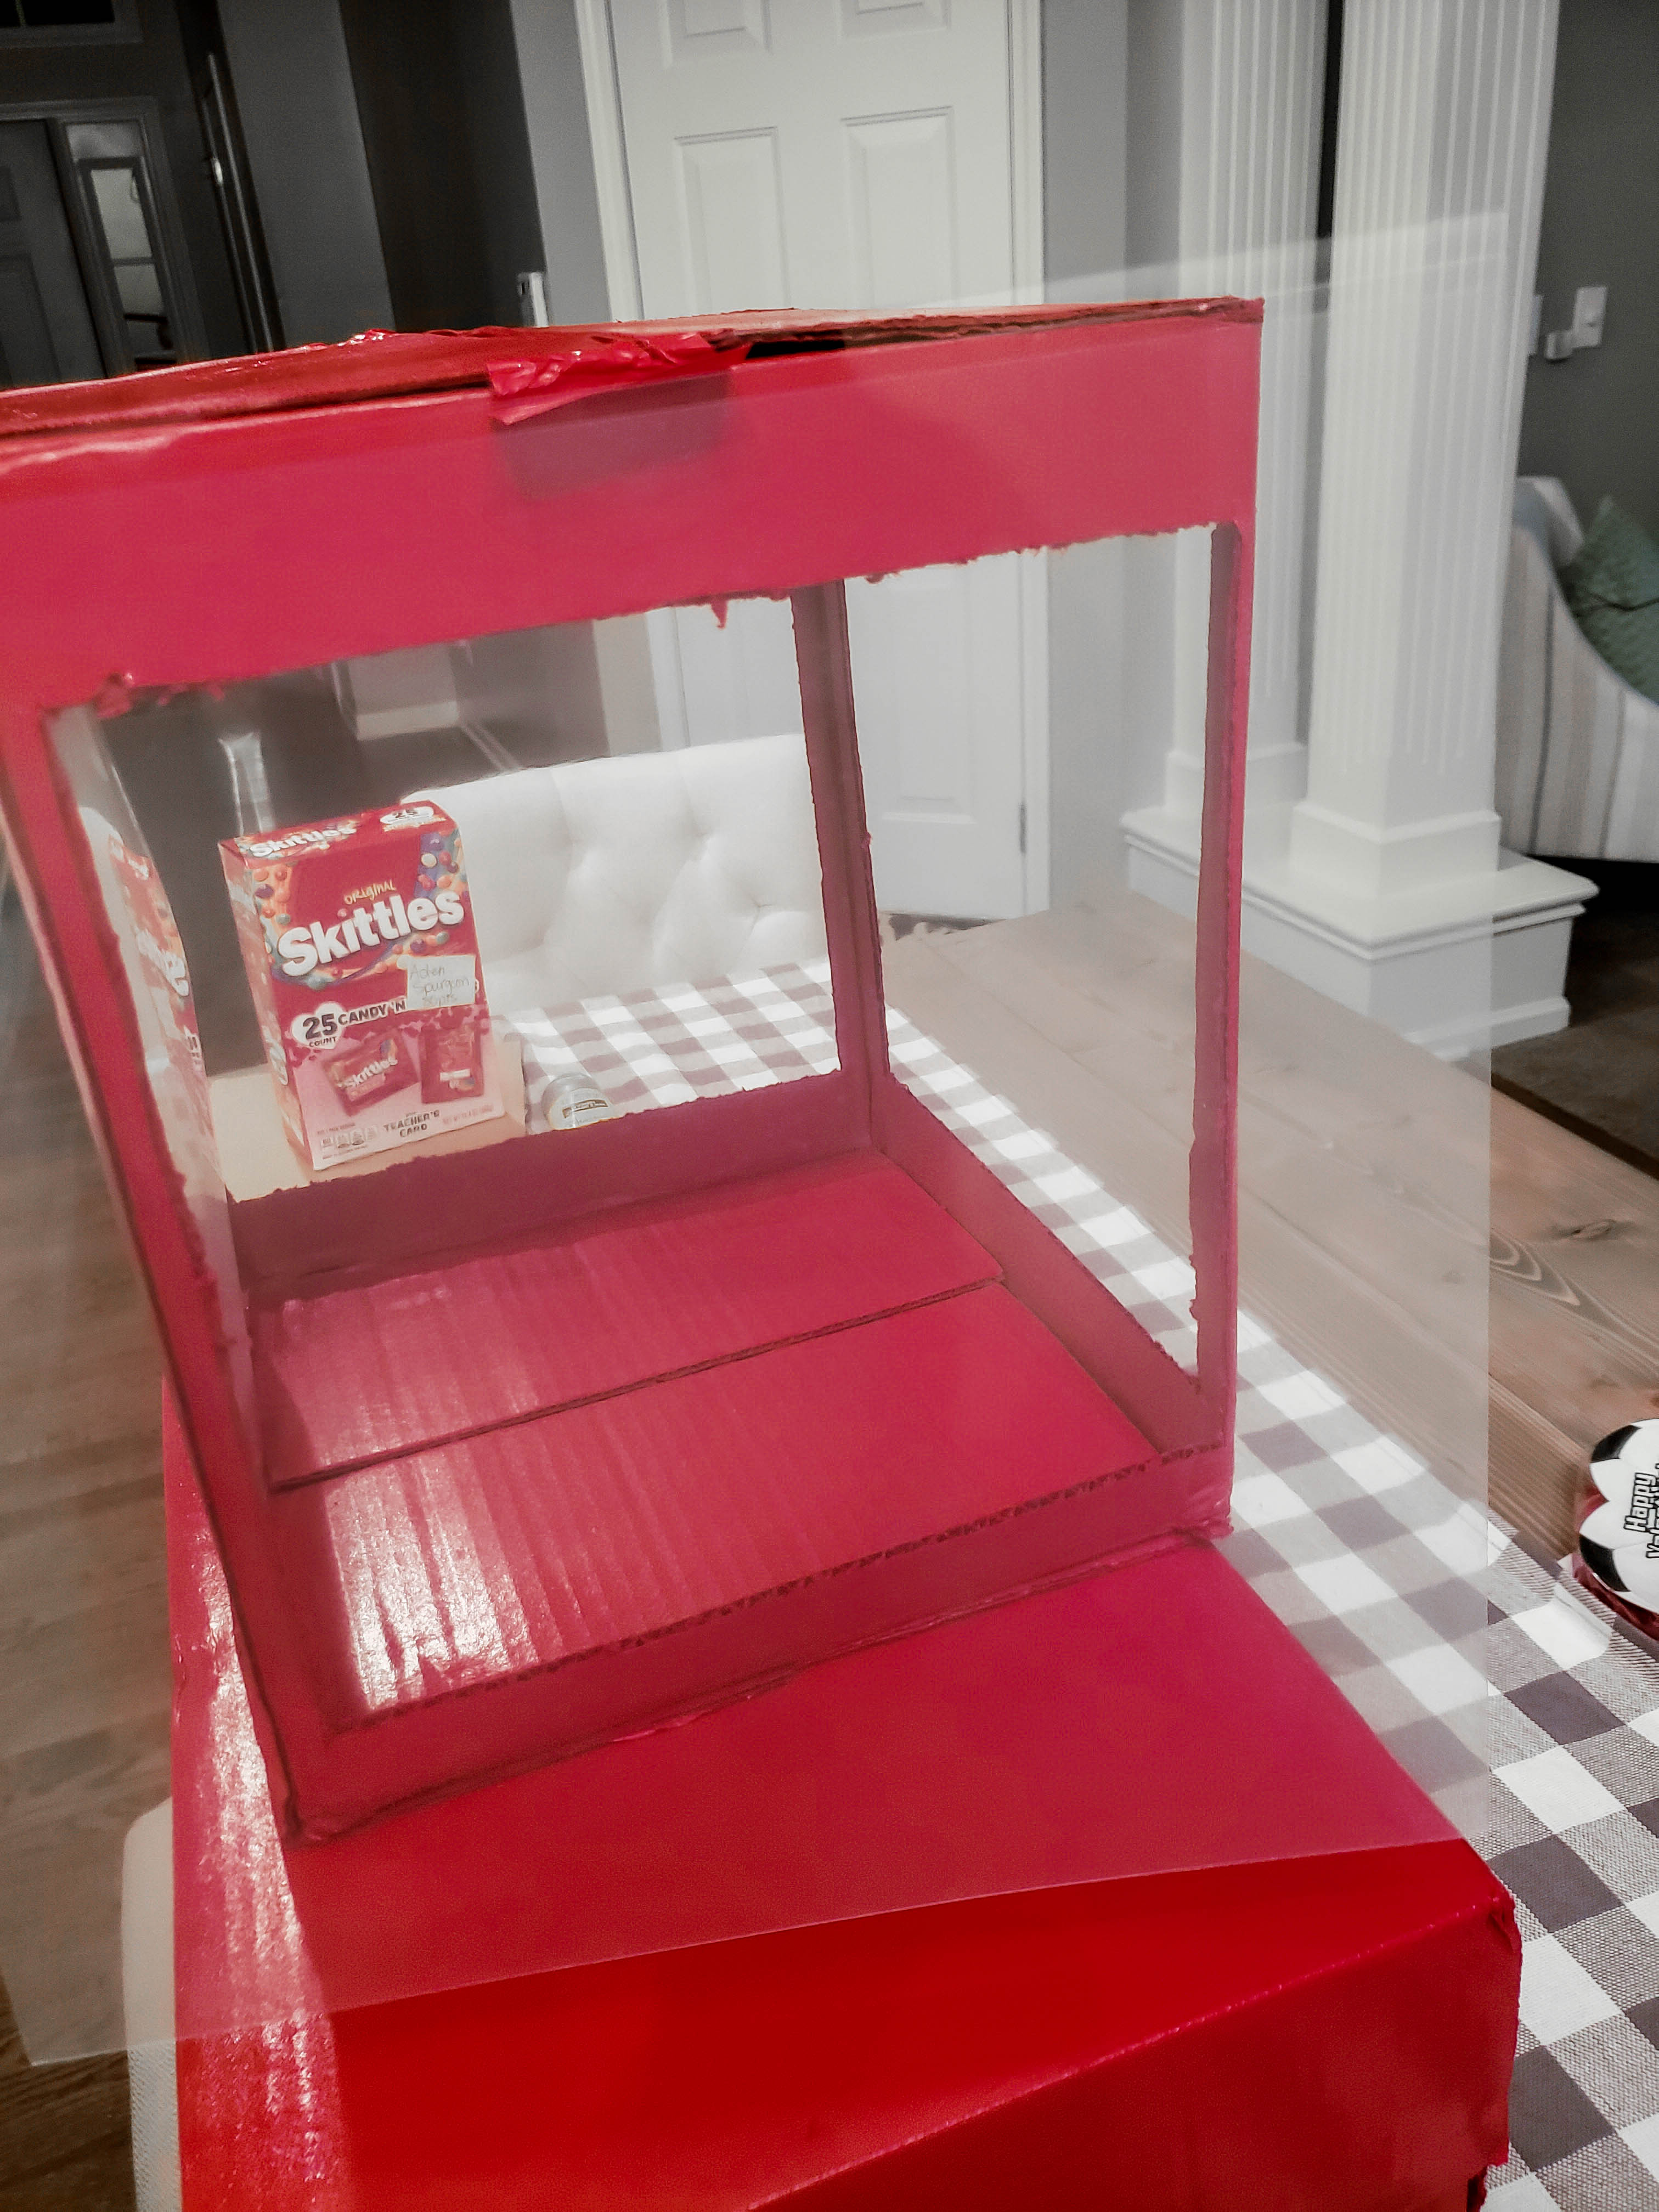
When I was thinking up this project, I was honestly not sure what I was going to use for the windows. I wanted it to be flexible, but sturdy enough, see through, and also um, cheap! I decided on the clear acetate sheets that are made for Cricut. Very affordable and easy to work with. Since they were going to be attached to the box on the inside, I just eye-balled the measurement of the 3 full windows. It doesn’t matter if it’s not perfect, because you can’t see the edges anyway. I used hot glue to adhere the acetate sheets to the box for more security, but clear tape would have worked too.
The three windows had full coverage, but one side needed to be able to open. I did not take photos of this part, because I was winging it and honestly struggling. I’ll try my best to explain it though… I cut down a clear acetate sheet to come up about a third of the way & glued it to the inside bottom. Then I cut a piece to fit the remaining 2/3 of the window to make a flap that could open & close. I “framed” it with black card stock (it makes sense if you look at the photos below) and used brads to attach the bottom of the “door.” For the top I just used velcro that I had on hand.
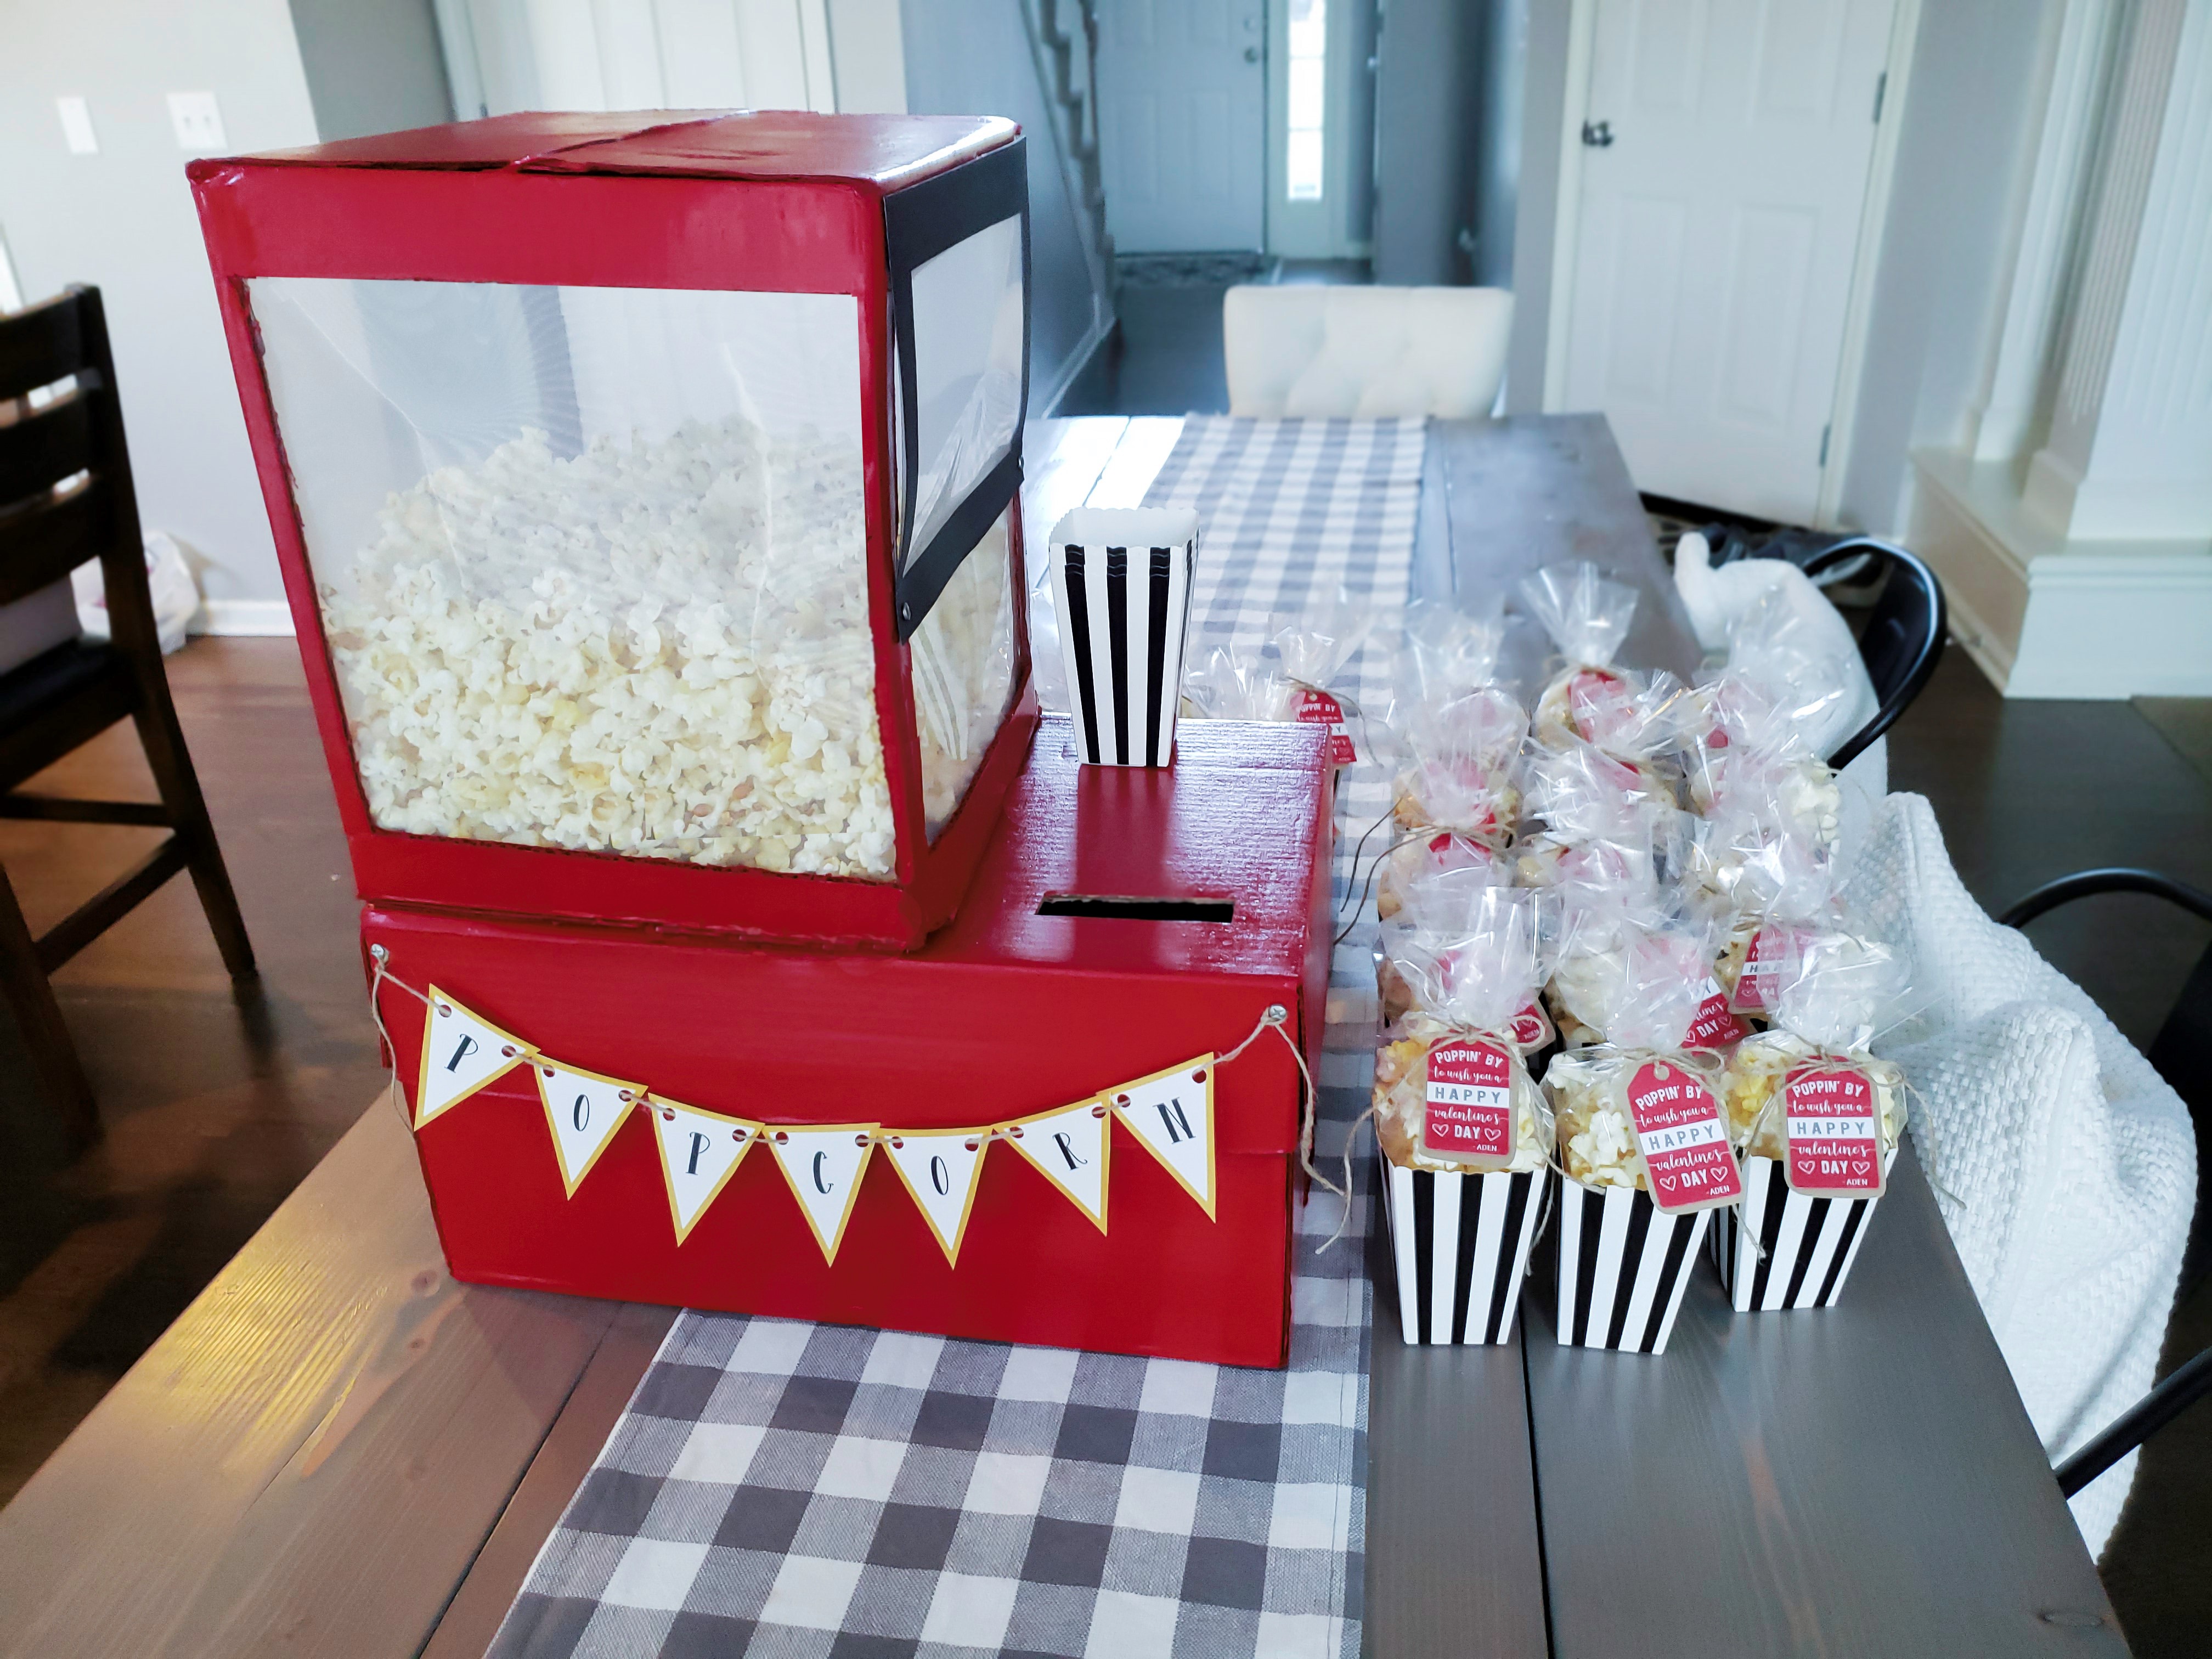

Then we used a knife to cut a slot in the paper box for Valentine’s to go in, put up the little popcorn banner with brads & twine, and added some popcorn boxes with velcro.
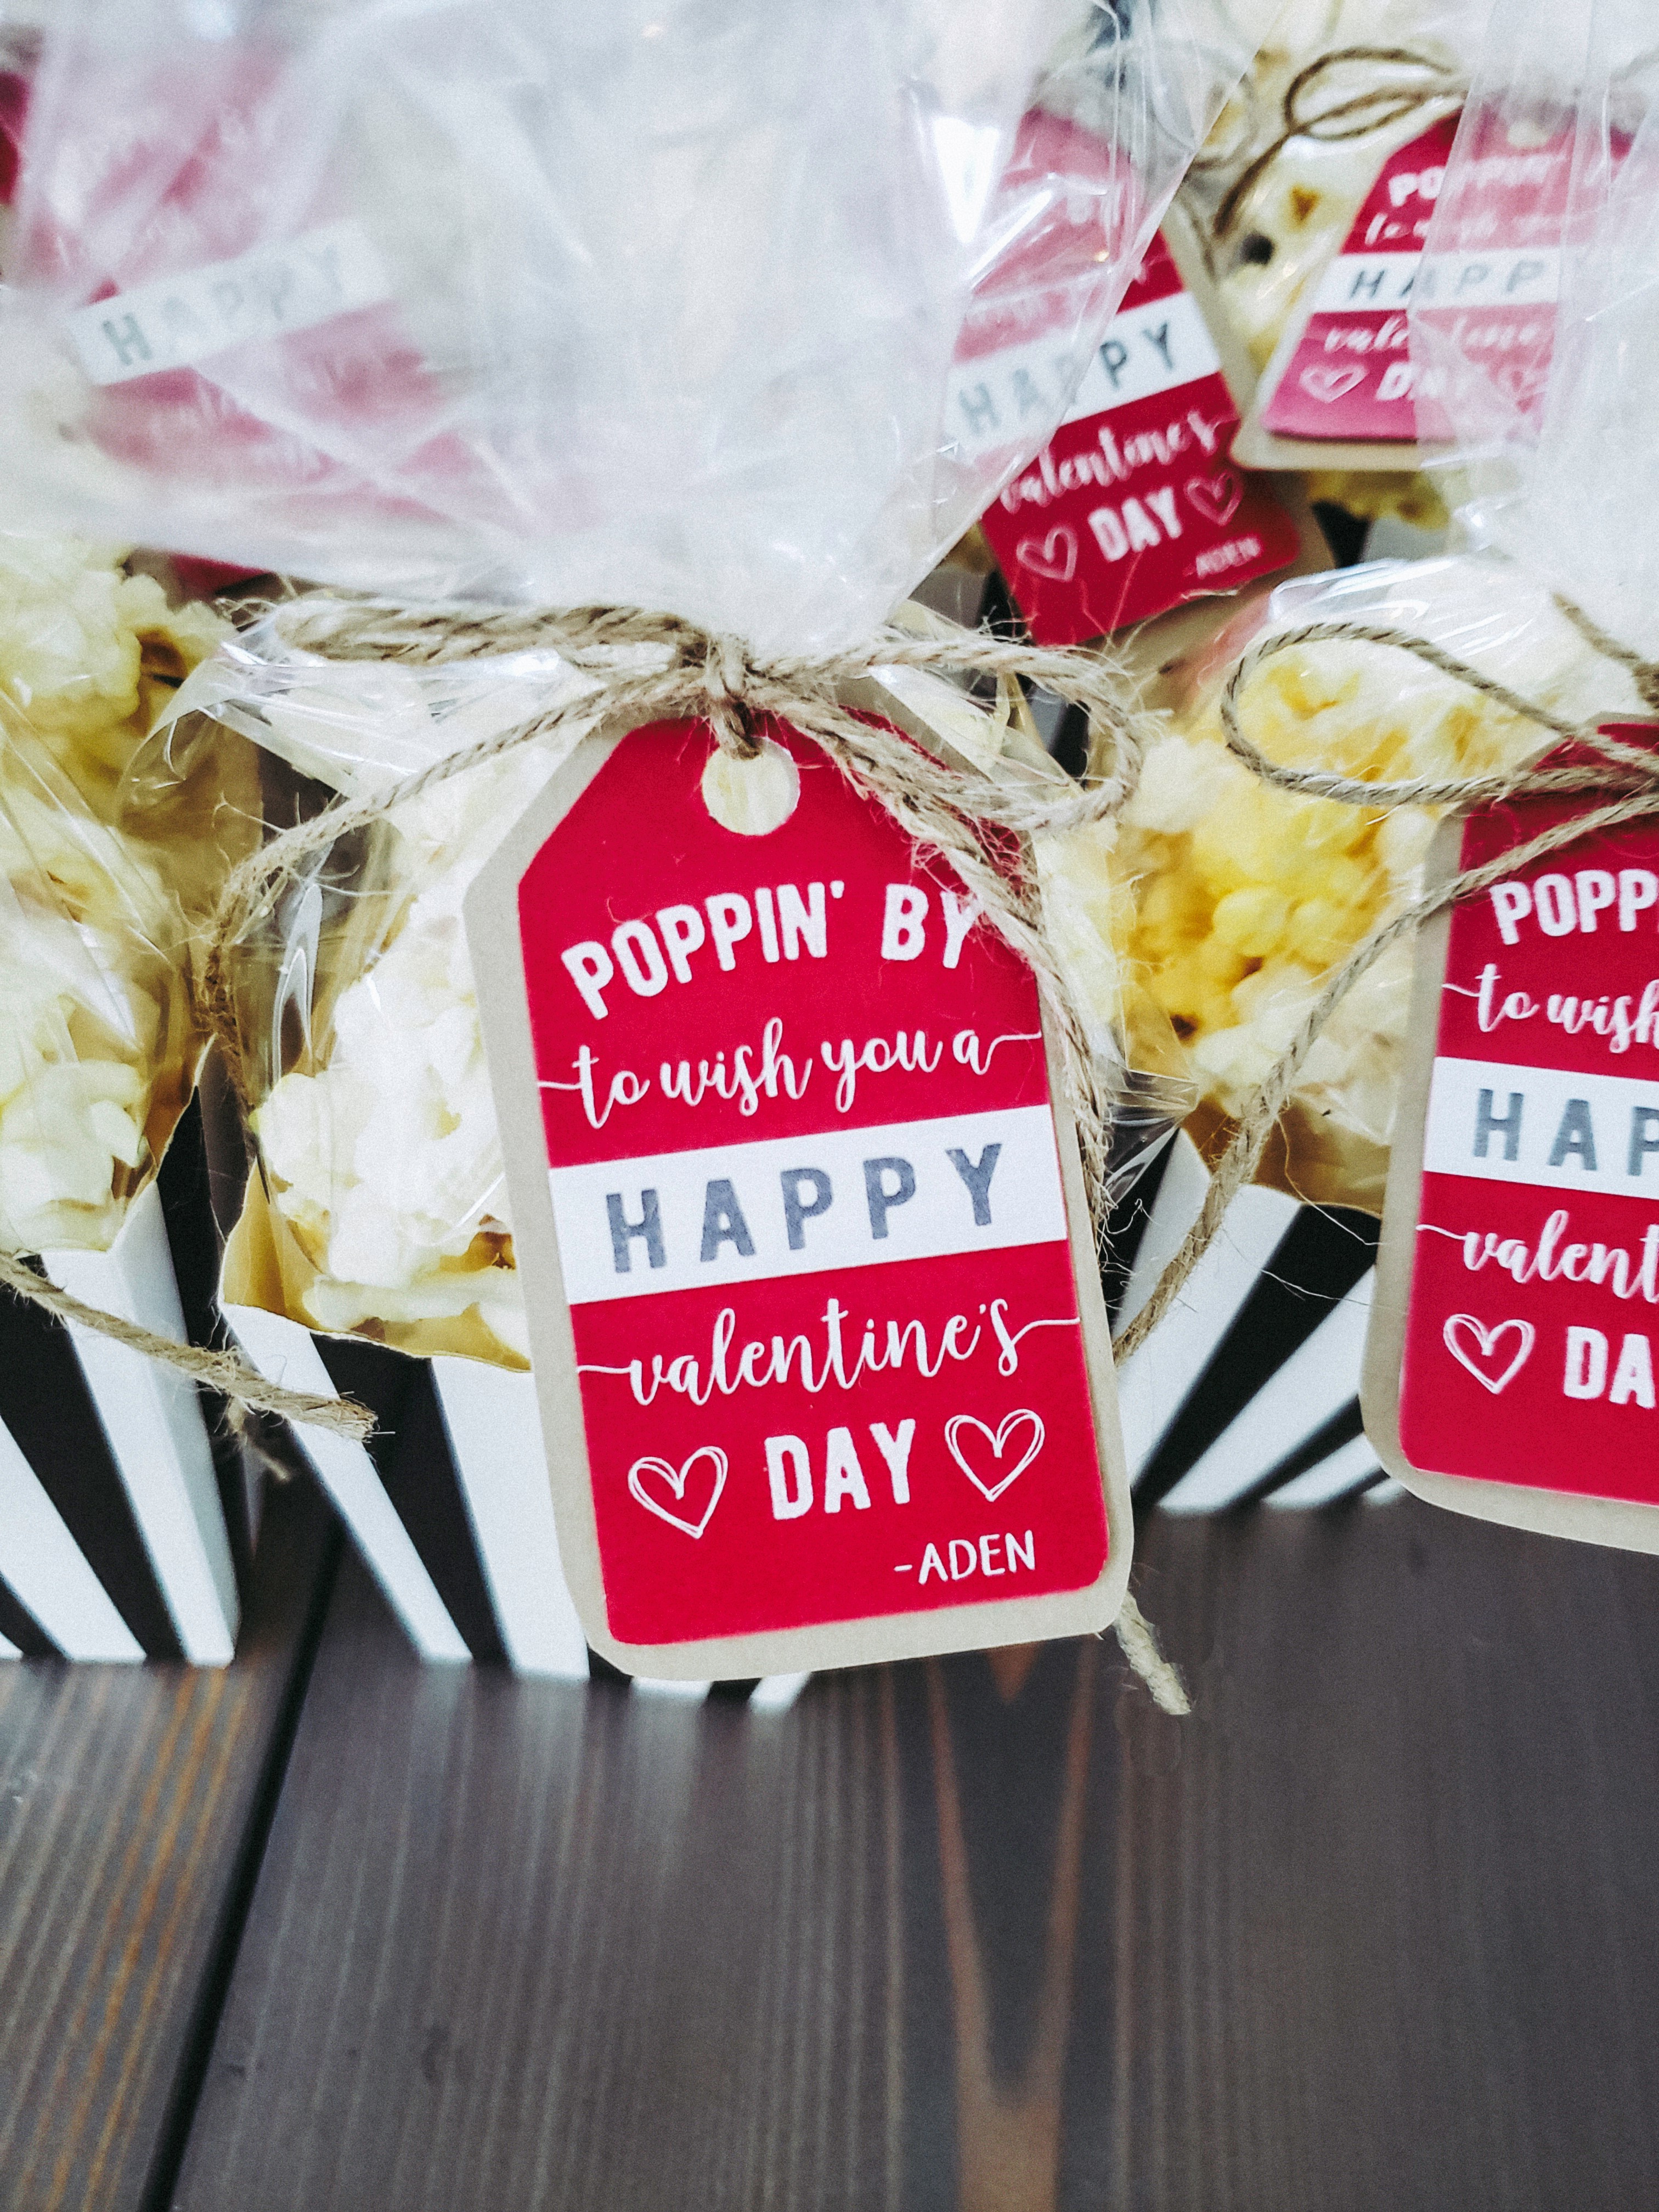
Lastly, we made a TON of popcorn, filled that bad boy up & made little popcorn treat boxes as Valentine’s. Who needs candy anyway!?
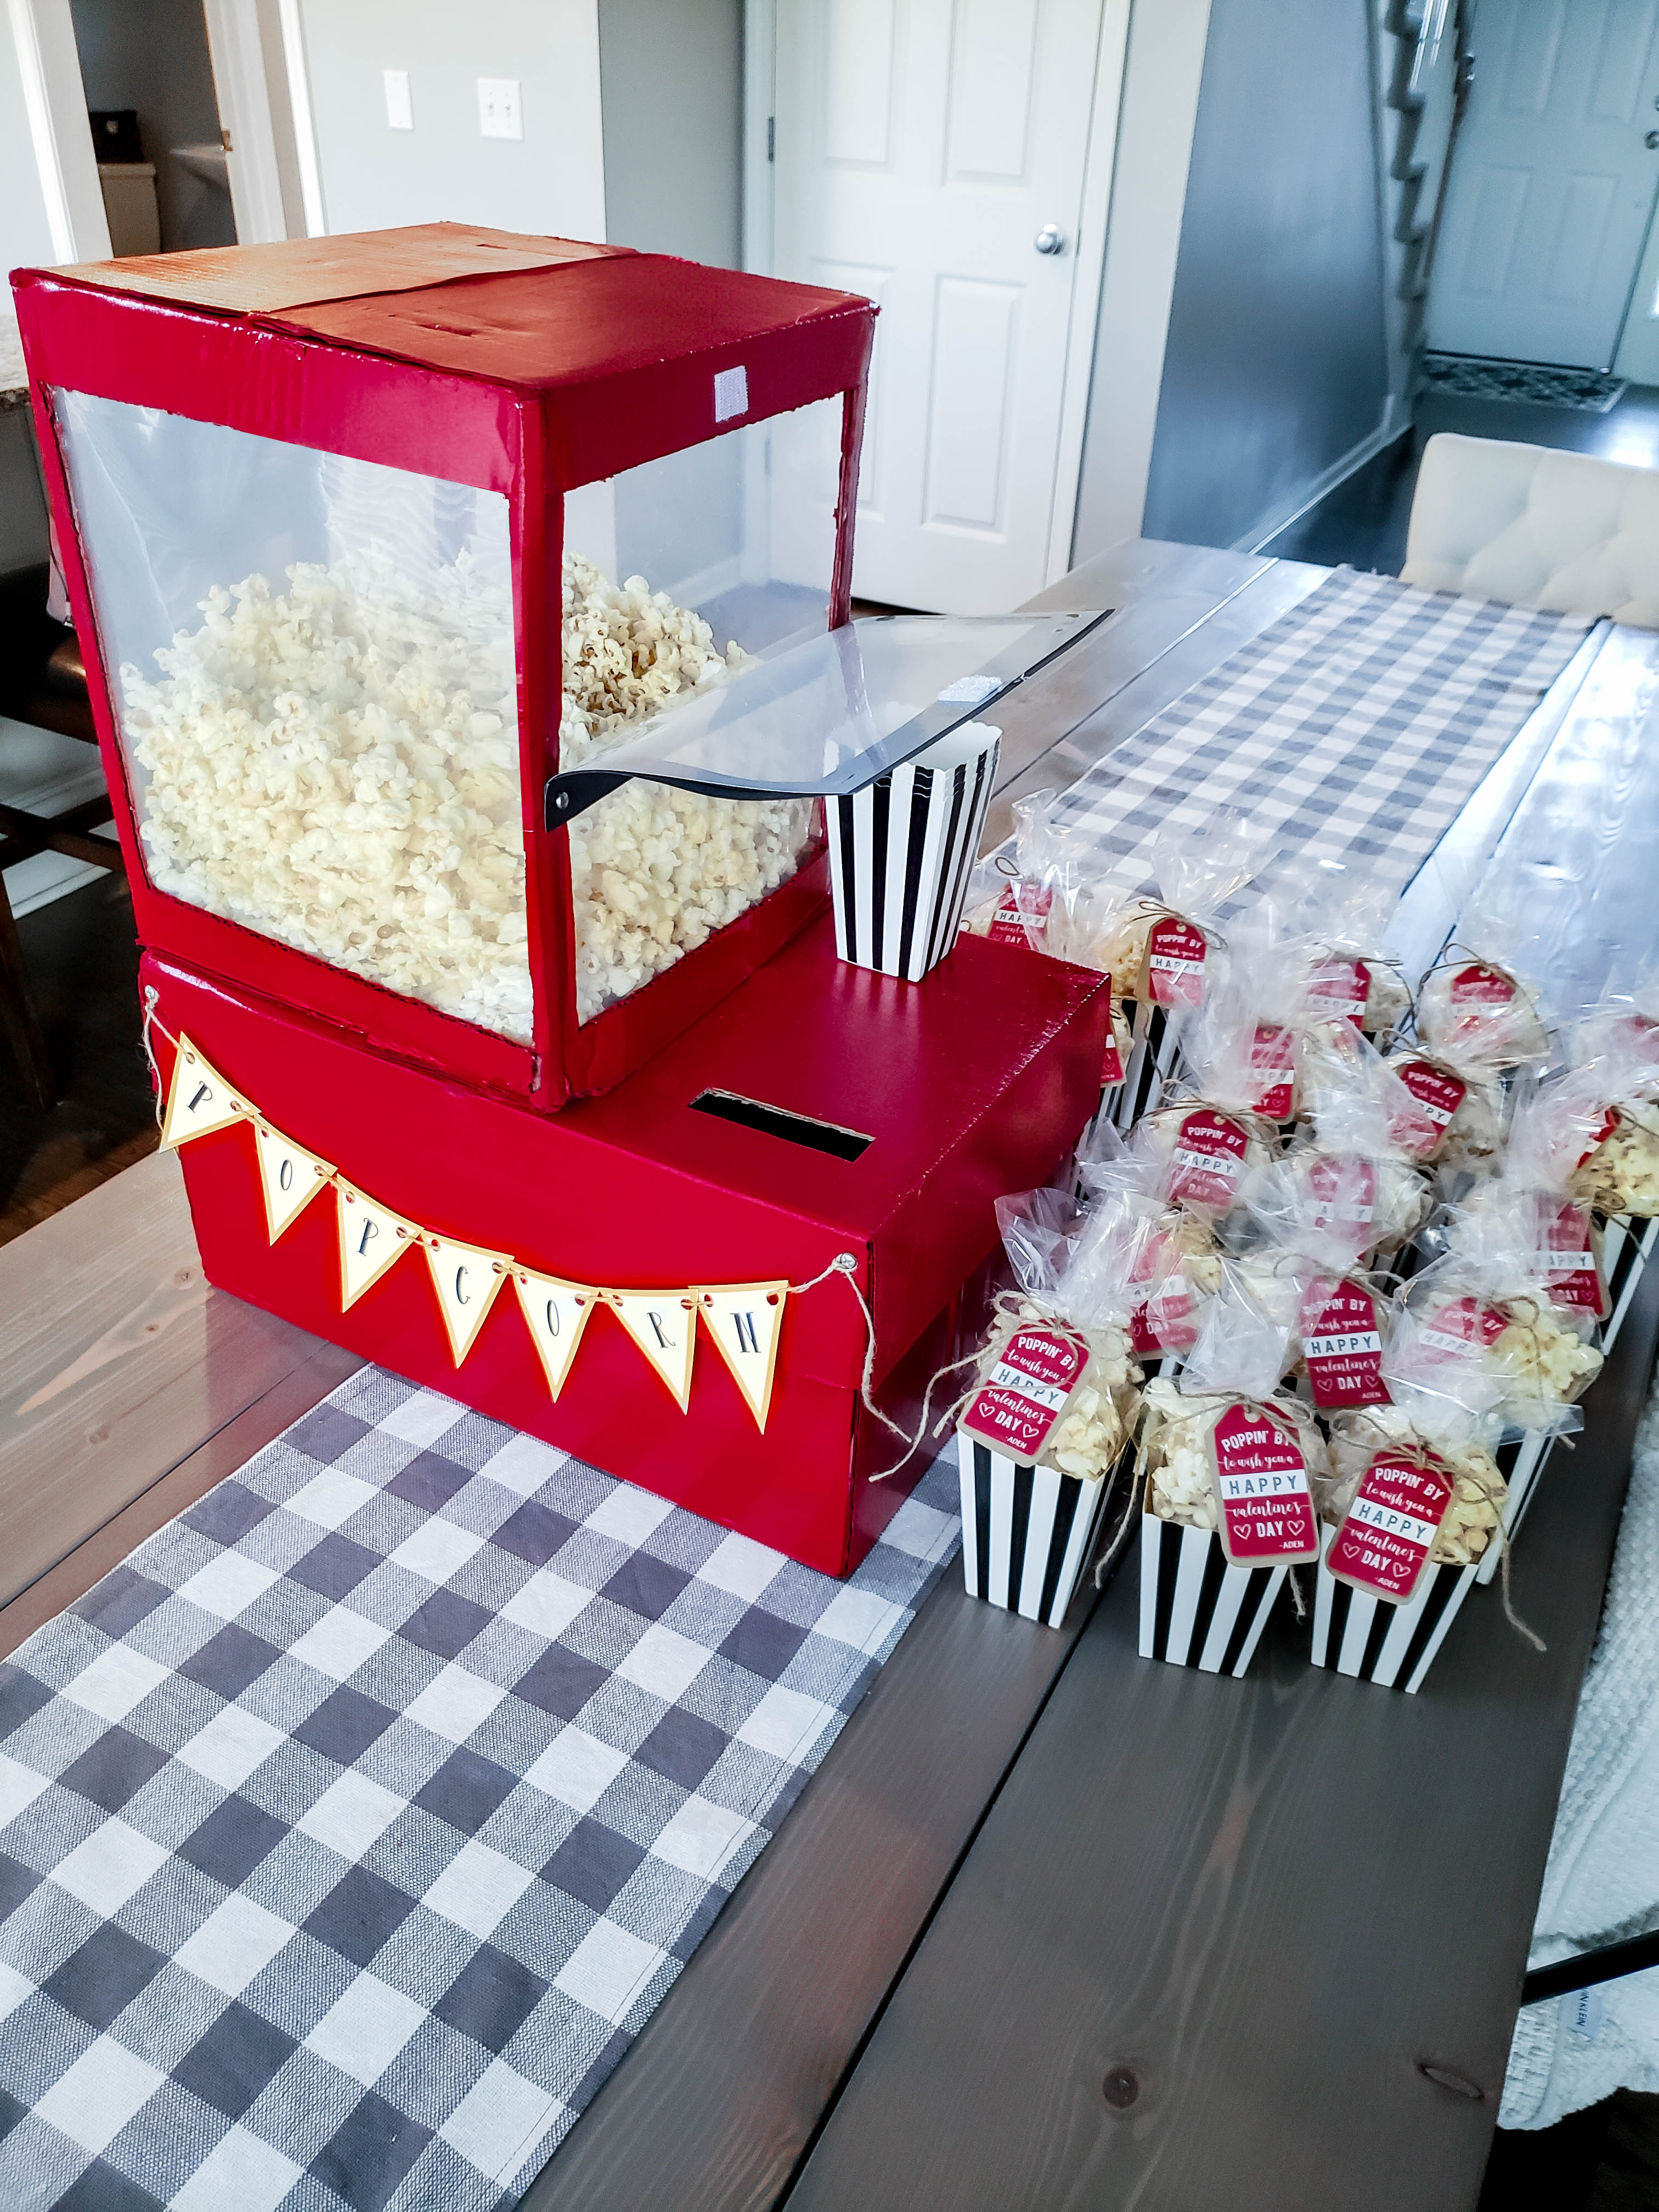
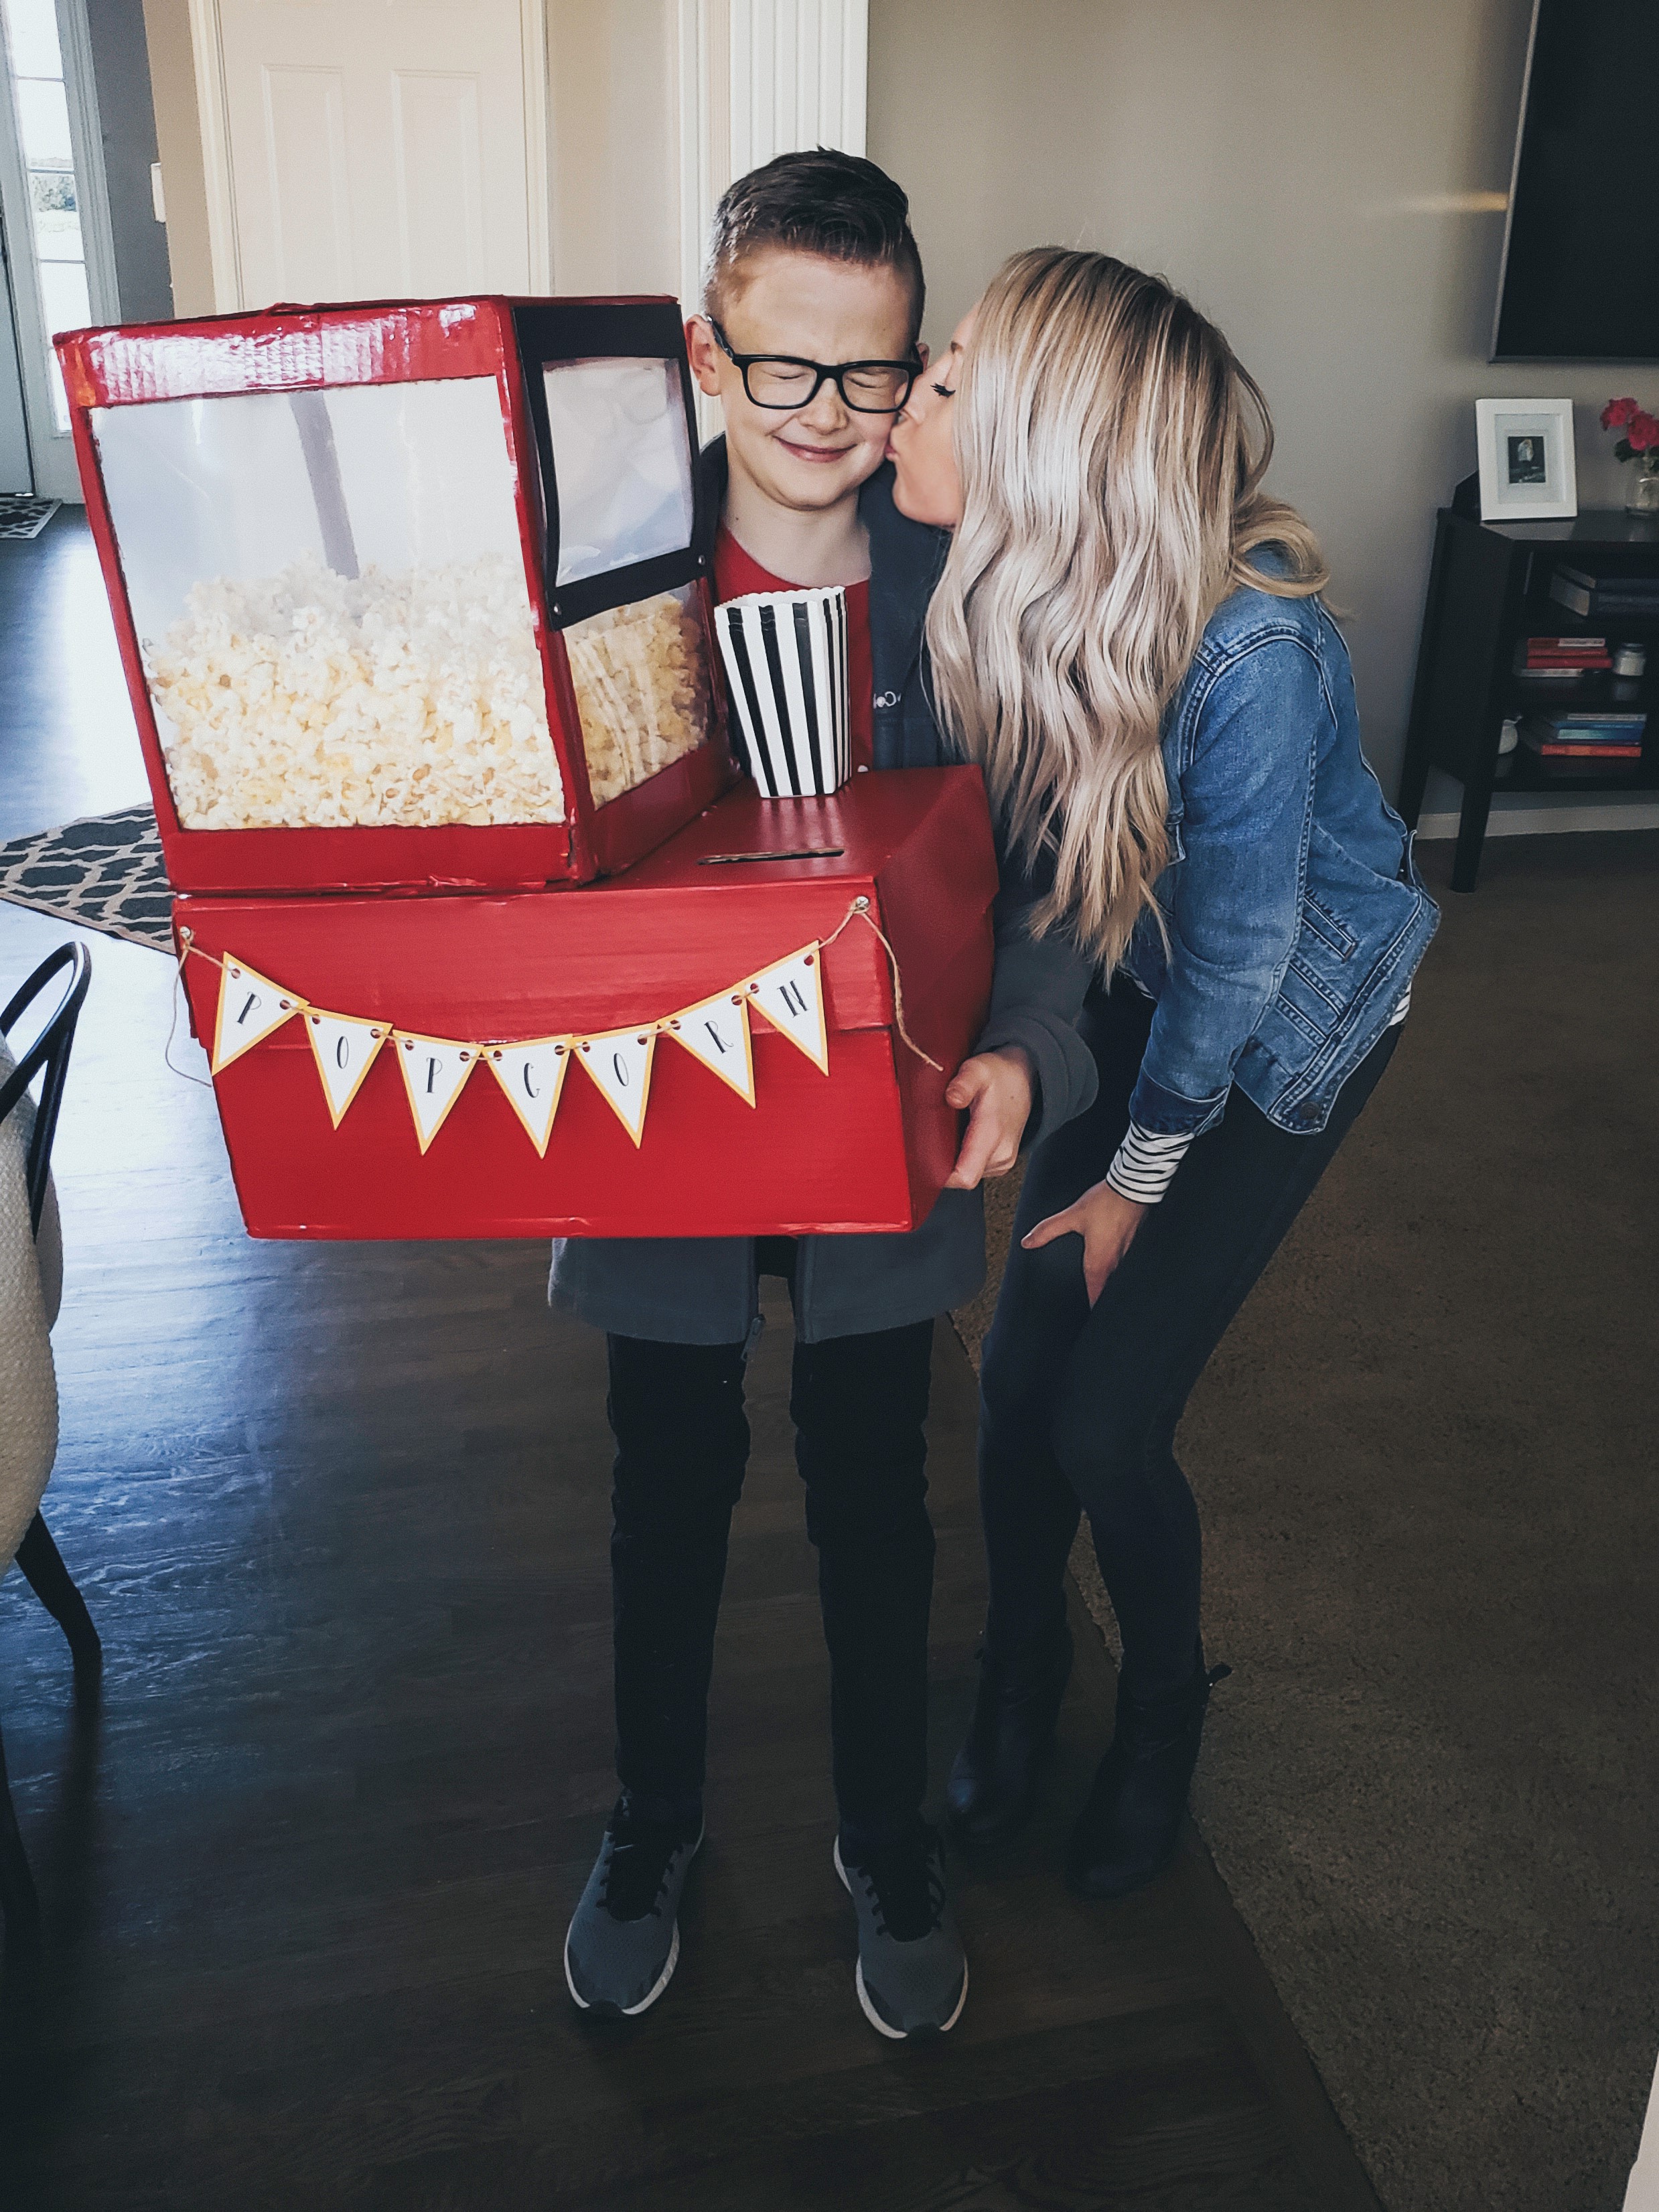
It is not perfect, but it turned out way better than I expected. Aden was SO excited & everyone at his school loved it!
Box Supplies:
Paper Box with Lid
Smaller Square Box
Hot Glue/Tape
Printable Popcorn Banner: Download Here
Lots of Popcorn
Treat Box Supplies:
Printable Tags: Download Here
More Popcorn 🙂
*Treat Boxes: First I put the clear treat bags inside the boxes and then filled them up with popcorn. I tied them together with twine, but you could use ribbon or whatever you have on hand. For the tags, after cutting them out I used them as a guide to cut out the tan cardstock. I wanted them slightly larger to layer behind. Hole punched em and tied them on. Simple, but so cute.*
Let me know if you try it out & definitely tag me on instagram @littleblondemom so I can see!!
We are making this! Thanks for the directions and pintables. Is there any way to edit the tags to add a name at the bottom?
I figured out how to add it.
Stumbled upon this and couldn’t be more excited! I don’t need the idea YET but I may have to find a reason to make this! So creative and it turned out super cute! Thanks for sharing the details.