This post may contain affiliate links. If you click through and make a purchase, I may receive a commission at no extra cost to you. Don’t worry, I only recommend products I love!
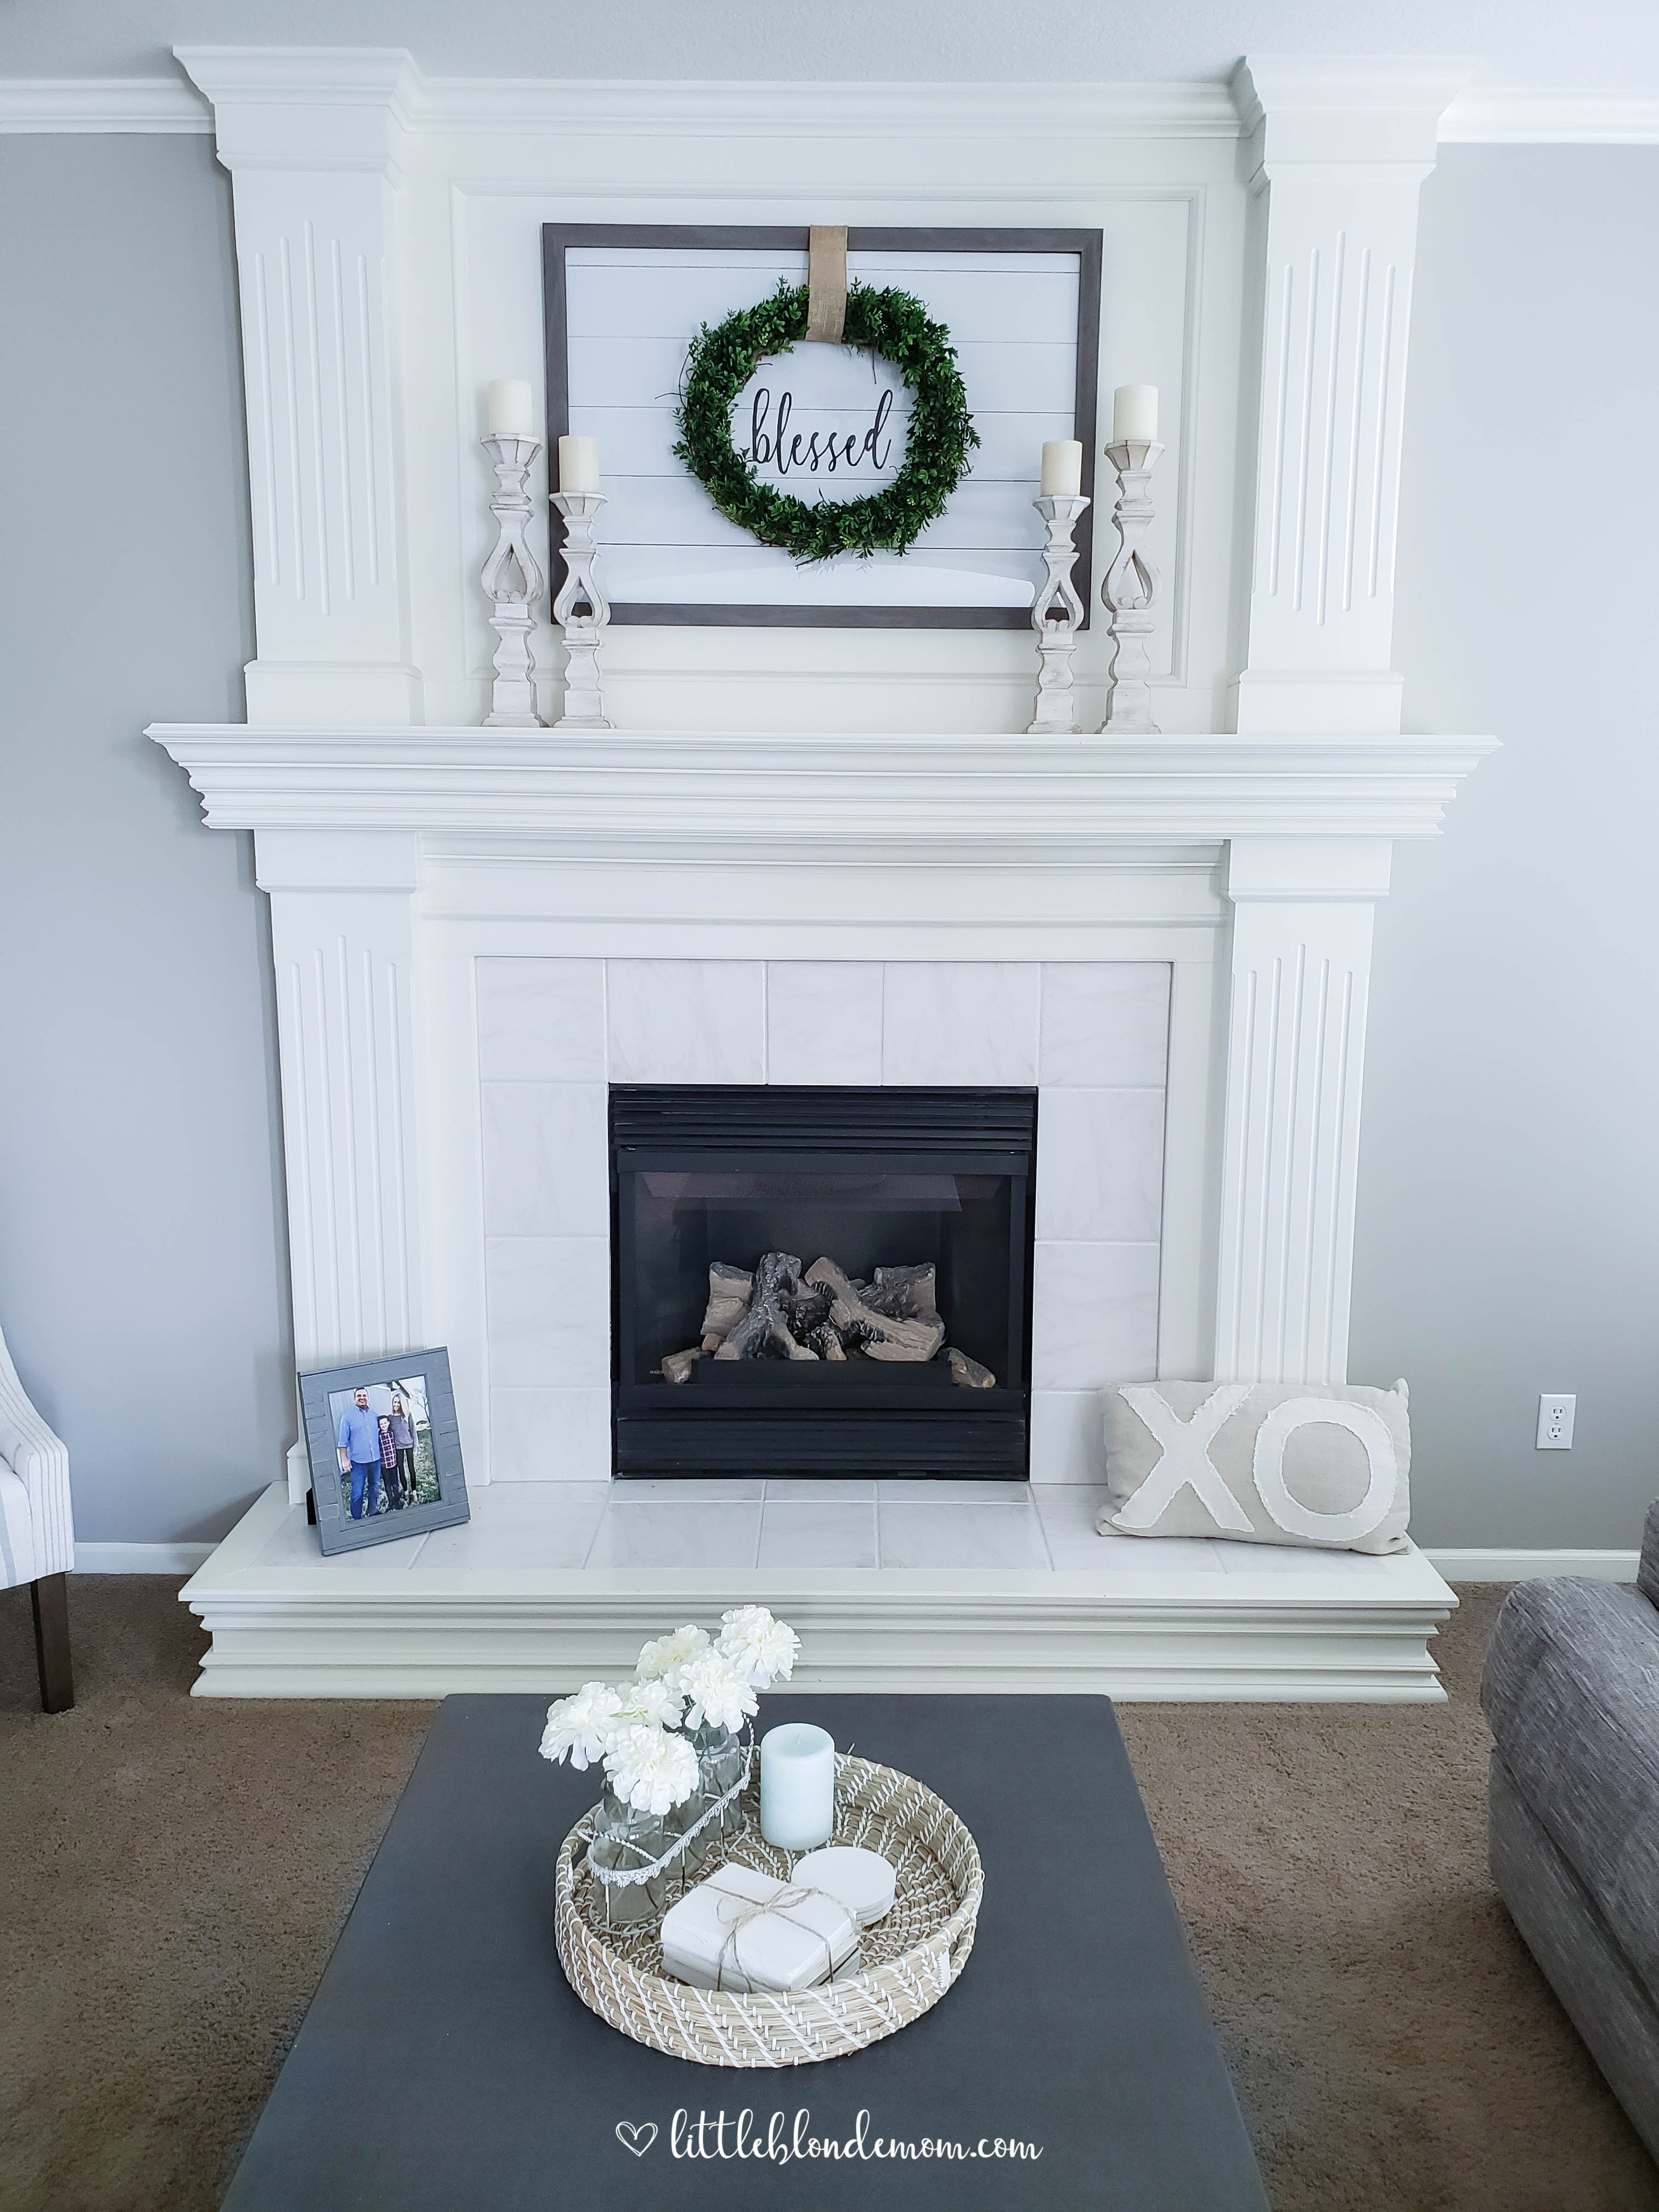
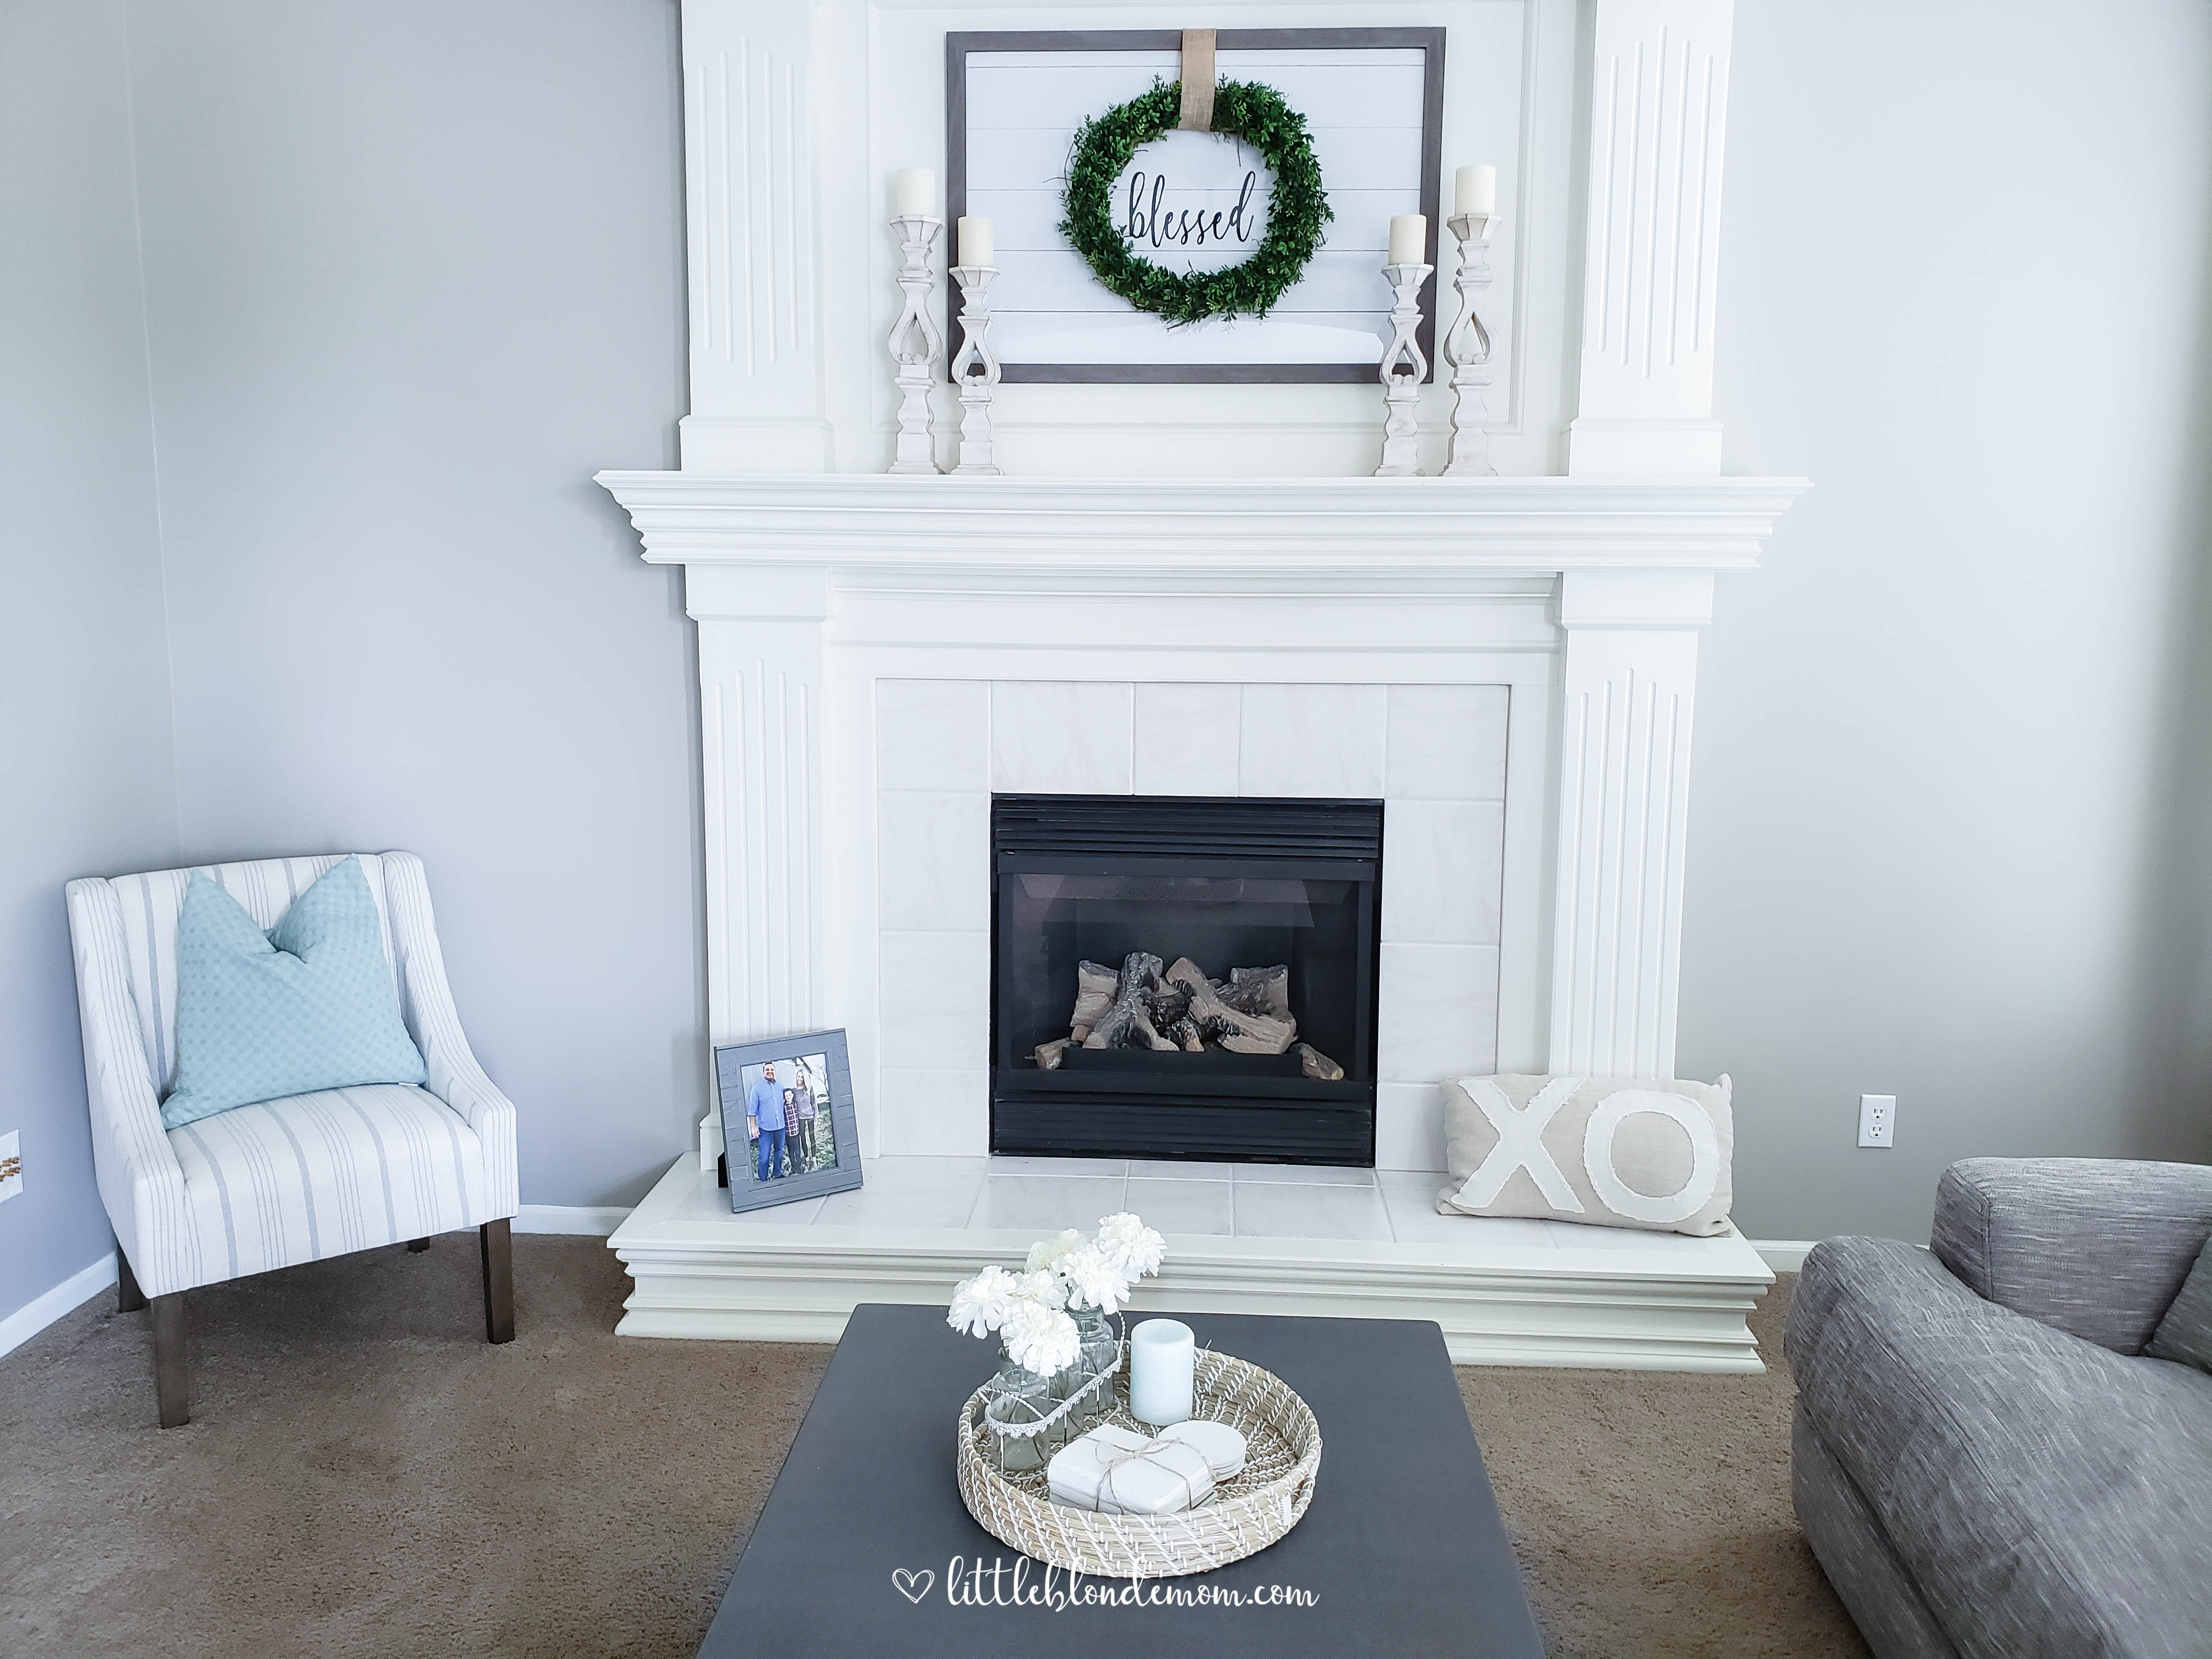
If it ain’t broke don’t fix it, right? Wellllll… My indecisiveness is really getting the best of me these days. I just keep decorating and then changing my mind. It’s bad. I mean… We bought some throw pillows, then I returned them and decided on new ones. I had a white distressed wood tray on the coffee table, but then found the cutest round wicker tray at Home Goods. Bye bye wood tray. I got a lantern to put by the fireplace – just didn’t work for me so back it went! We had a plant in the corner, but I killed it, so it’s gone now too. I’m sure my guys are thinking I’m a little nutso, but sometimes I need to SEE things in a space and give it a day or 2 (or over a month in the case of the pillows) before I decide whether I love it or it needs to go back. Anyway, we had some other wall art up above the fireplace (this one). We liked it and it looked nice. Cut to: a couple weeks ago I was tinkering around in Illustrator, creating some new printables for my shop. I had purchased some wood & shiplap backgrounds from Creative Market (here) and was super excited to use them. While playing, I placed a wreath (clip-art) around the word “blessed” like this:

Then I had this “ah-ha” moment. I thought, how cute would this be with a real wreath over the top? I had this vision and I knew I wanted it for our living room. So I removed the clipart wreath, got the pdf printed at Office Depot, & stuck it in a frame. This is what the framed print looked like by itself:
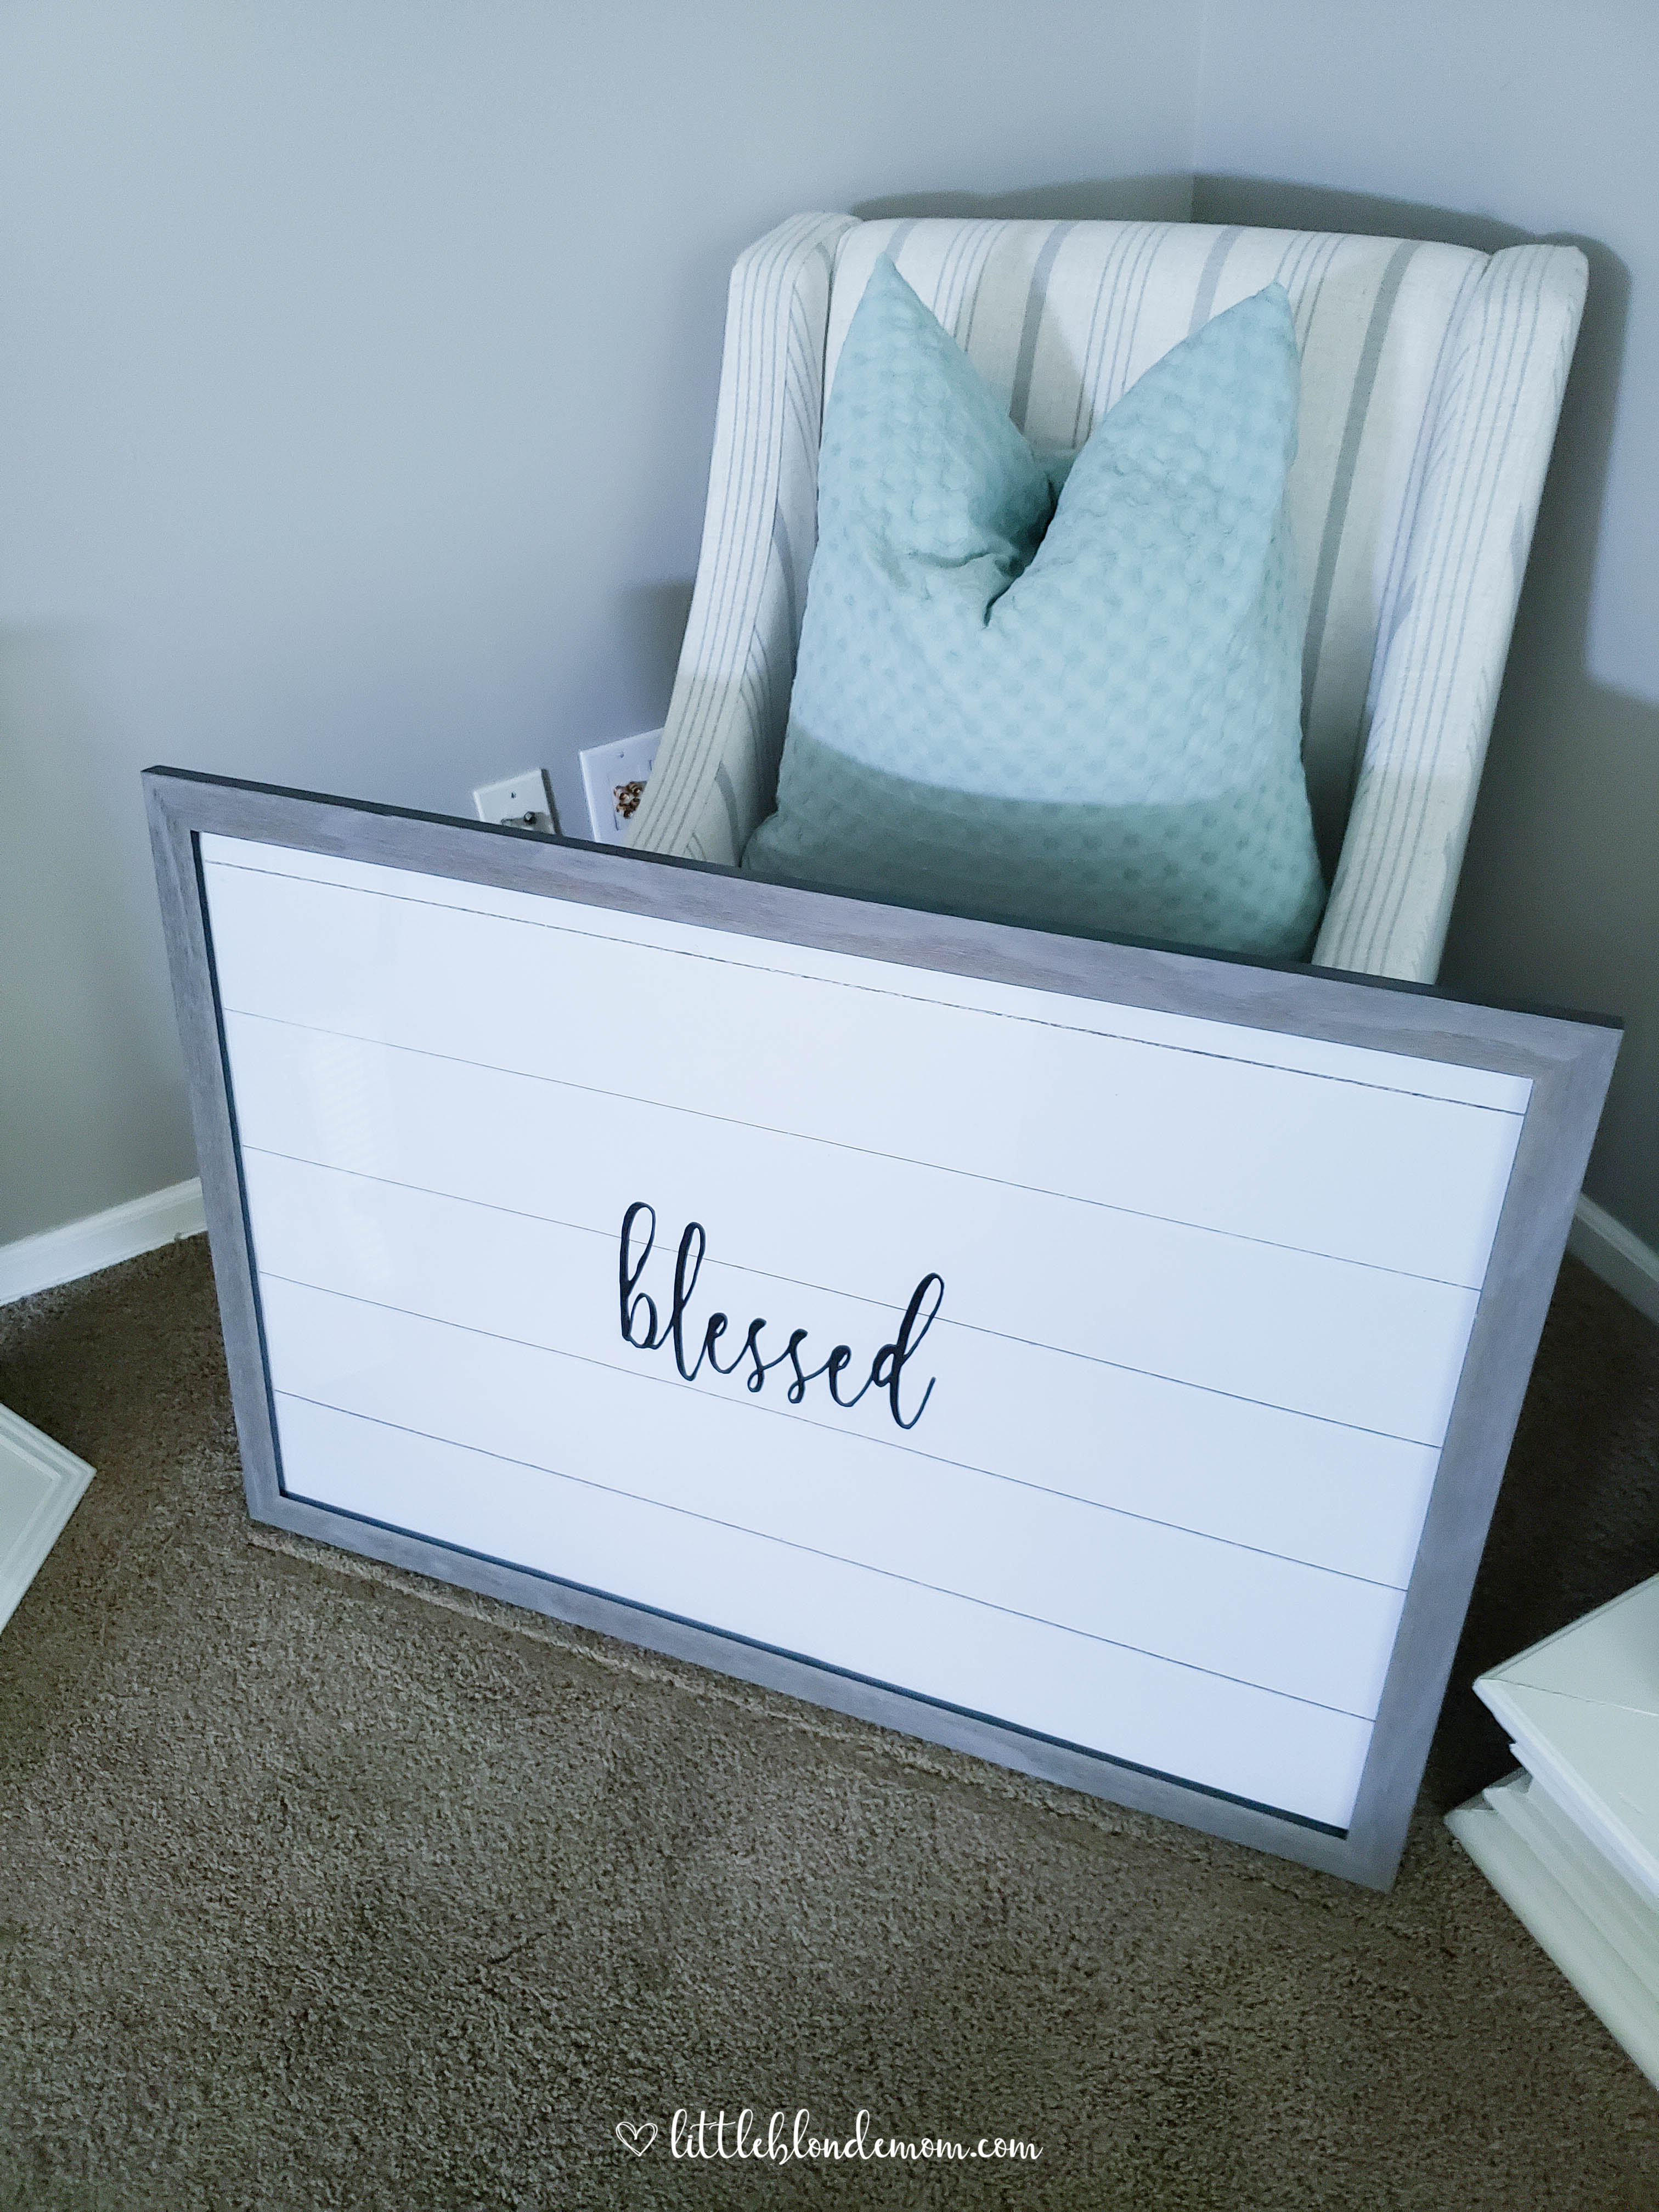
To be honest, it didn’t look terrible by itself. But I really wanted to put a wreath on it for color & dimension. By the way, when I explained to Chris what I was going to do, I think he just nodded to be nice and had no idea how it was going to turn out. I’ve said it before, but I do scare him sometimes with my little projects. So far, he’s loved all the finished work though!!
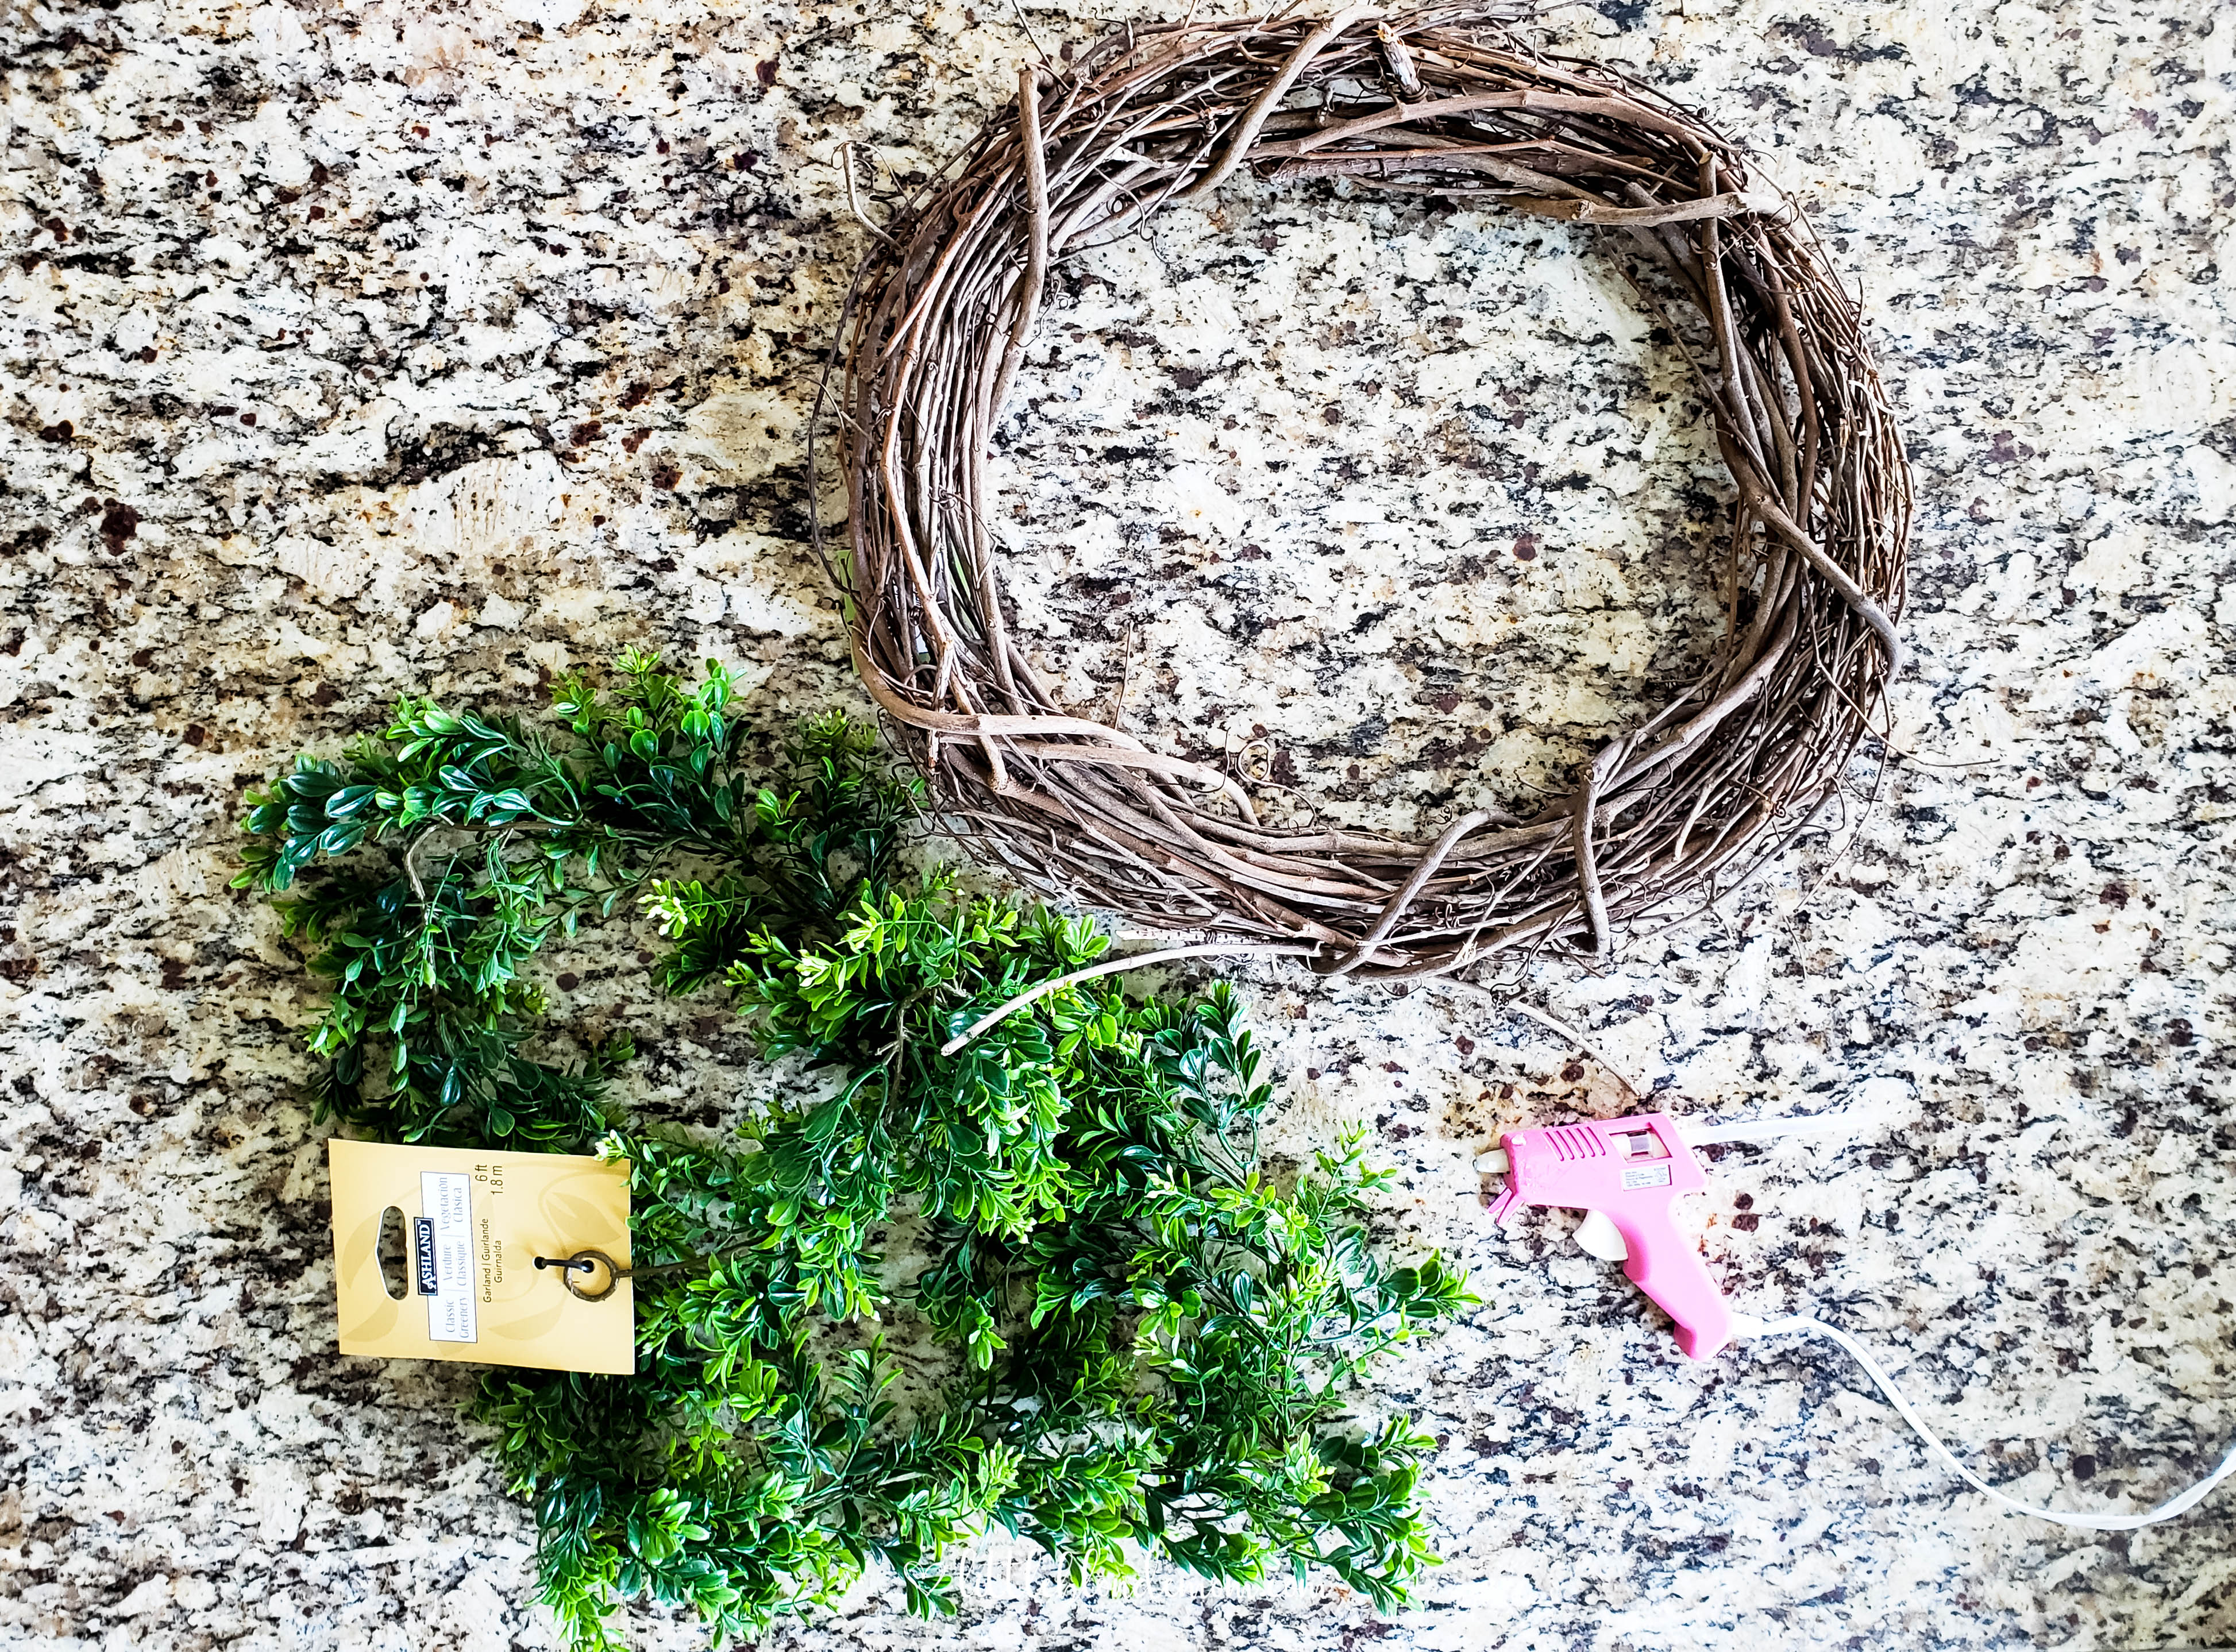
Ok, so for the wreath, I decided to make one. Mostly because I wanted it to be cheap. First I measured the “blessed” words to make sure the wreath would fit over it without covering it up. Then I made my way to Michael’s. I grabbed an 18 inch grapevine wreath and one long strand of greenery garland.
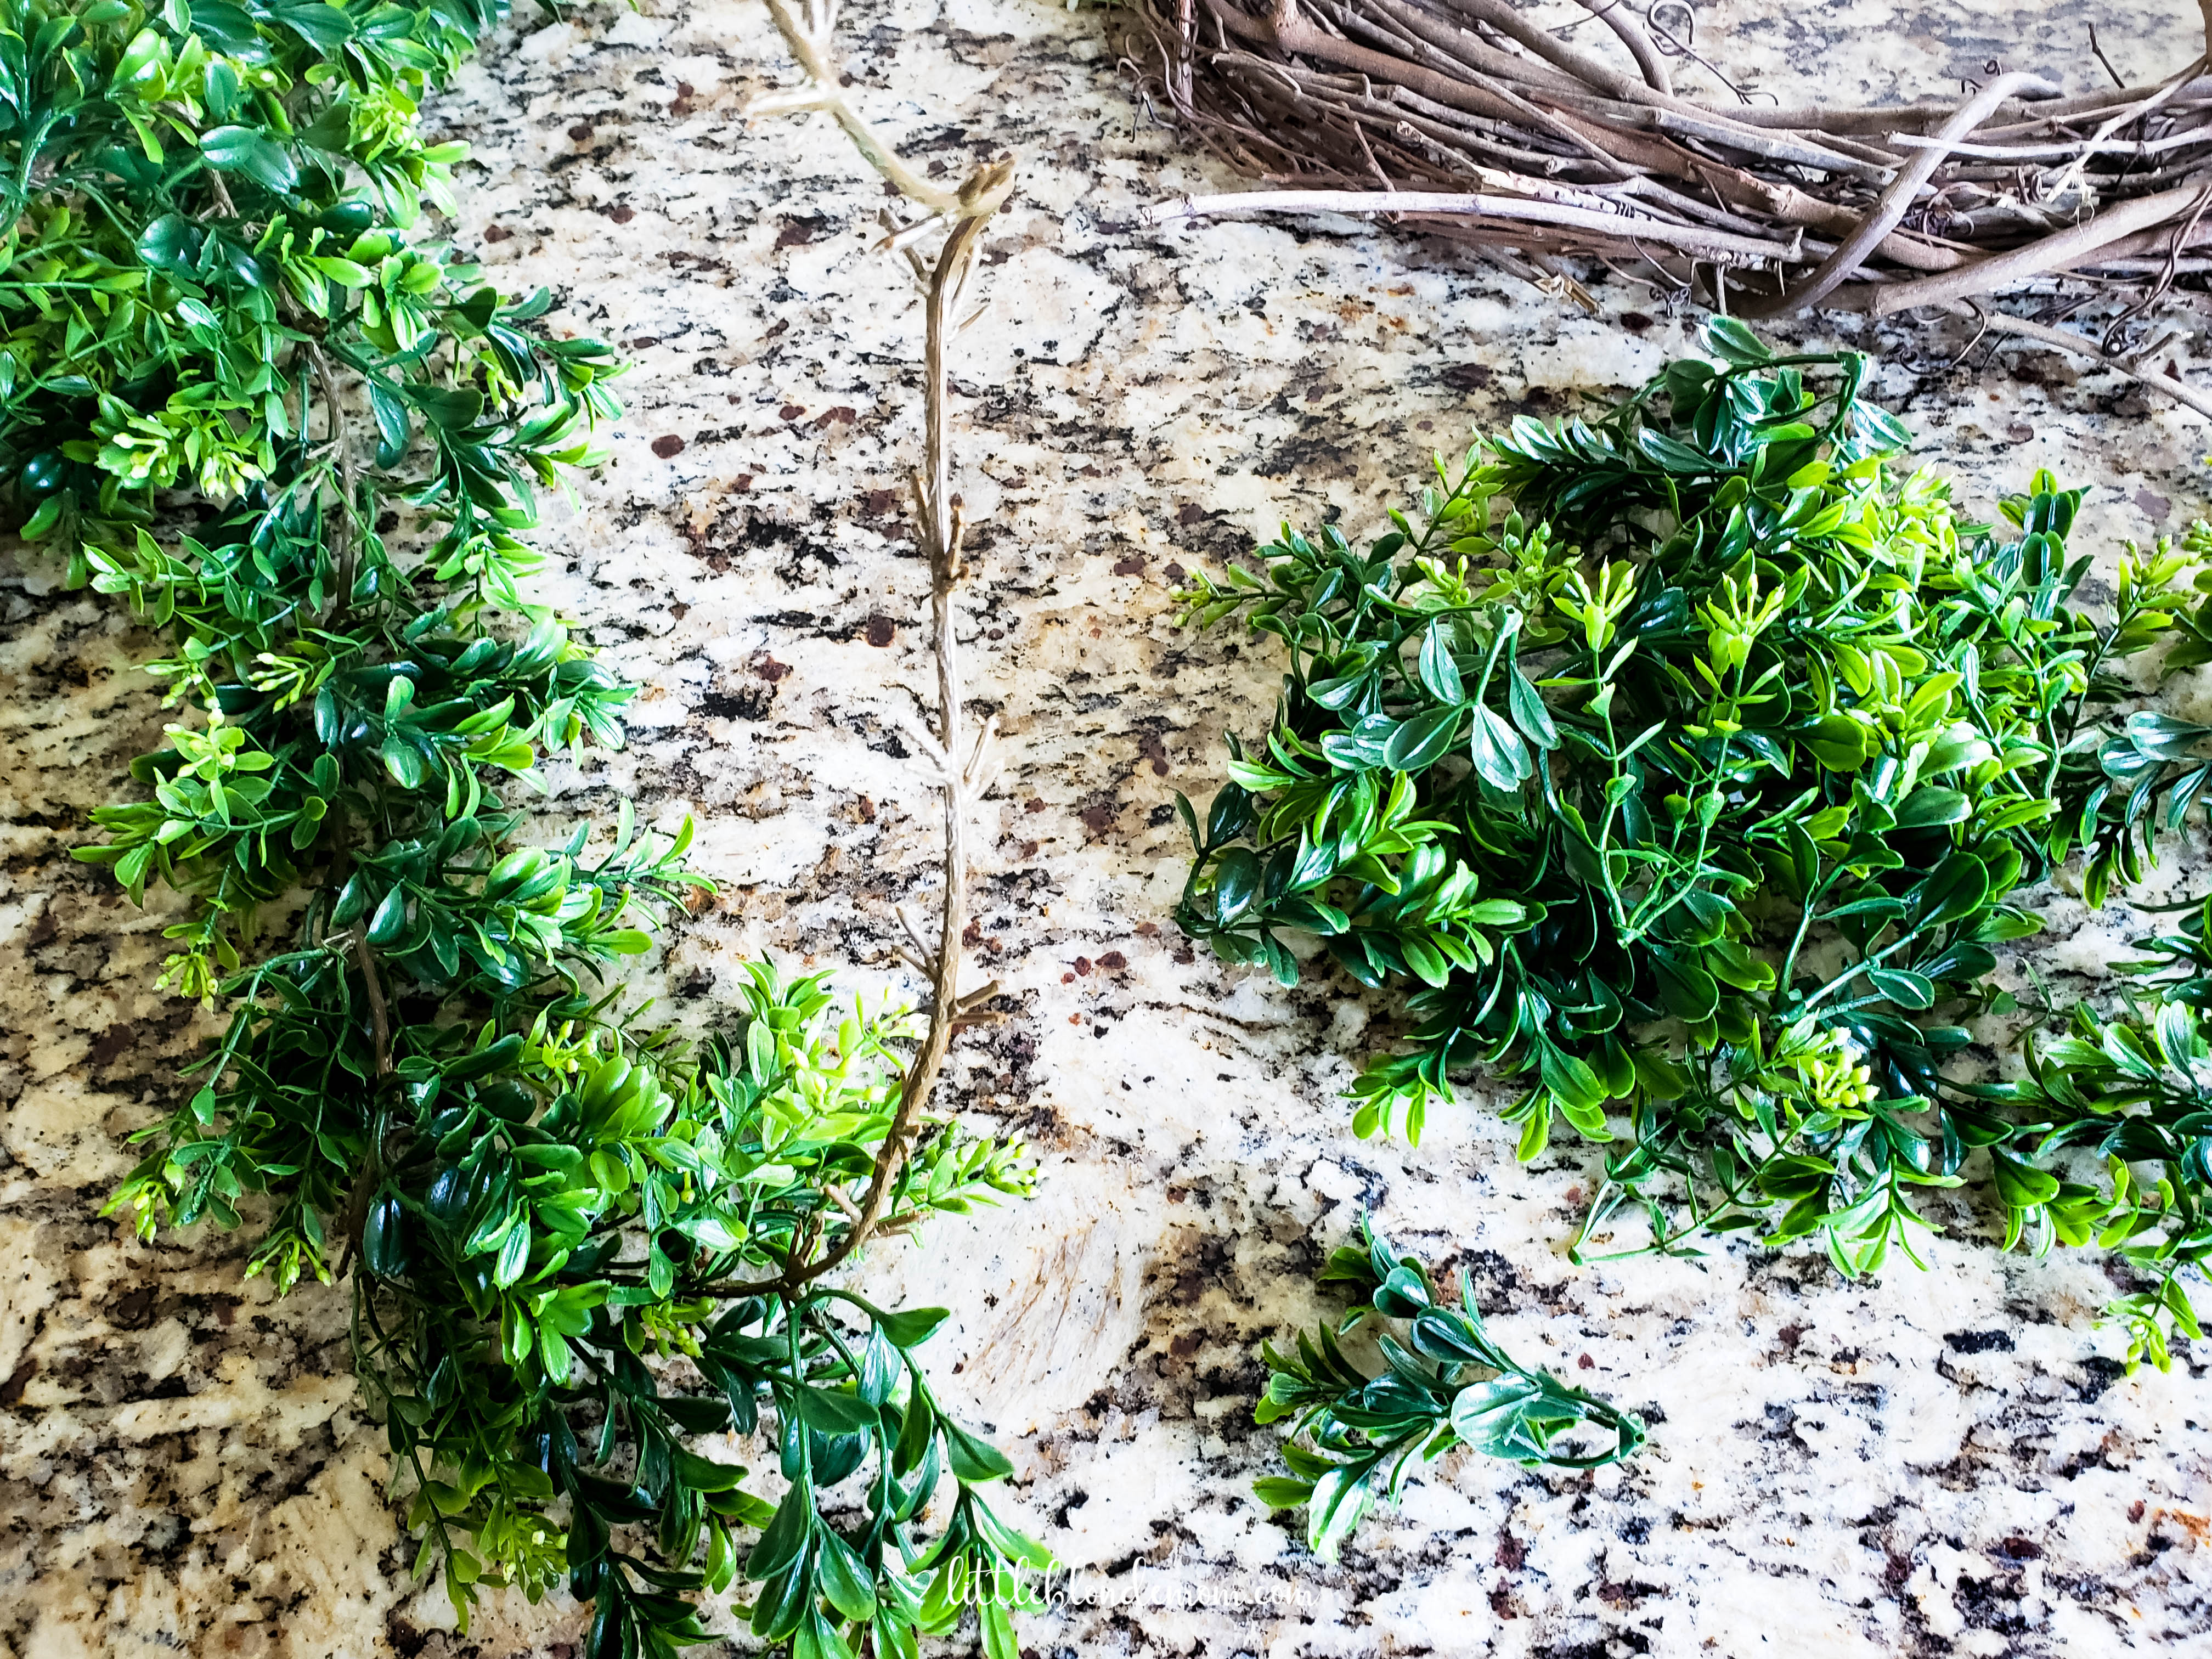
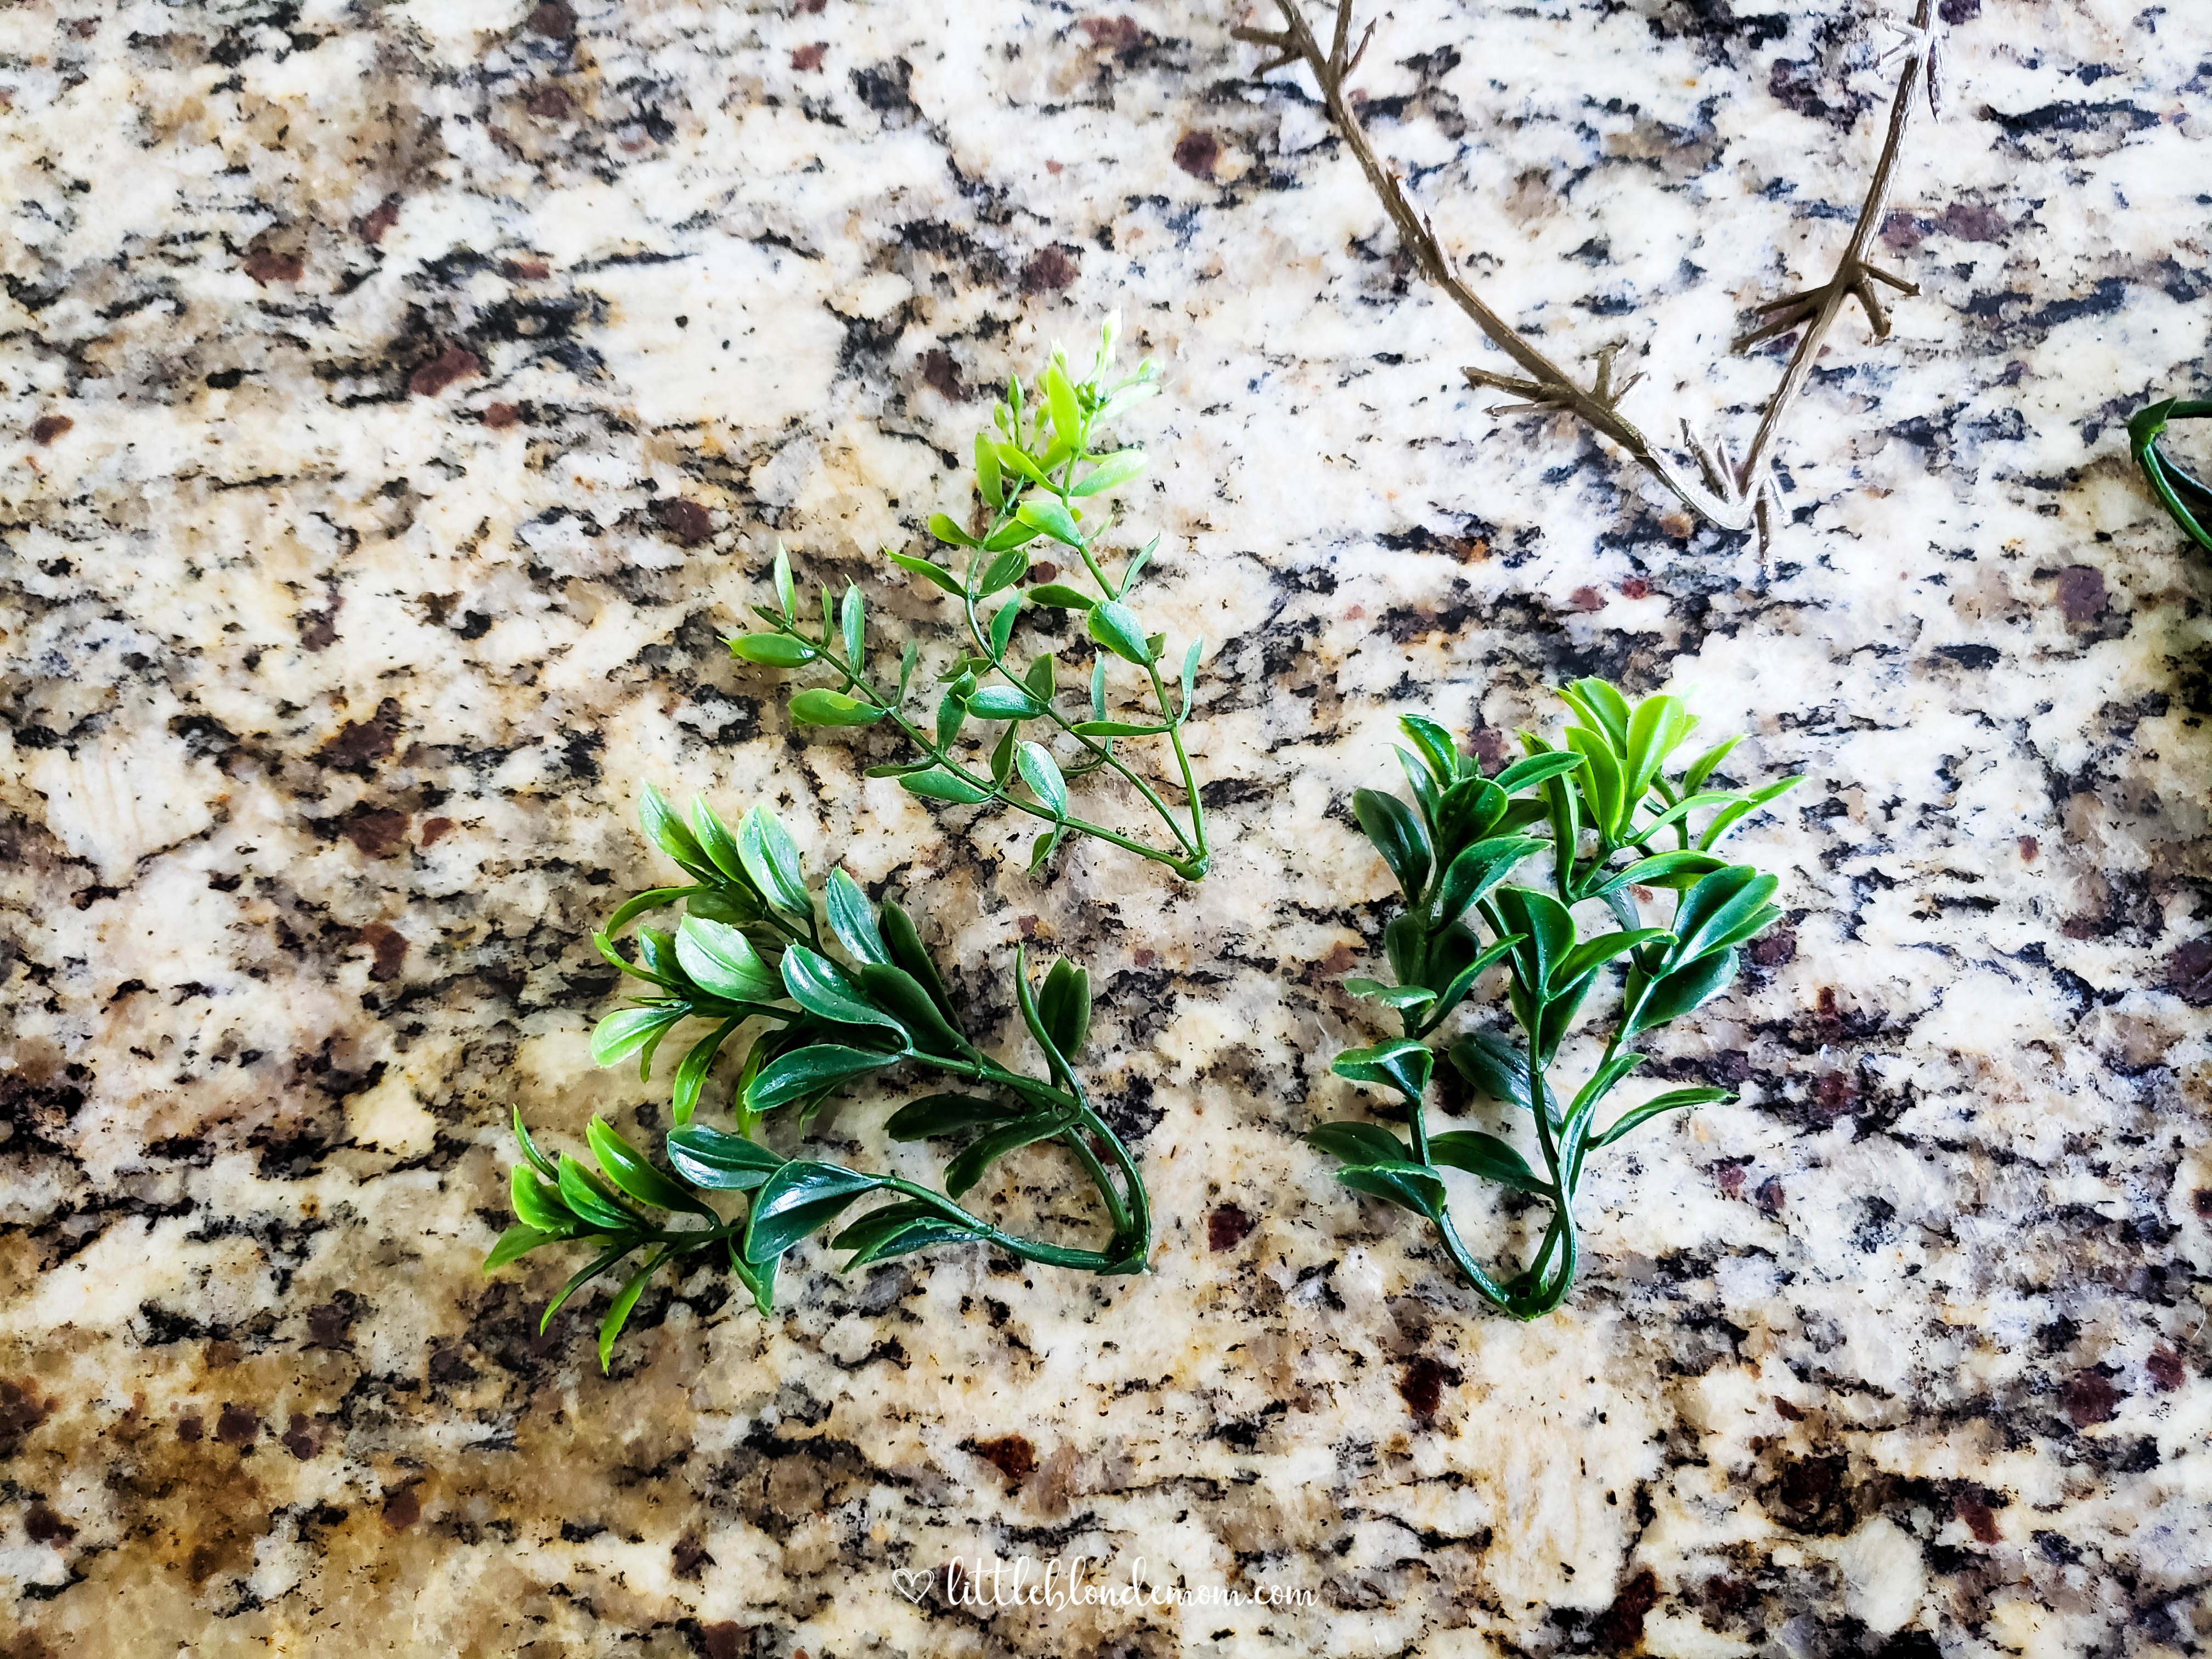
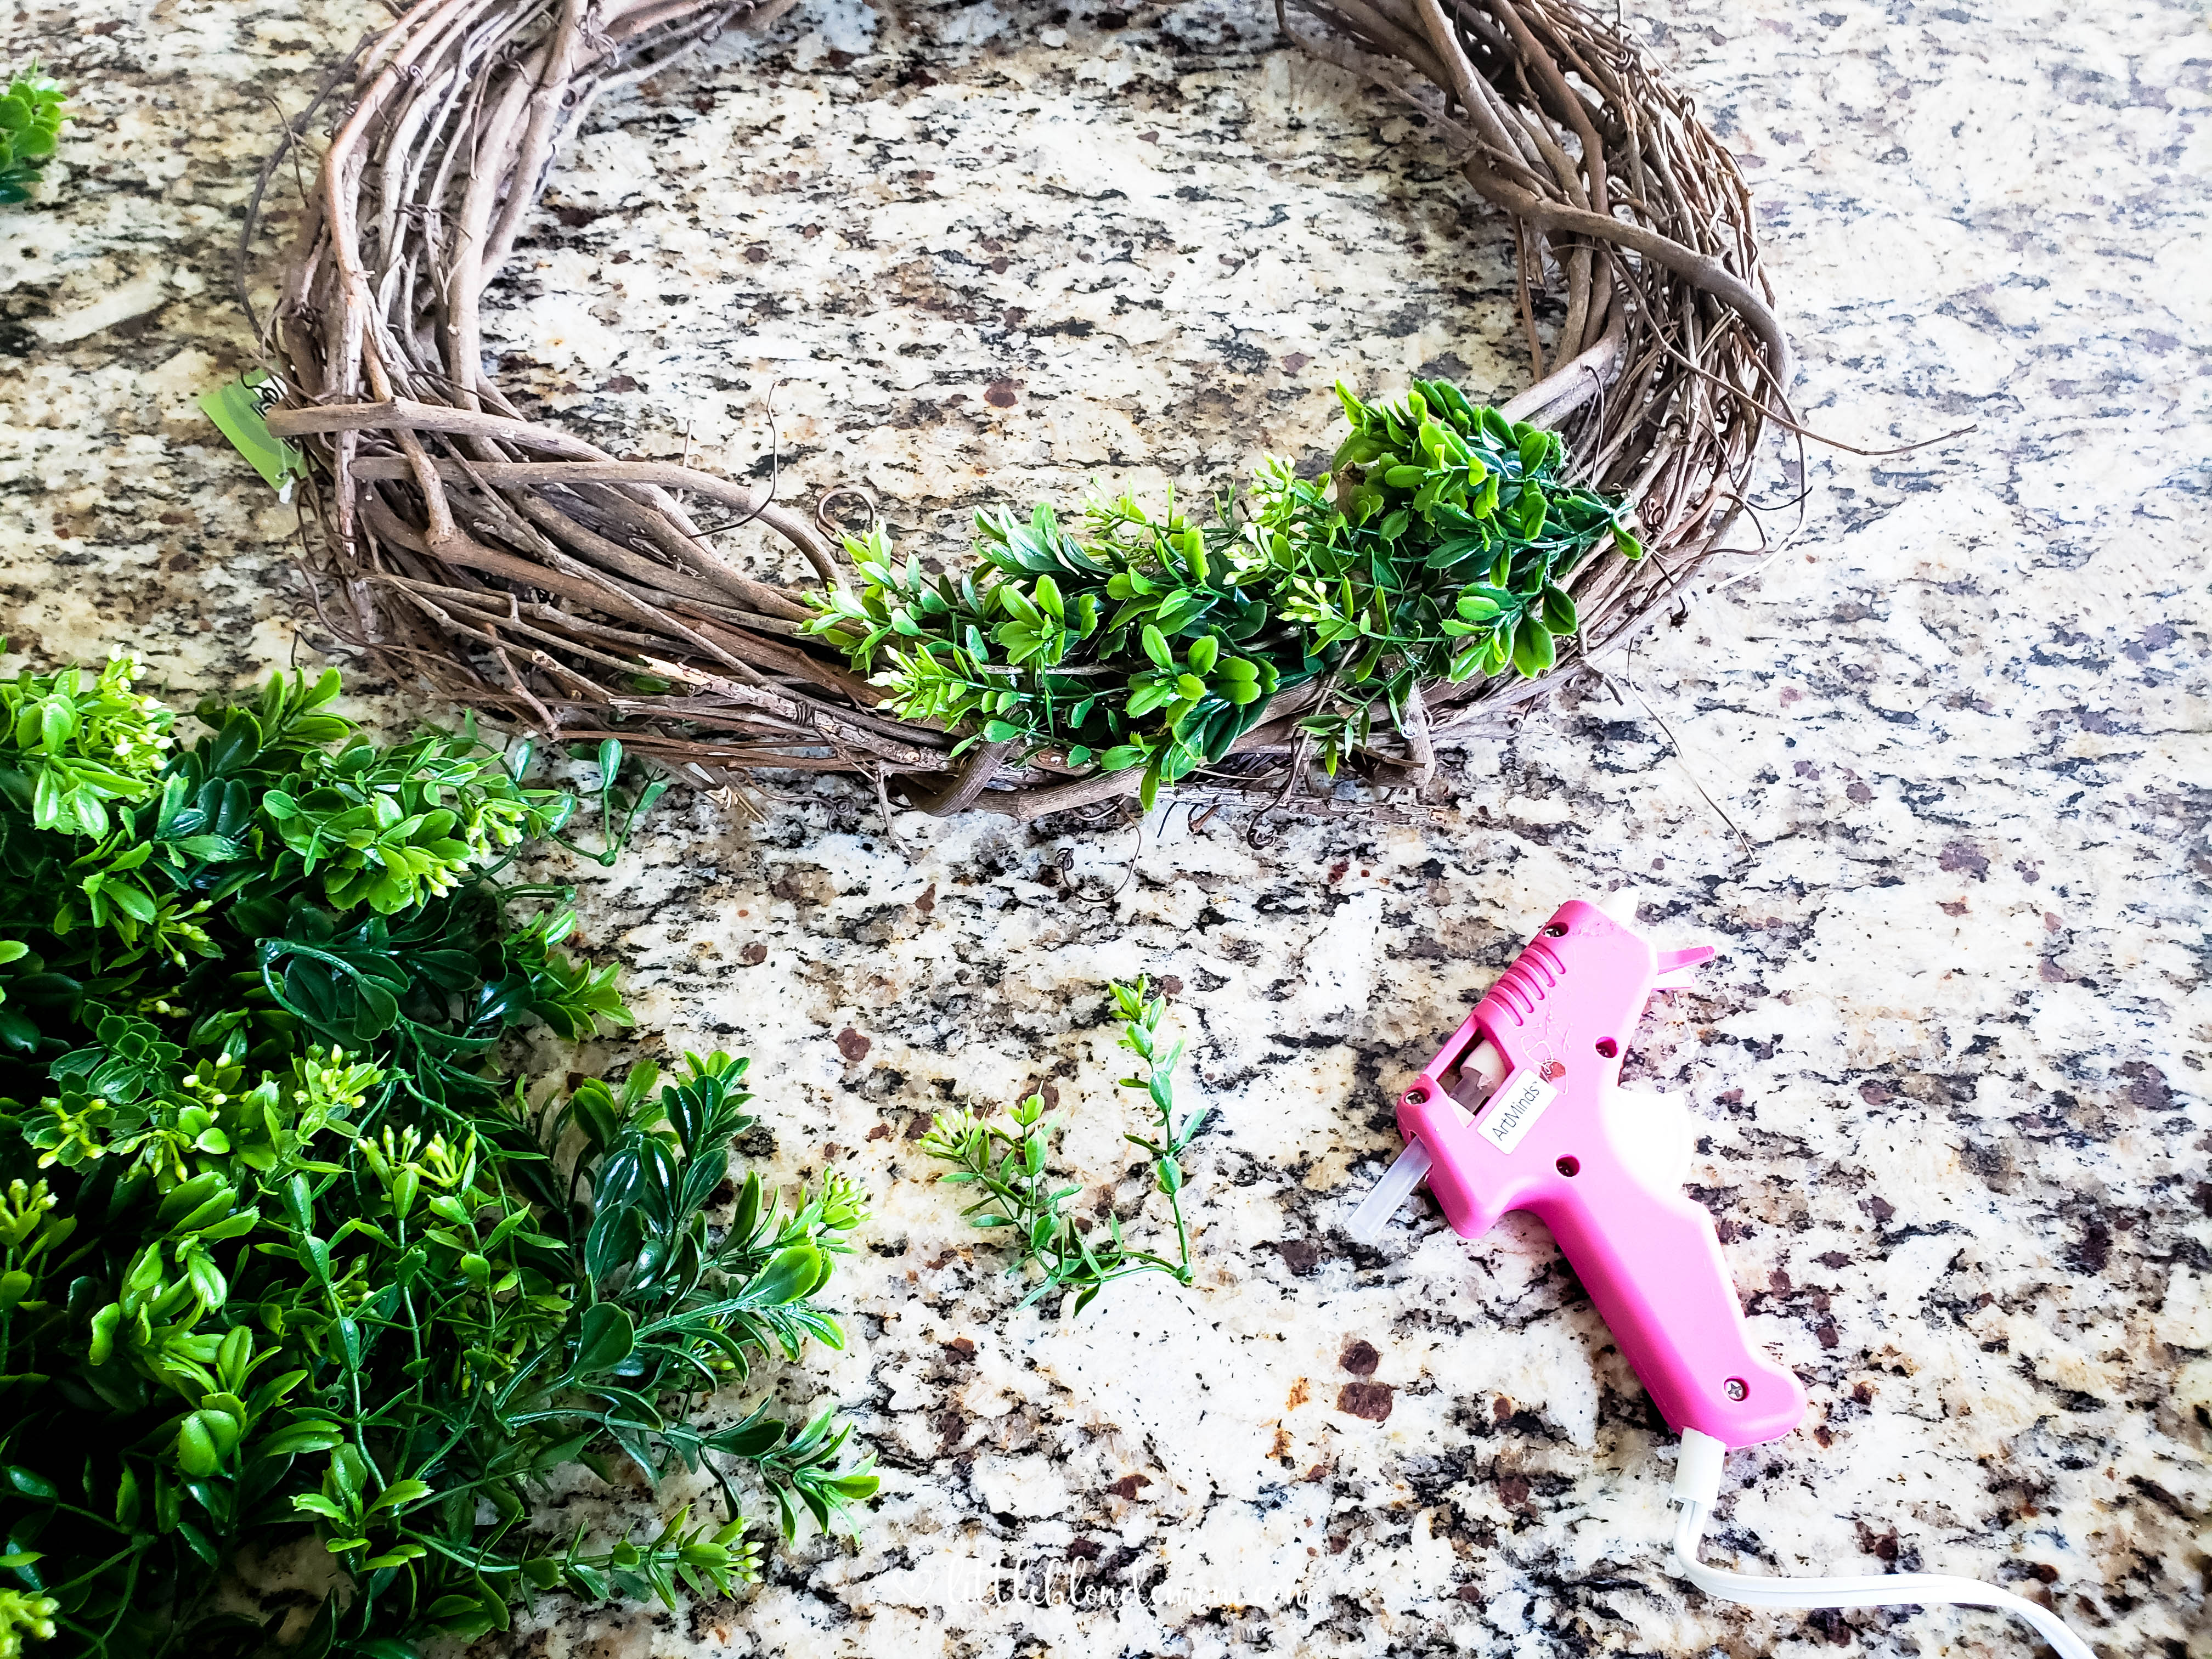
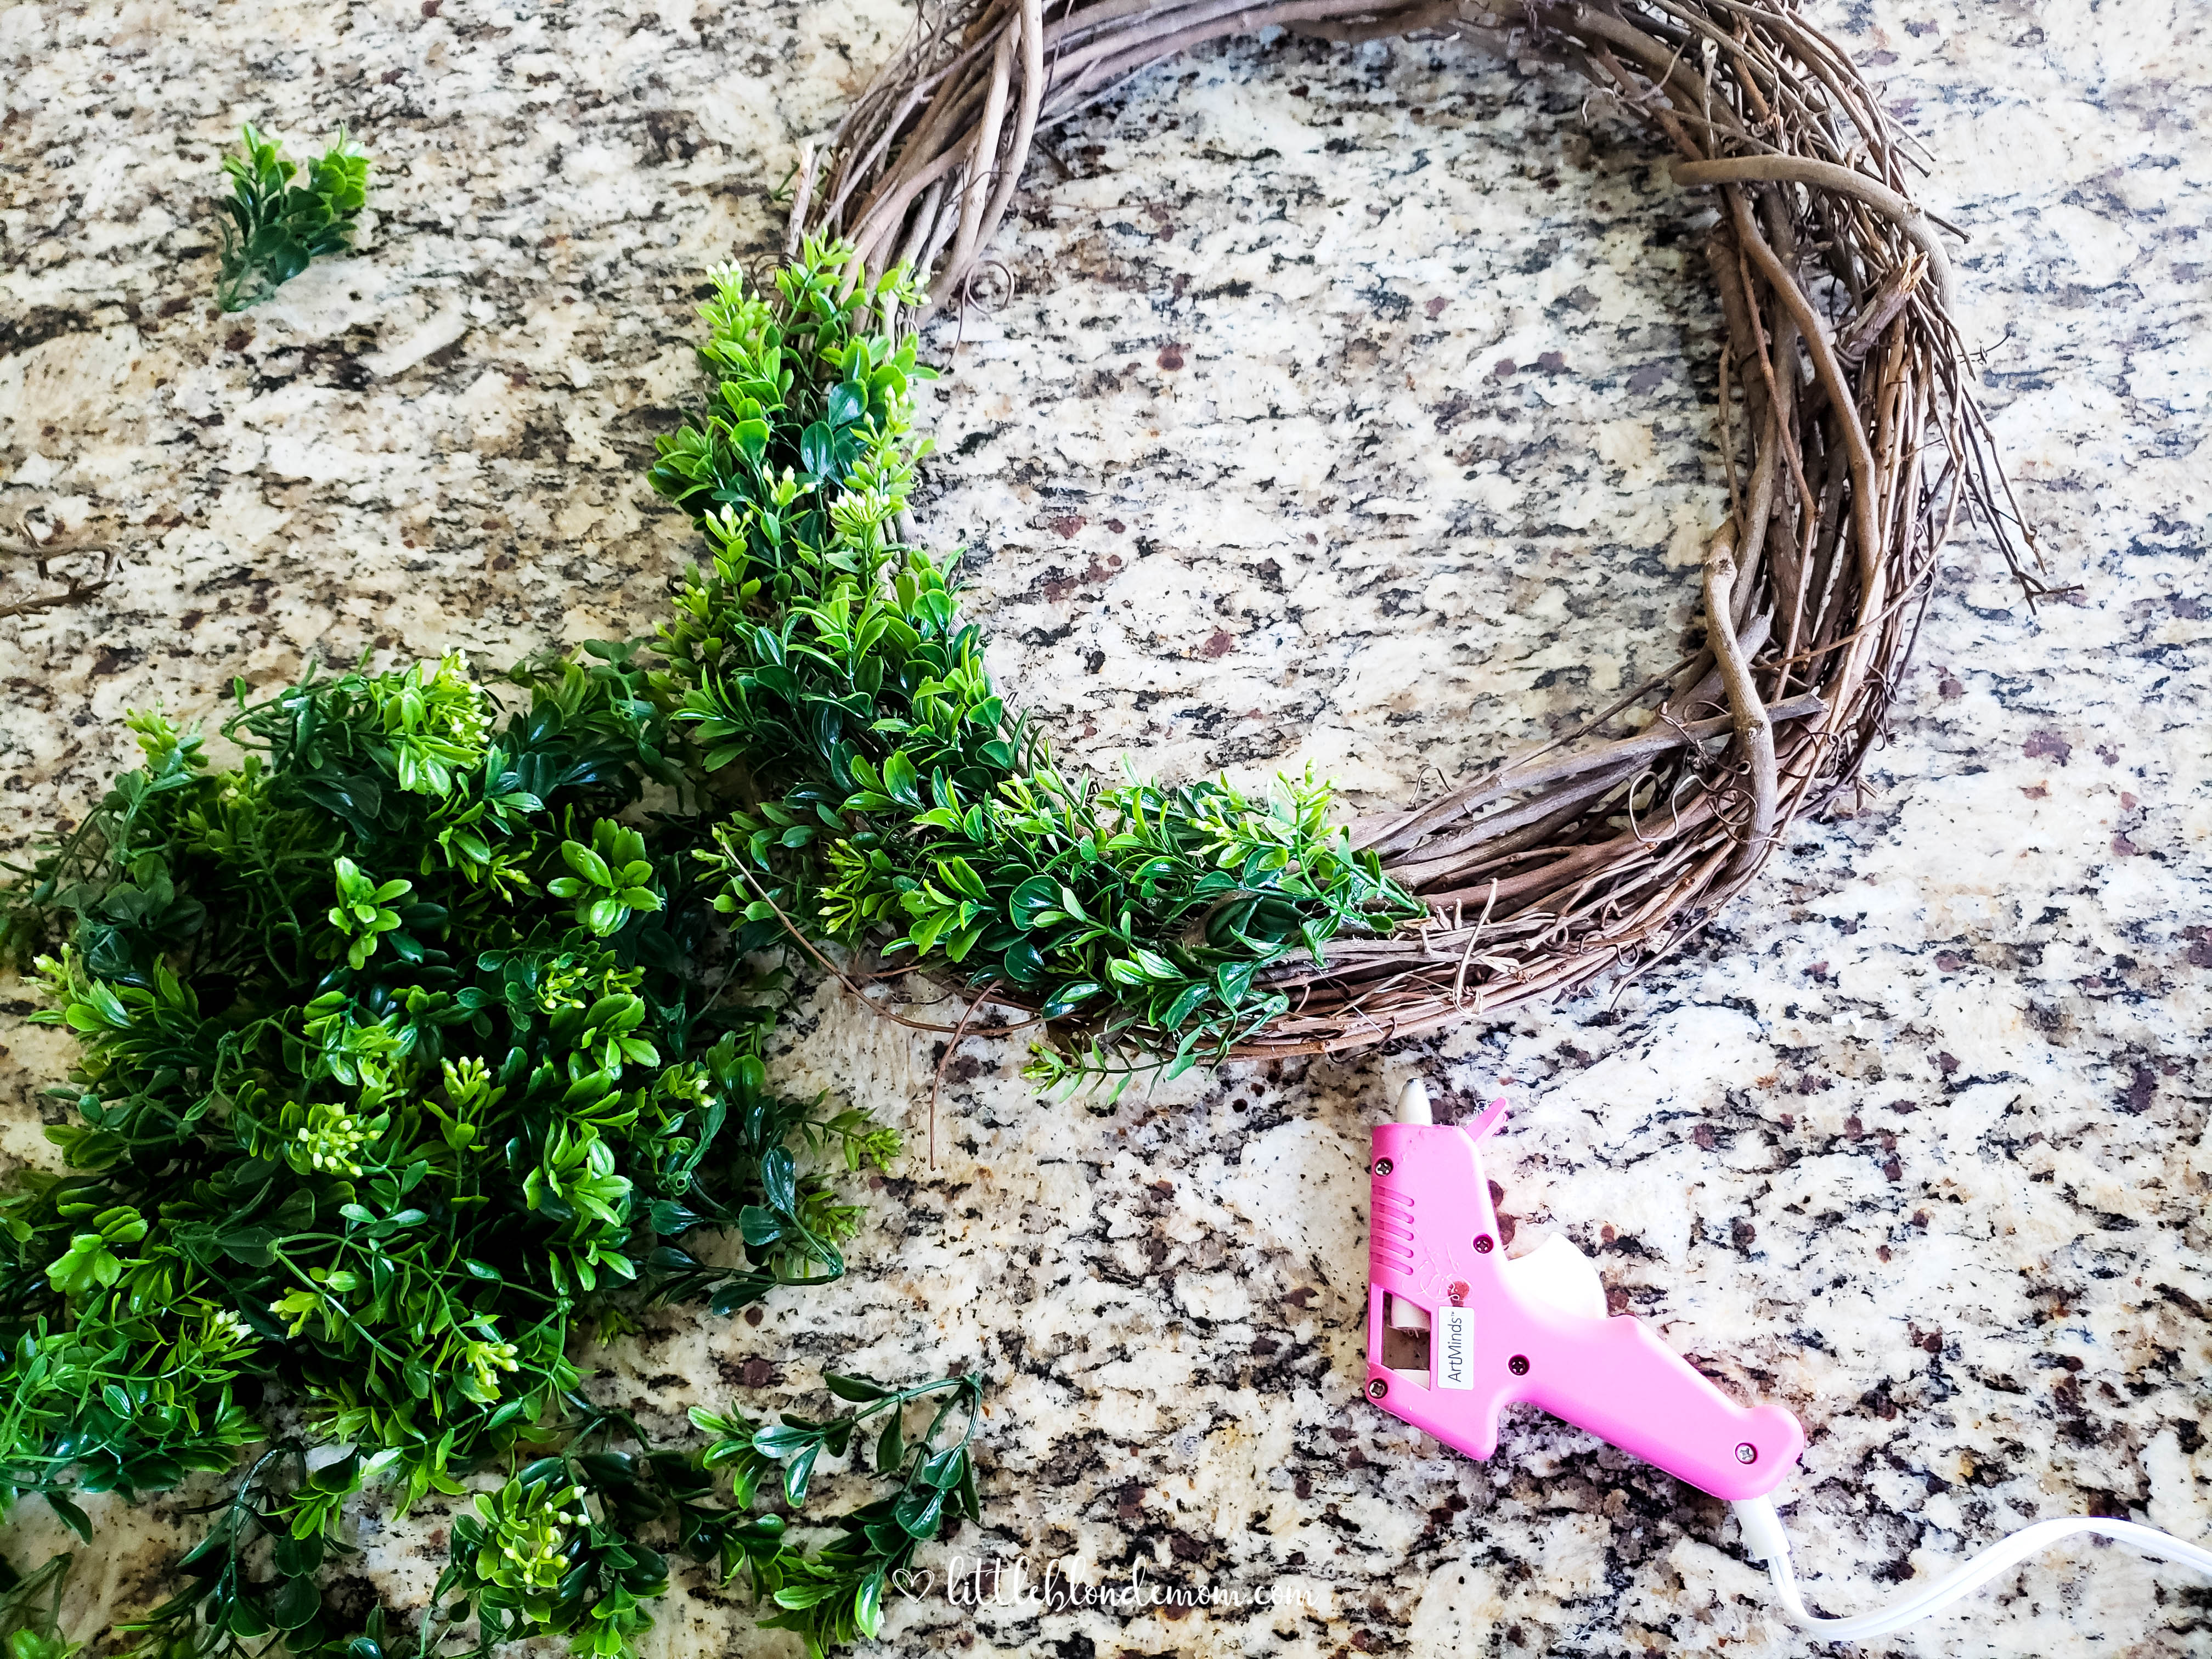
While none of this was difficult, I won’t lie. It was tedious. About halfway through, I decided I was ok with imperfection. It would make it unique. Or I would just tell myself that…

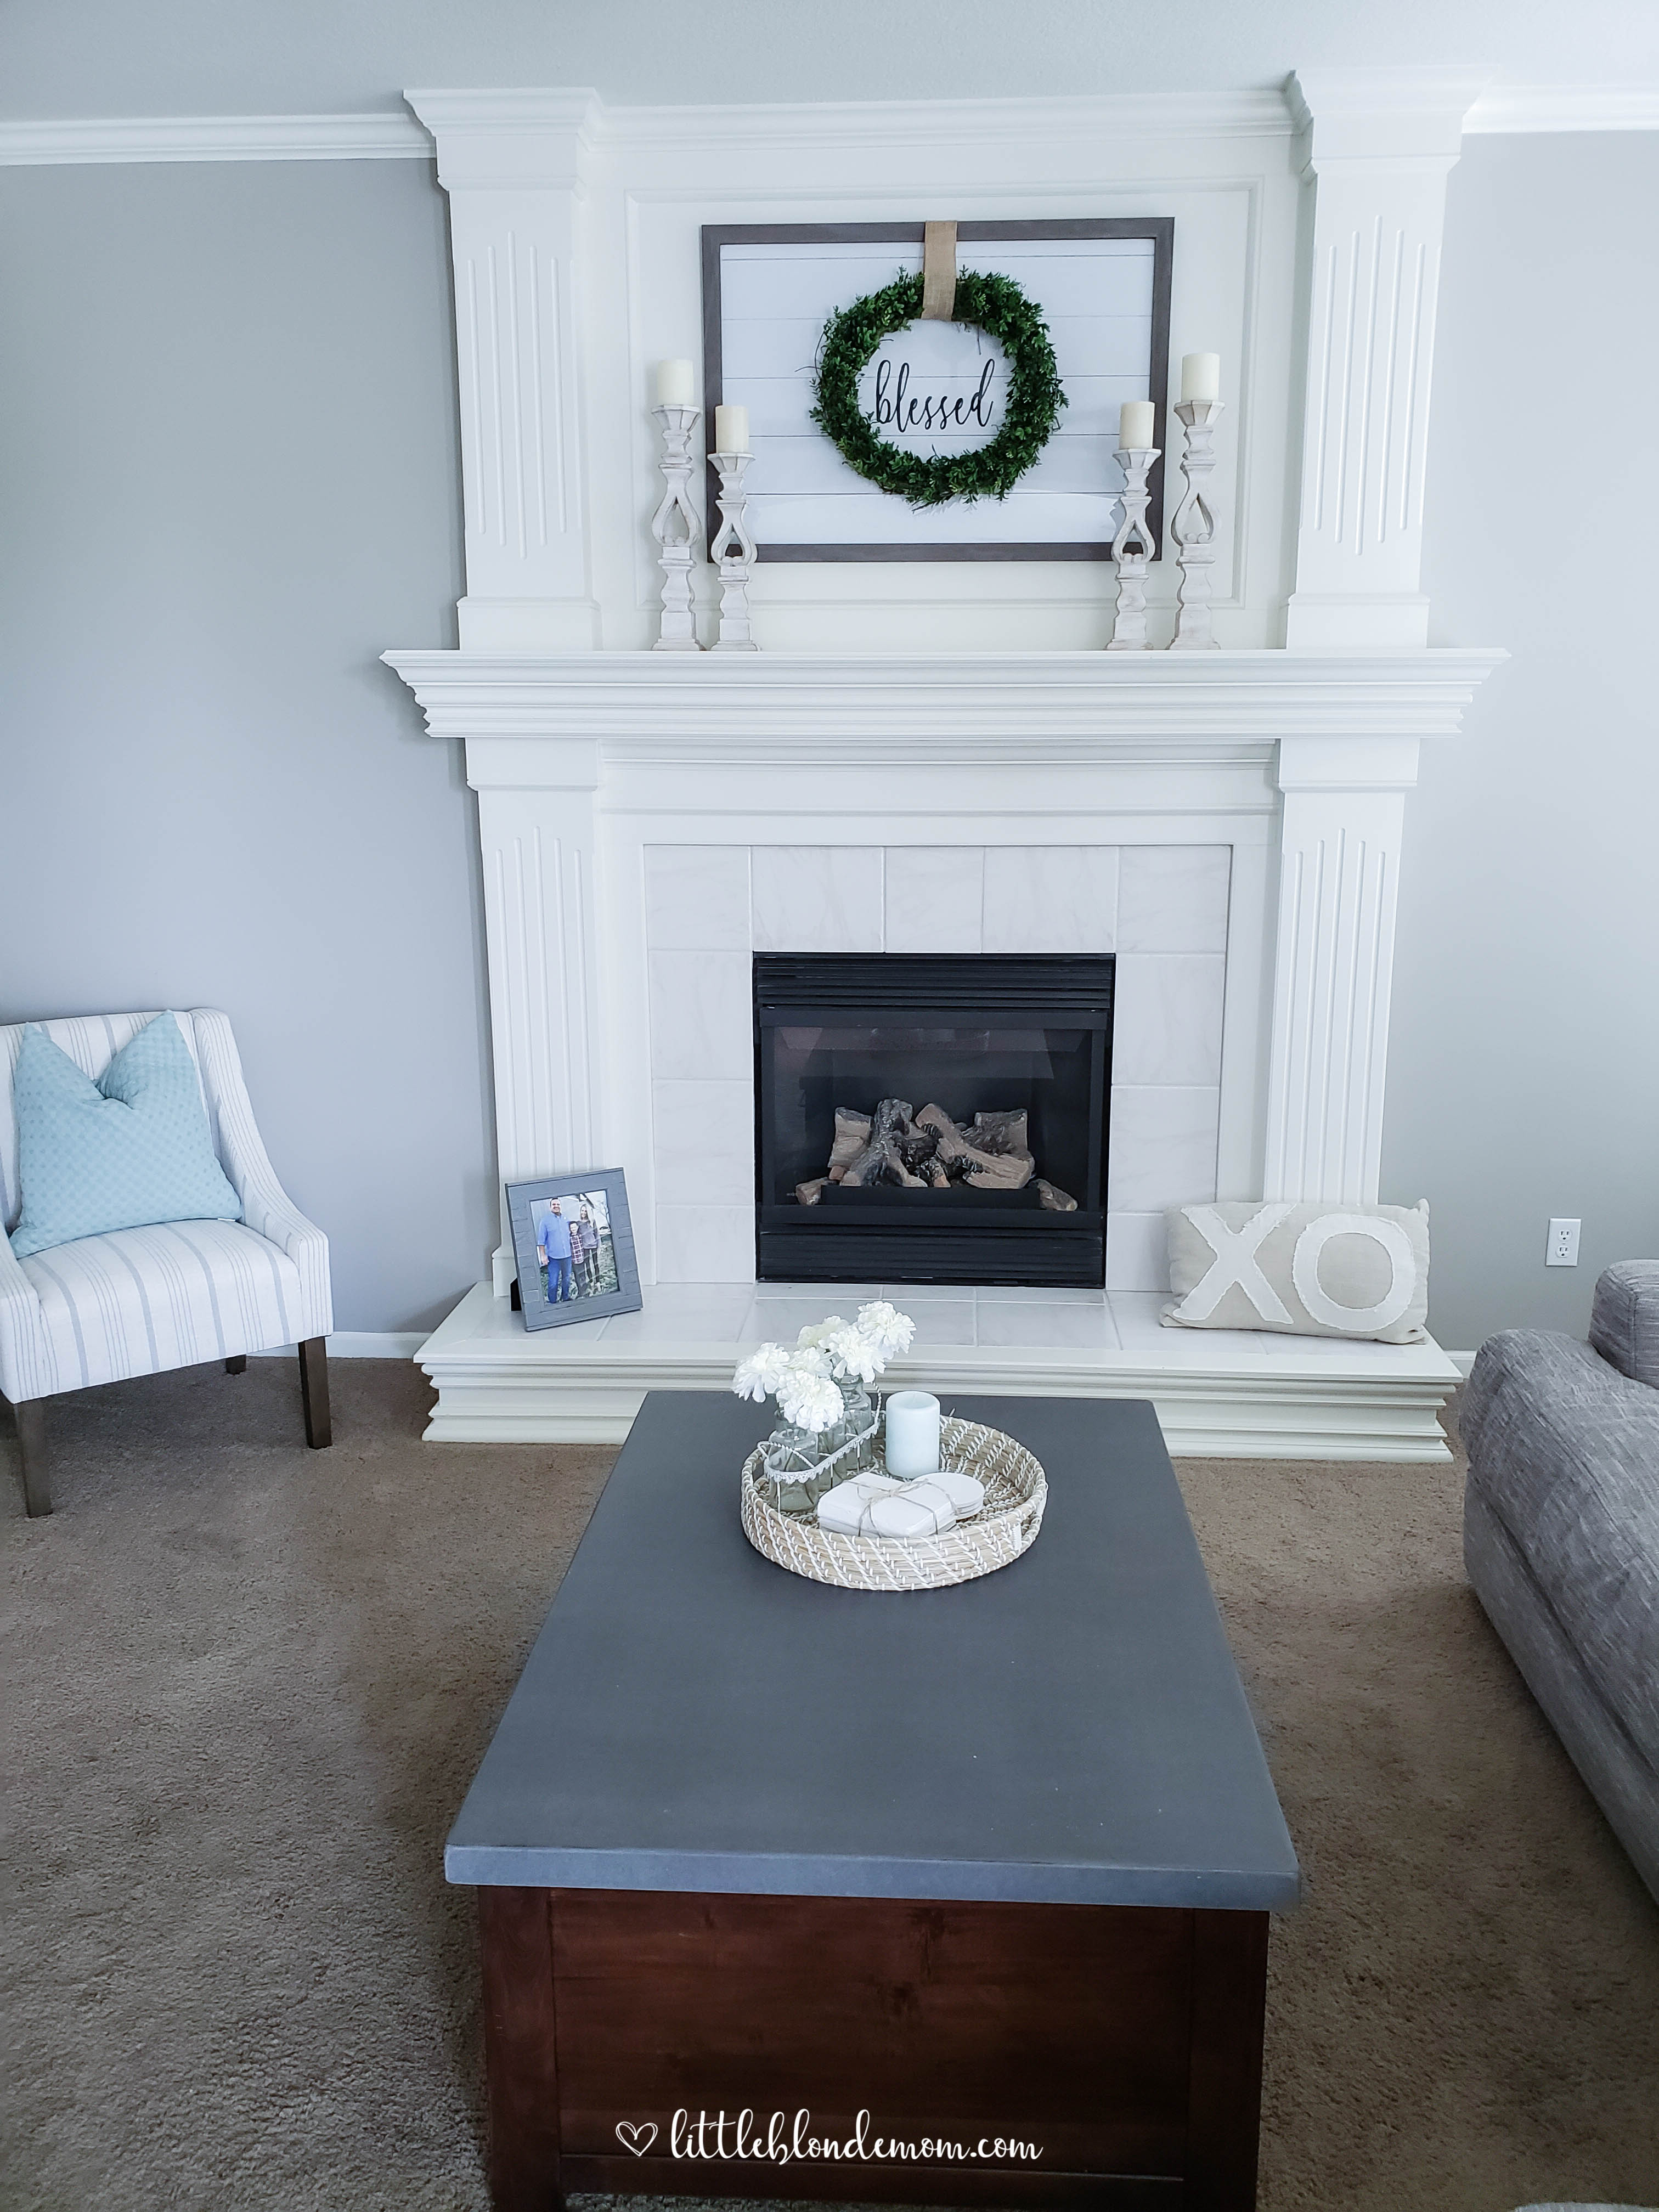
I really had no idea how we were going to hang the wreath over the frame. This project obviously wasn’t totally thought out. I originally wrapped the burlap around the wreath and then around the wire on the back of the frame. I went to hang it up and ripped the wire right off the frame and it almost fell on me. While embarrassed, I had to ask Chris to please fix the wire for me. I decided we couldn’t hang the wreath on the wire – it just didn’t work. We laid the burlap flat on the back of the frame and stapled it into the wood part of the frame. It could definitely be dropped another inch, but after my incident I don’t want to mess with it anymore. Yet.
This really is a project anyone can do!
Supply list:
24×36 Frame: Exact Here (Michael’s). Similar look & same-ish price Here (Target). *Ha, my two fav places!*
24×36 “Blessed” Print: Create your own or download for free below
18 inch or larger grapevine wreath
Garland of greenery – Can’t find exact one online, but there’s tons at Michael’s & Hobby Lobby
Hot glue gun (love my mini pink one!)
Stapler (Unless you can think of a better way!!)
Total Cost:
Frame: $30 (it was 60% off original price)
Engineer Print: $5
Grapevine Wreath: $4
Garland: $5 (used 50% off coupon)
Glue gun, burlap, & stapler – I had on hand.
Total: Less than $45
Freebie Download:


This is such a gorgeous display! I love the wreath around the sign too!
Thanks so much!
This sign is absolutely adorable! I love the farmhouse look so much and this DIY is a perfect compliment to any room.
Thank you!
I love this. It makes everything look so simple yet seasonal.
Thank you!!
That is a really cute idea! I love how it turned out!
Thank you! We love it too 🙂
This turned out so cute! I love this style and you make me think I could actually DIY something like this! Thanks for the tips!
Such a cute and cool DIY project. A great addition to the living room or the entrance door 🙂
– http://www.allshethings.com
This is super cute and so easy! Thanks for sharing 🙂