Imagine that you are almost done painting your entire house. Long days full of primer & paint over the course of a couple weeks. Your back hurts. Your hands are sore. You only have to cut in a few of the rooms & touch up areas that were filled in with spackle. You’ve just run out of the paint & make a trip to Lowes to get a refill. They have discontinued the first paint base you bought, but assure you they’ll mix one that will match. Using the refill paint, you cut in the rooms, touch up areas, and repaint around a door. After it dries, you realize it’s not the same color. It’s noticibly different. You have just ruined your entire house & will have to repaint it all. Then, you wake up from the nightmare.
Except, for us, we never woke up. It actually happened. Ha, and to top it all off! We started re-painting with the refill paint and later decided to go back to Lowes to get another 5-gal pail just in case we needed it later. The REFILL paint base was discontinued this time! What on earth!? So we had to get another pail of paint with a different base that… plot twist, ended up matching the FIRST paint.
Talk about a painting disaster!
*Side note: I am not saying anything bad about Lowes. Besides ONE super jerky manager, not naming names (Bob), we had excellent customer service. They definitely made it right with us.*
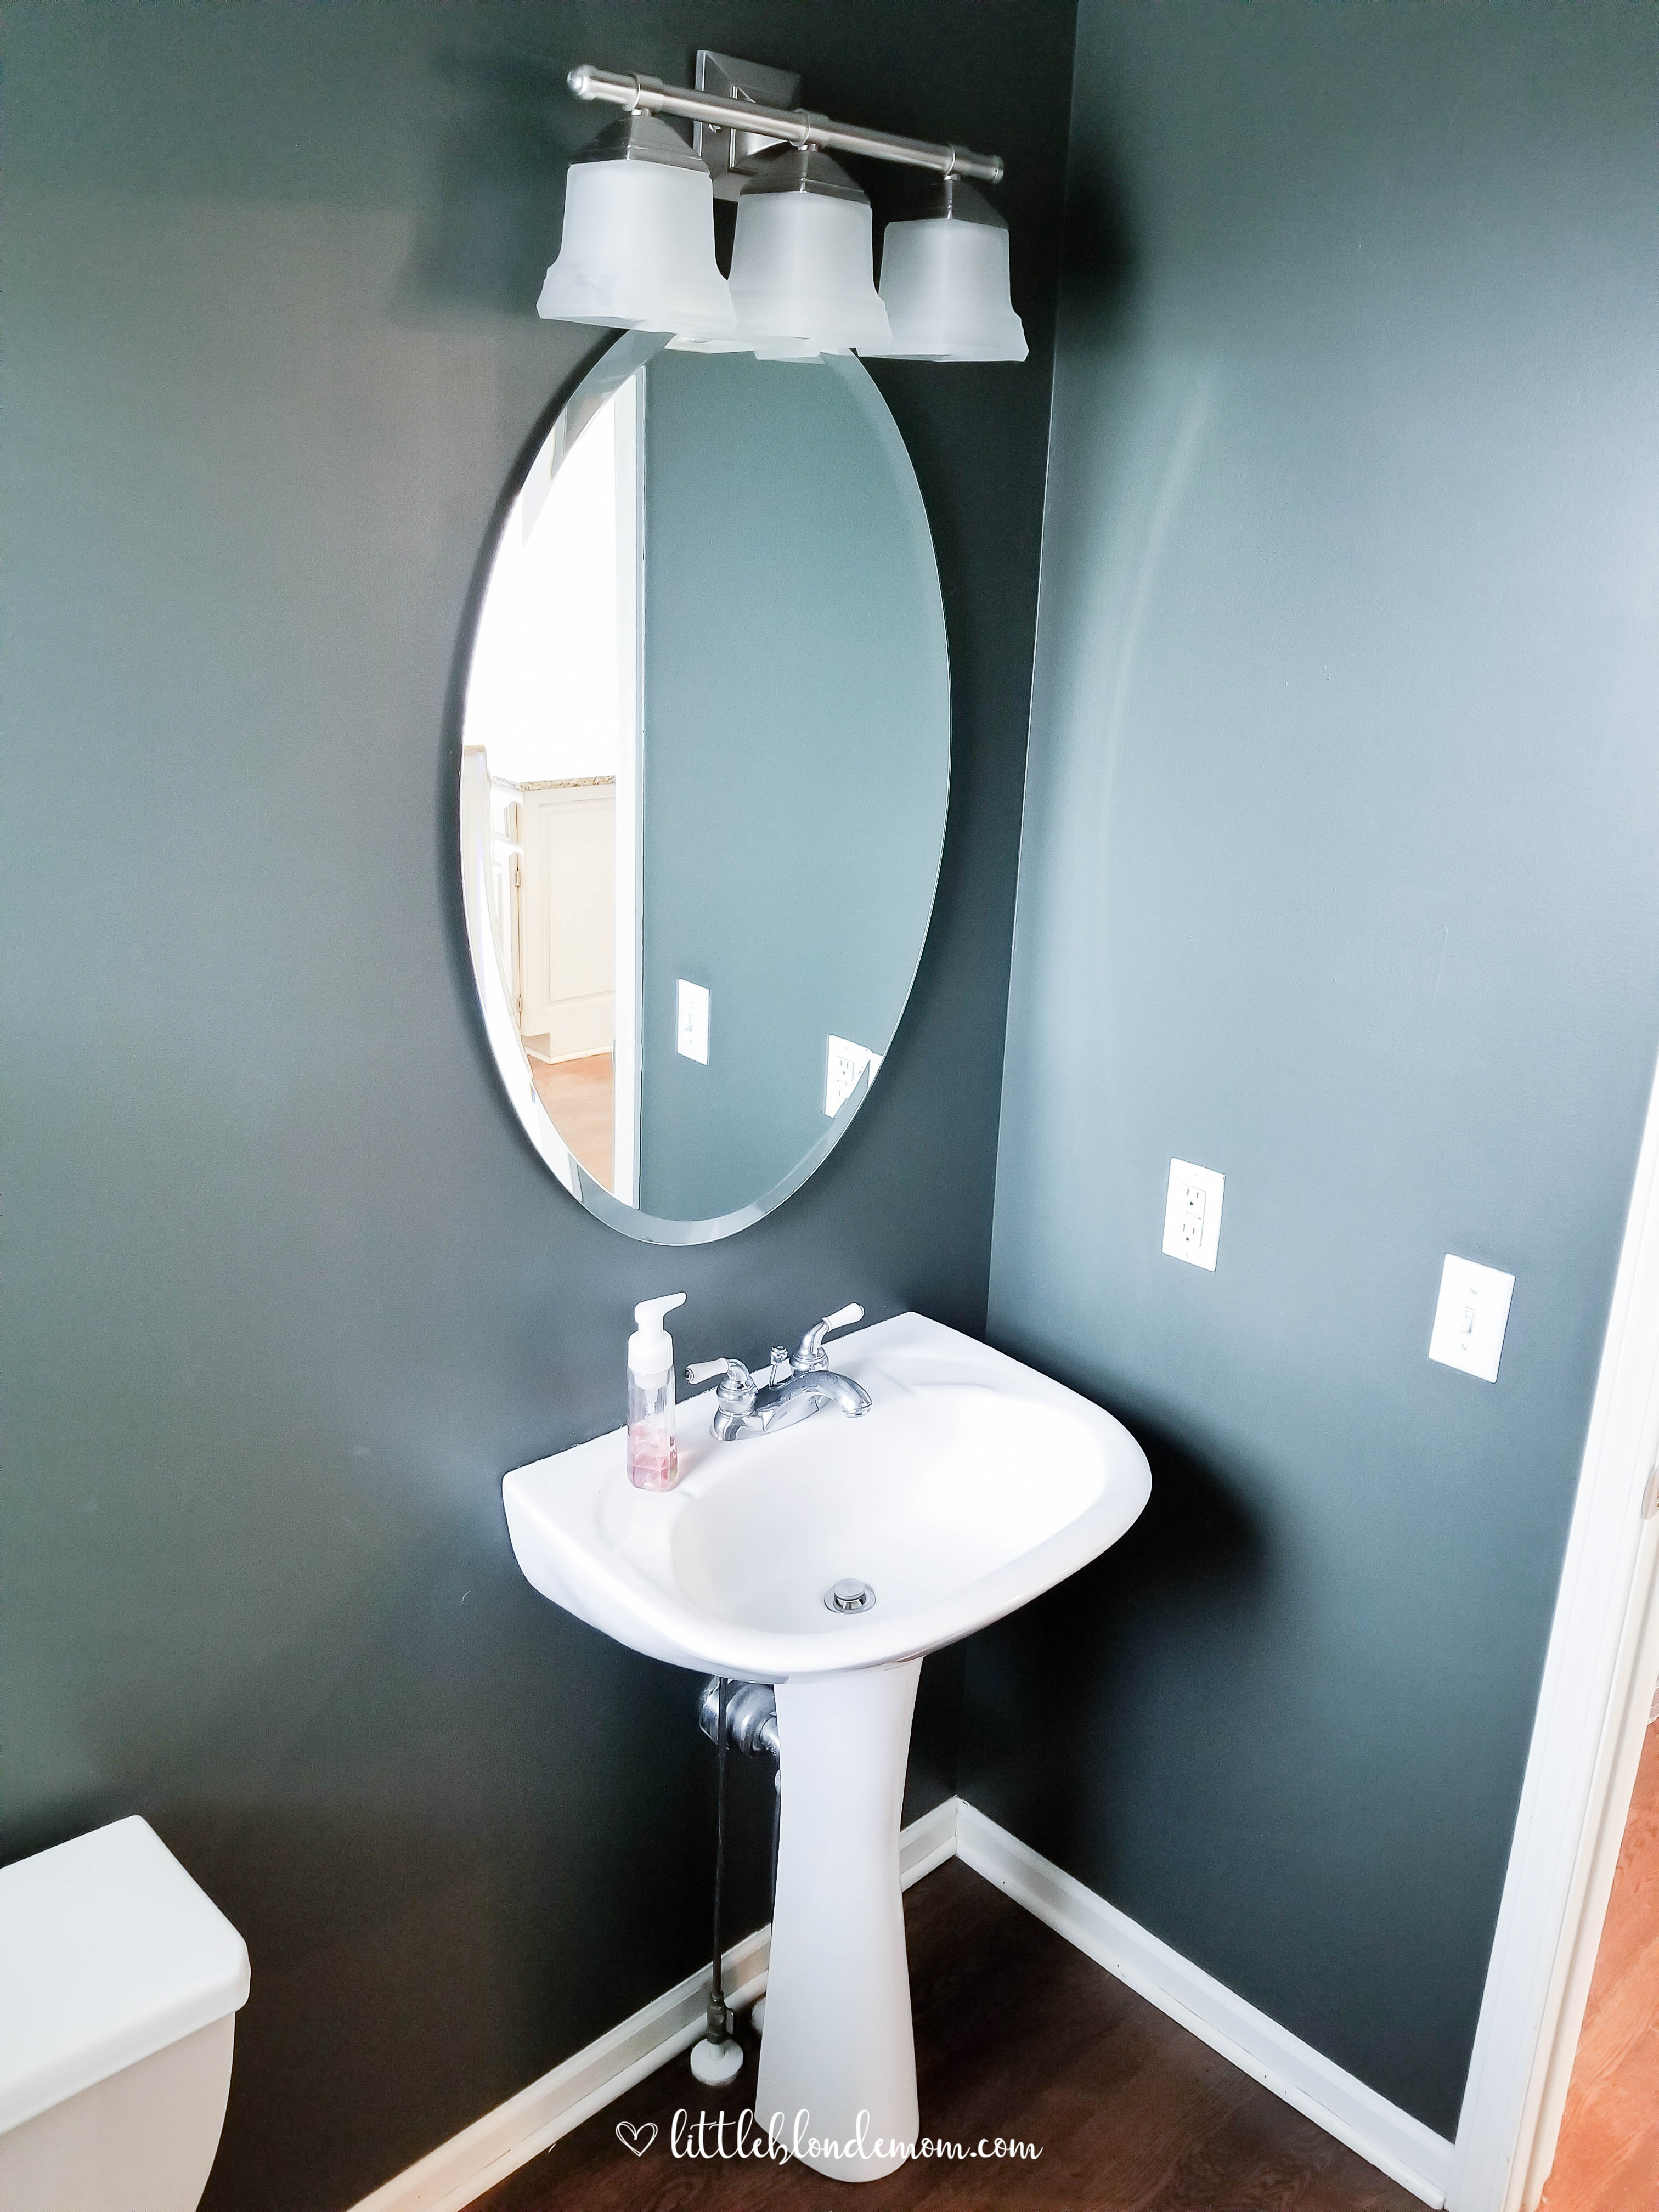
Anyway, this painting debacle left us with fans off of the ceilings for longer than we wanted, furniture not in the right places, and our half bath without a mirror for weeks. When it came time to finally put a mirror back up in there, we decided to switch out the old oval mirror. I had this glass tiled mirror that used to be over my entry table. We don’t really have a place for it in our entry way now, but I love the mirror and didn’t want to part with it. It ended up being the perfect size for the bathroom – so there it now lives!
The mirror is really heavy. We attempted to put a wire on the back to hang it, but it was so heavy, the wire ended up showing. It has two holes to hang it on screws, but measuring and trying to match it all up is not my strong suit. Chris was going to try to wing it, until I had this idea to use our painting tape.
My super easy trick to hanging wall decor perfectly every time!
Step 1. Apply Tape
Our mirror had two holes to hang on screws. The first thing I did was place painter’s tape across the holes spanning the entire mirror.
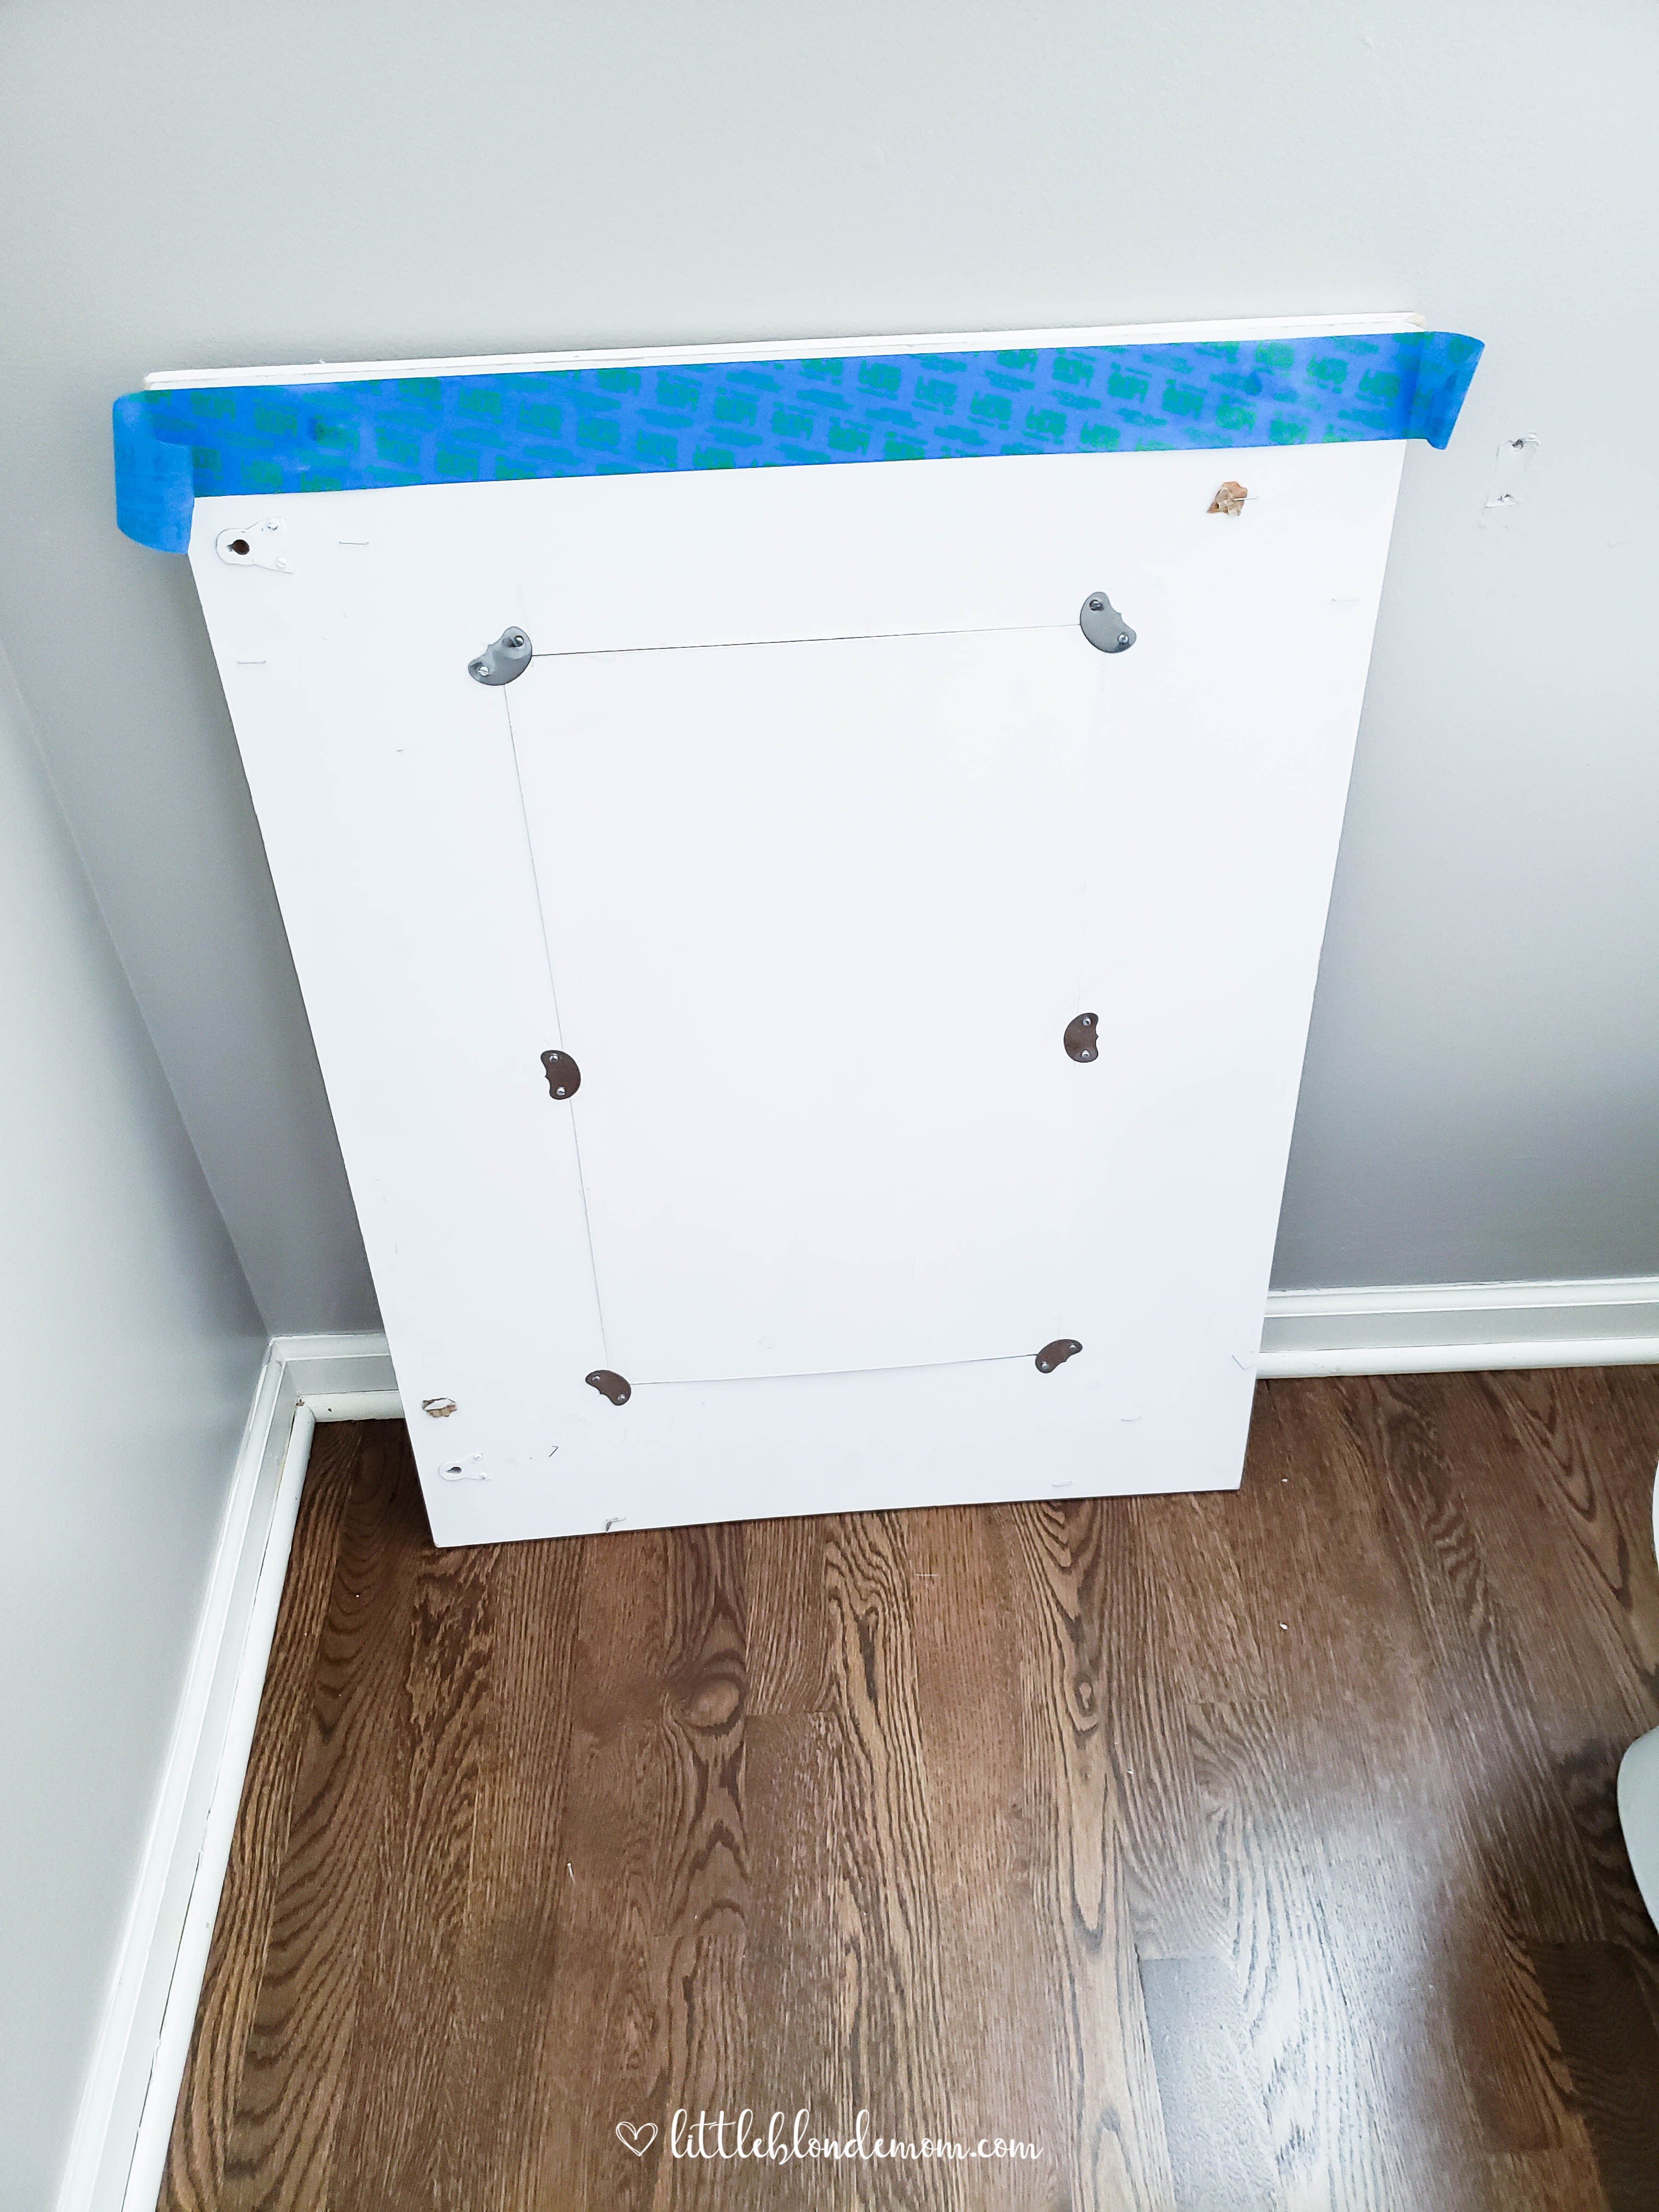
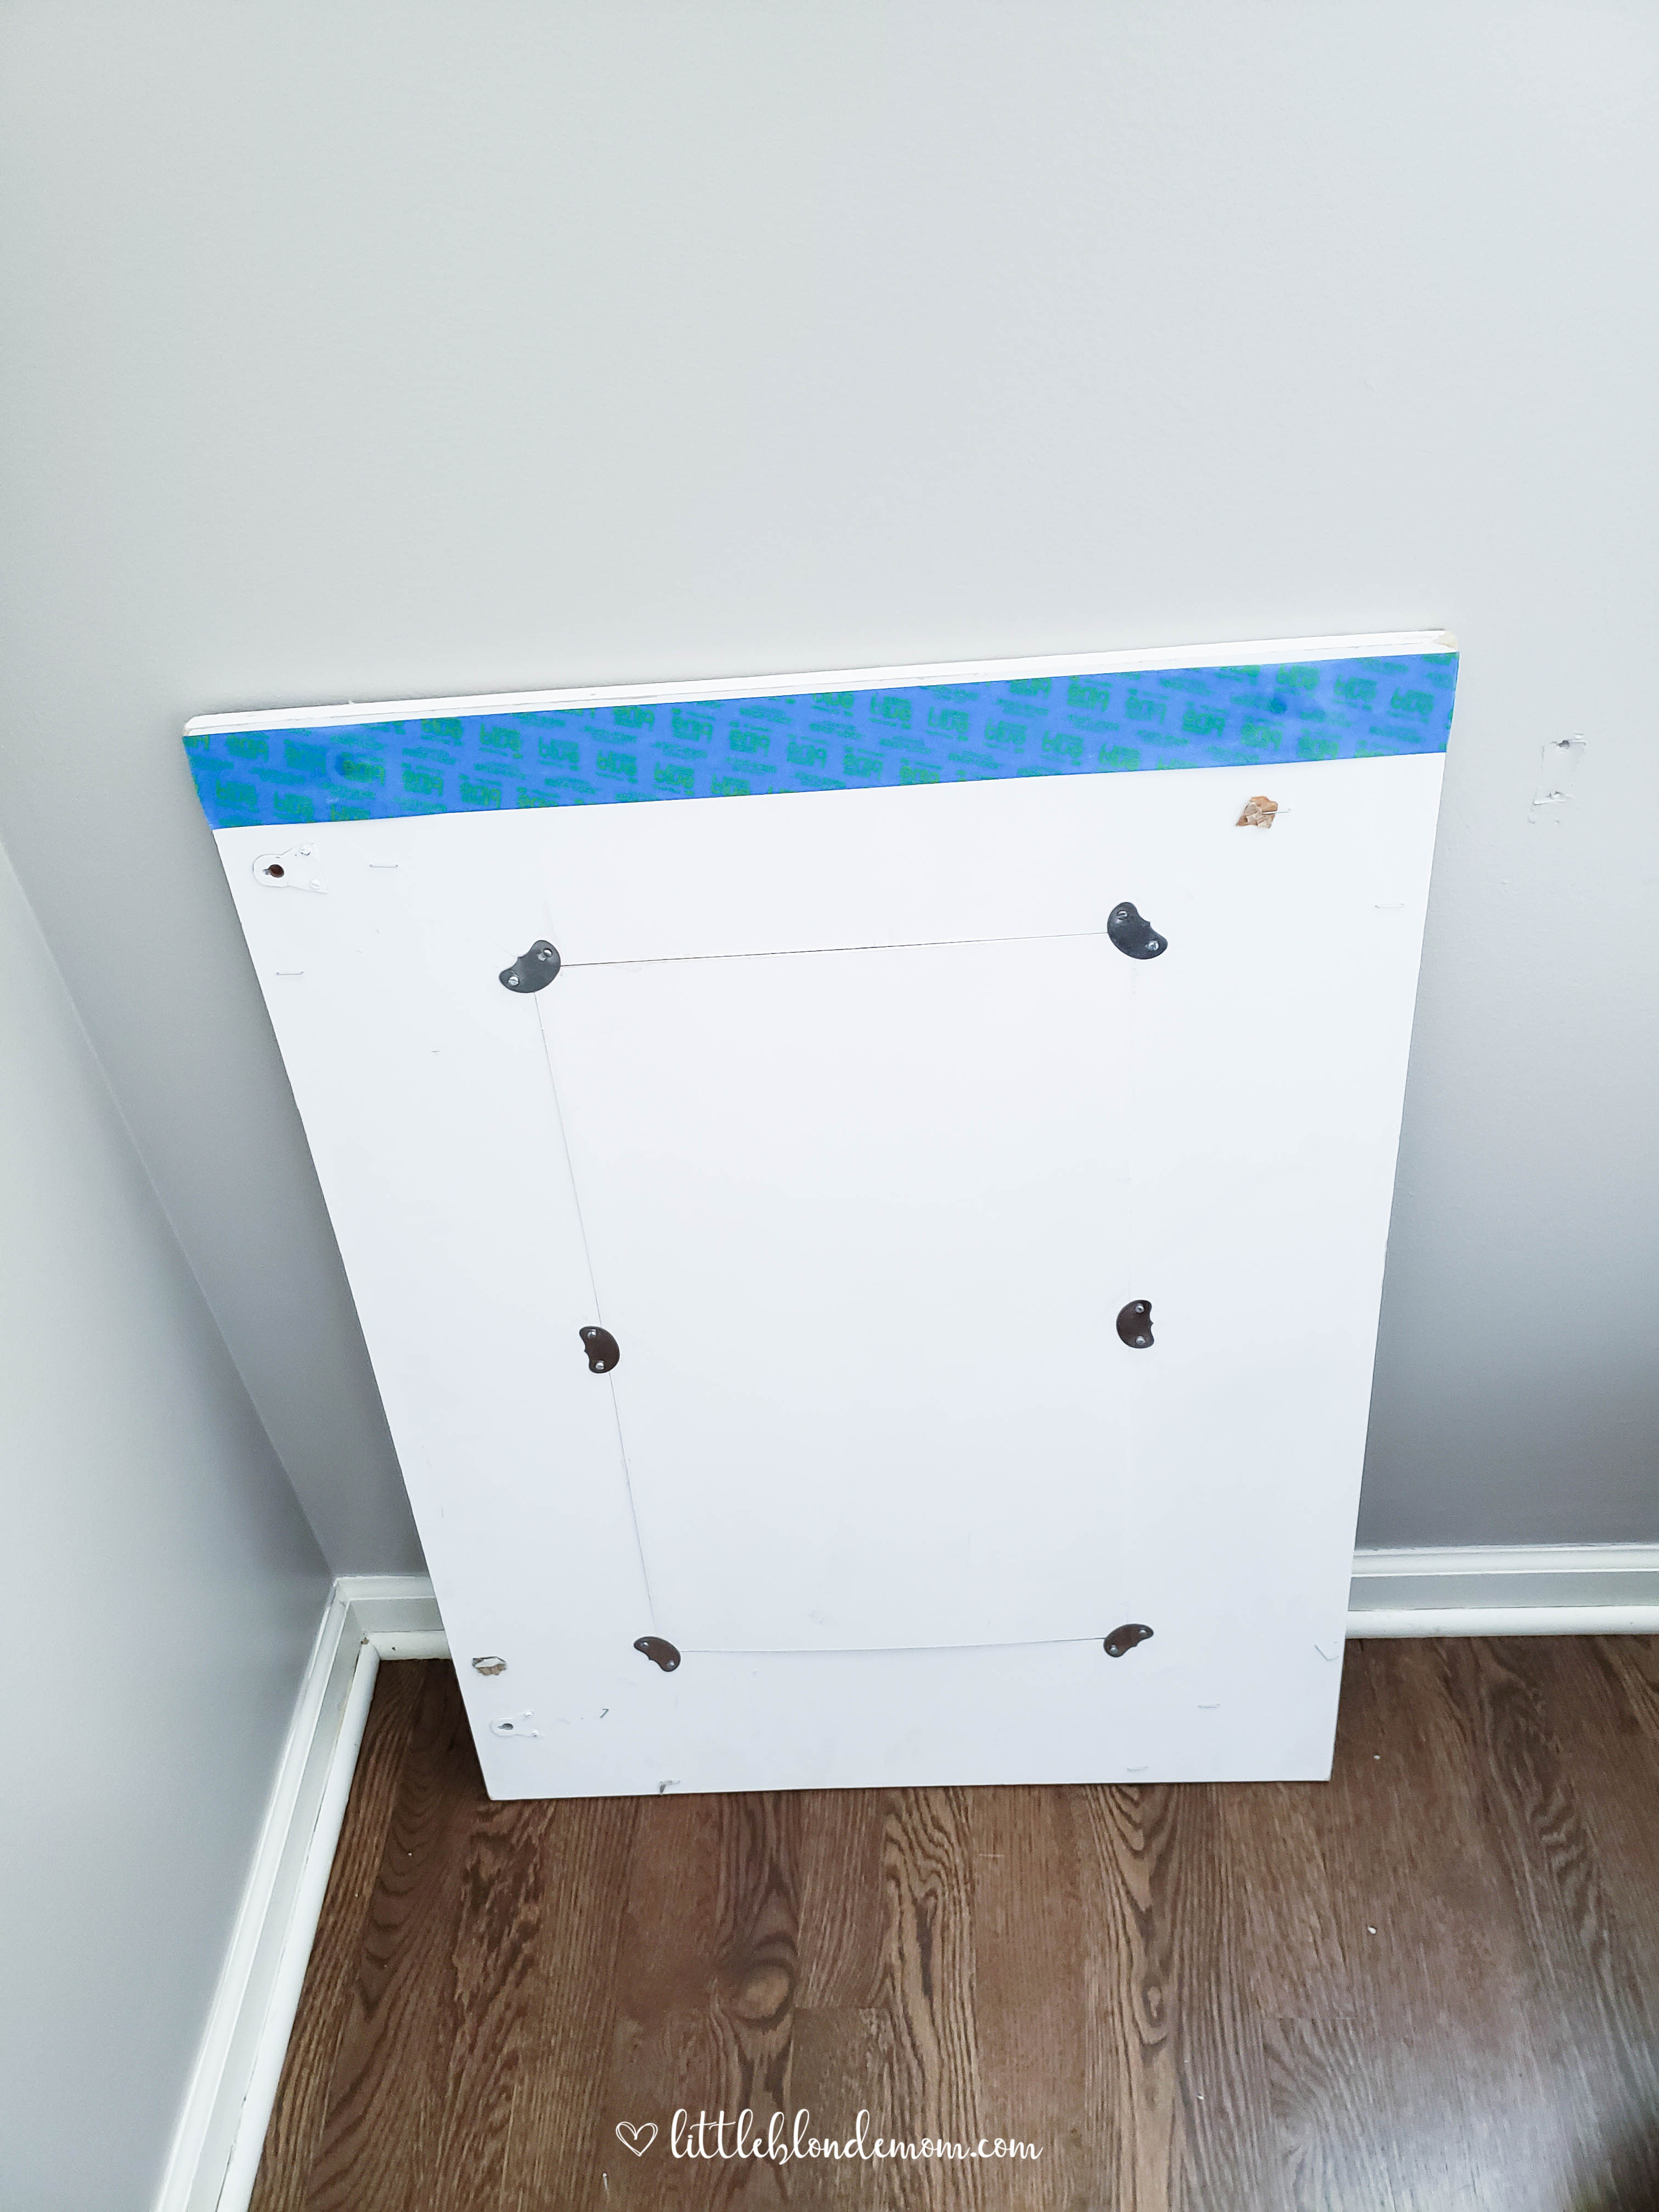
Step 2. Cut off excess tape
Then I cut the tape on the edges, so I would be able to gauge the exact dimensions and placement of the mirror. This step IS important.
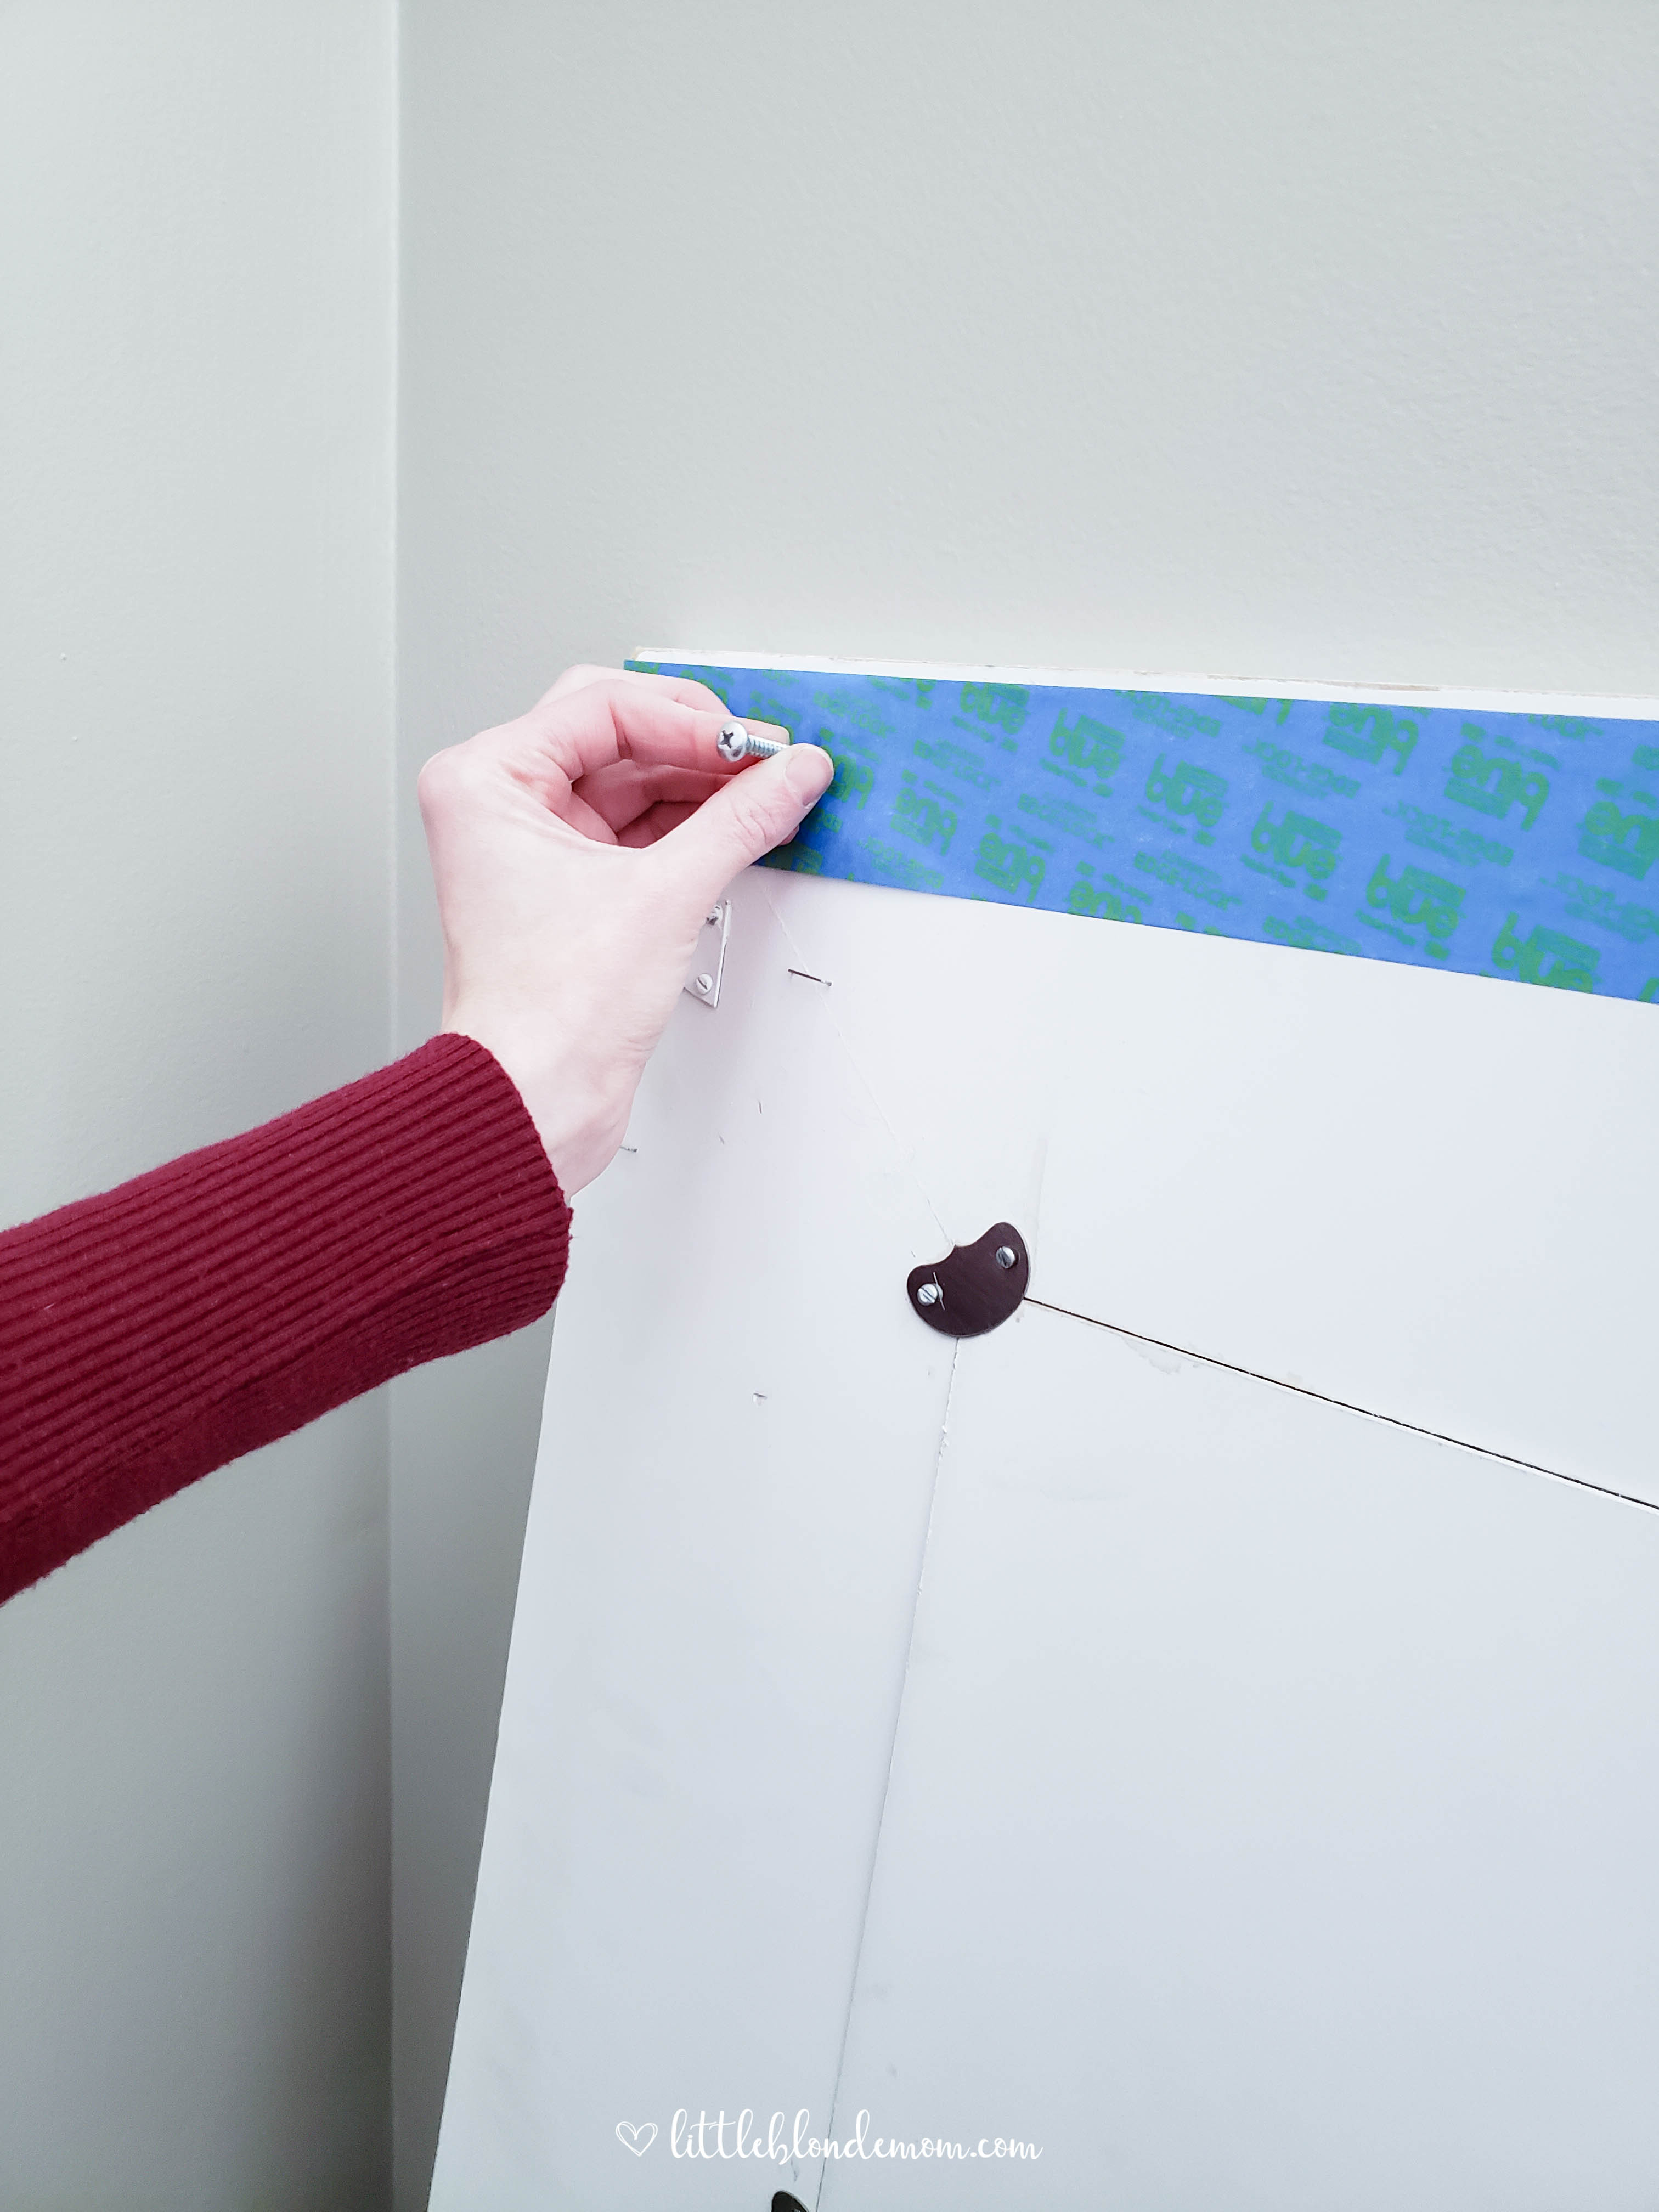
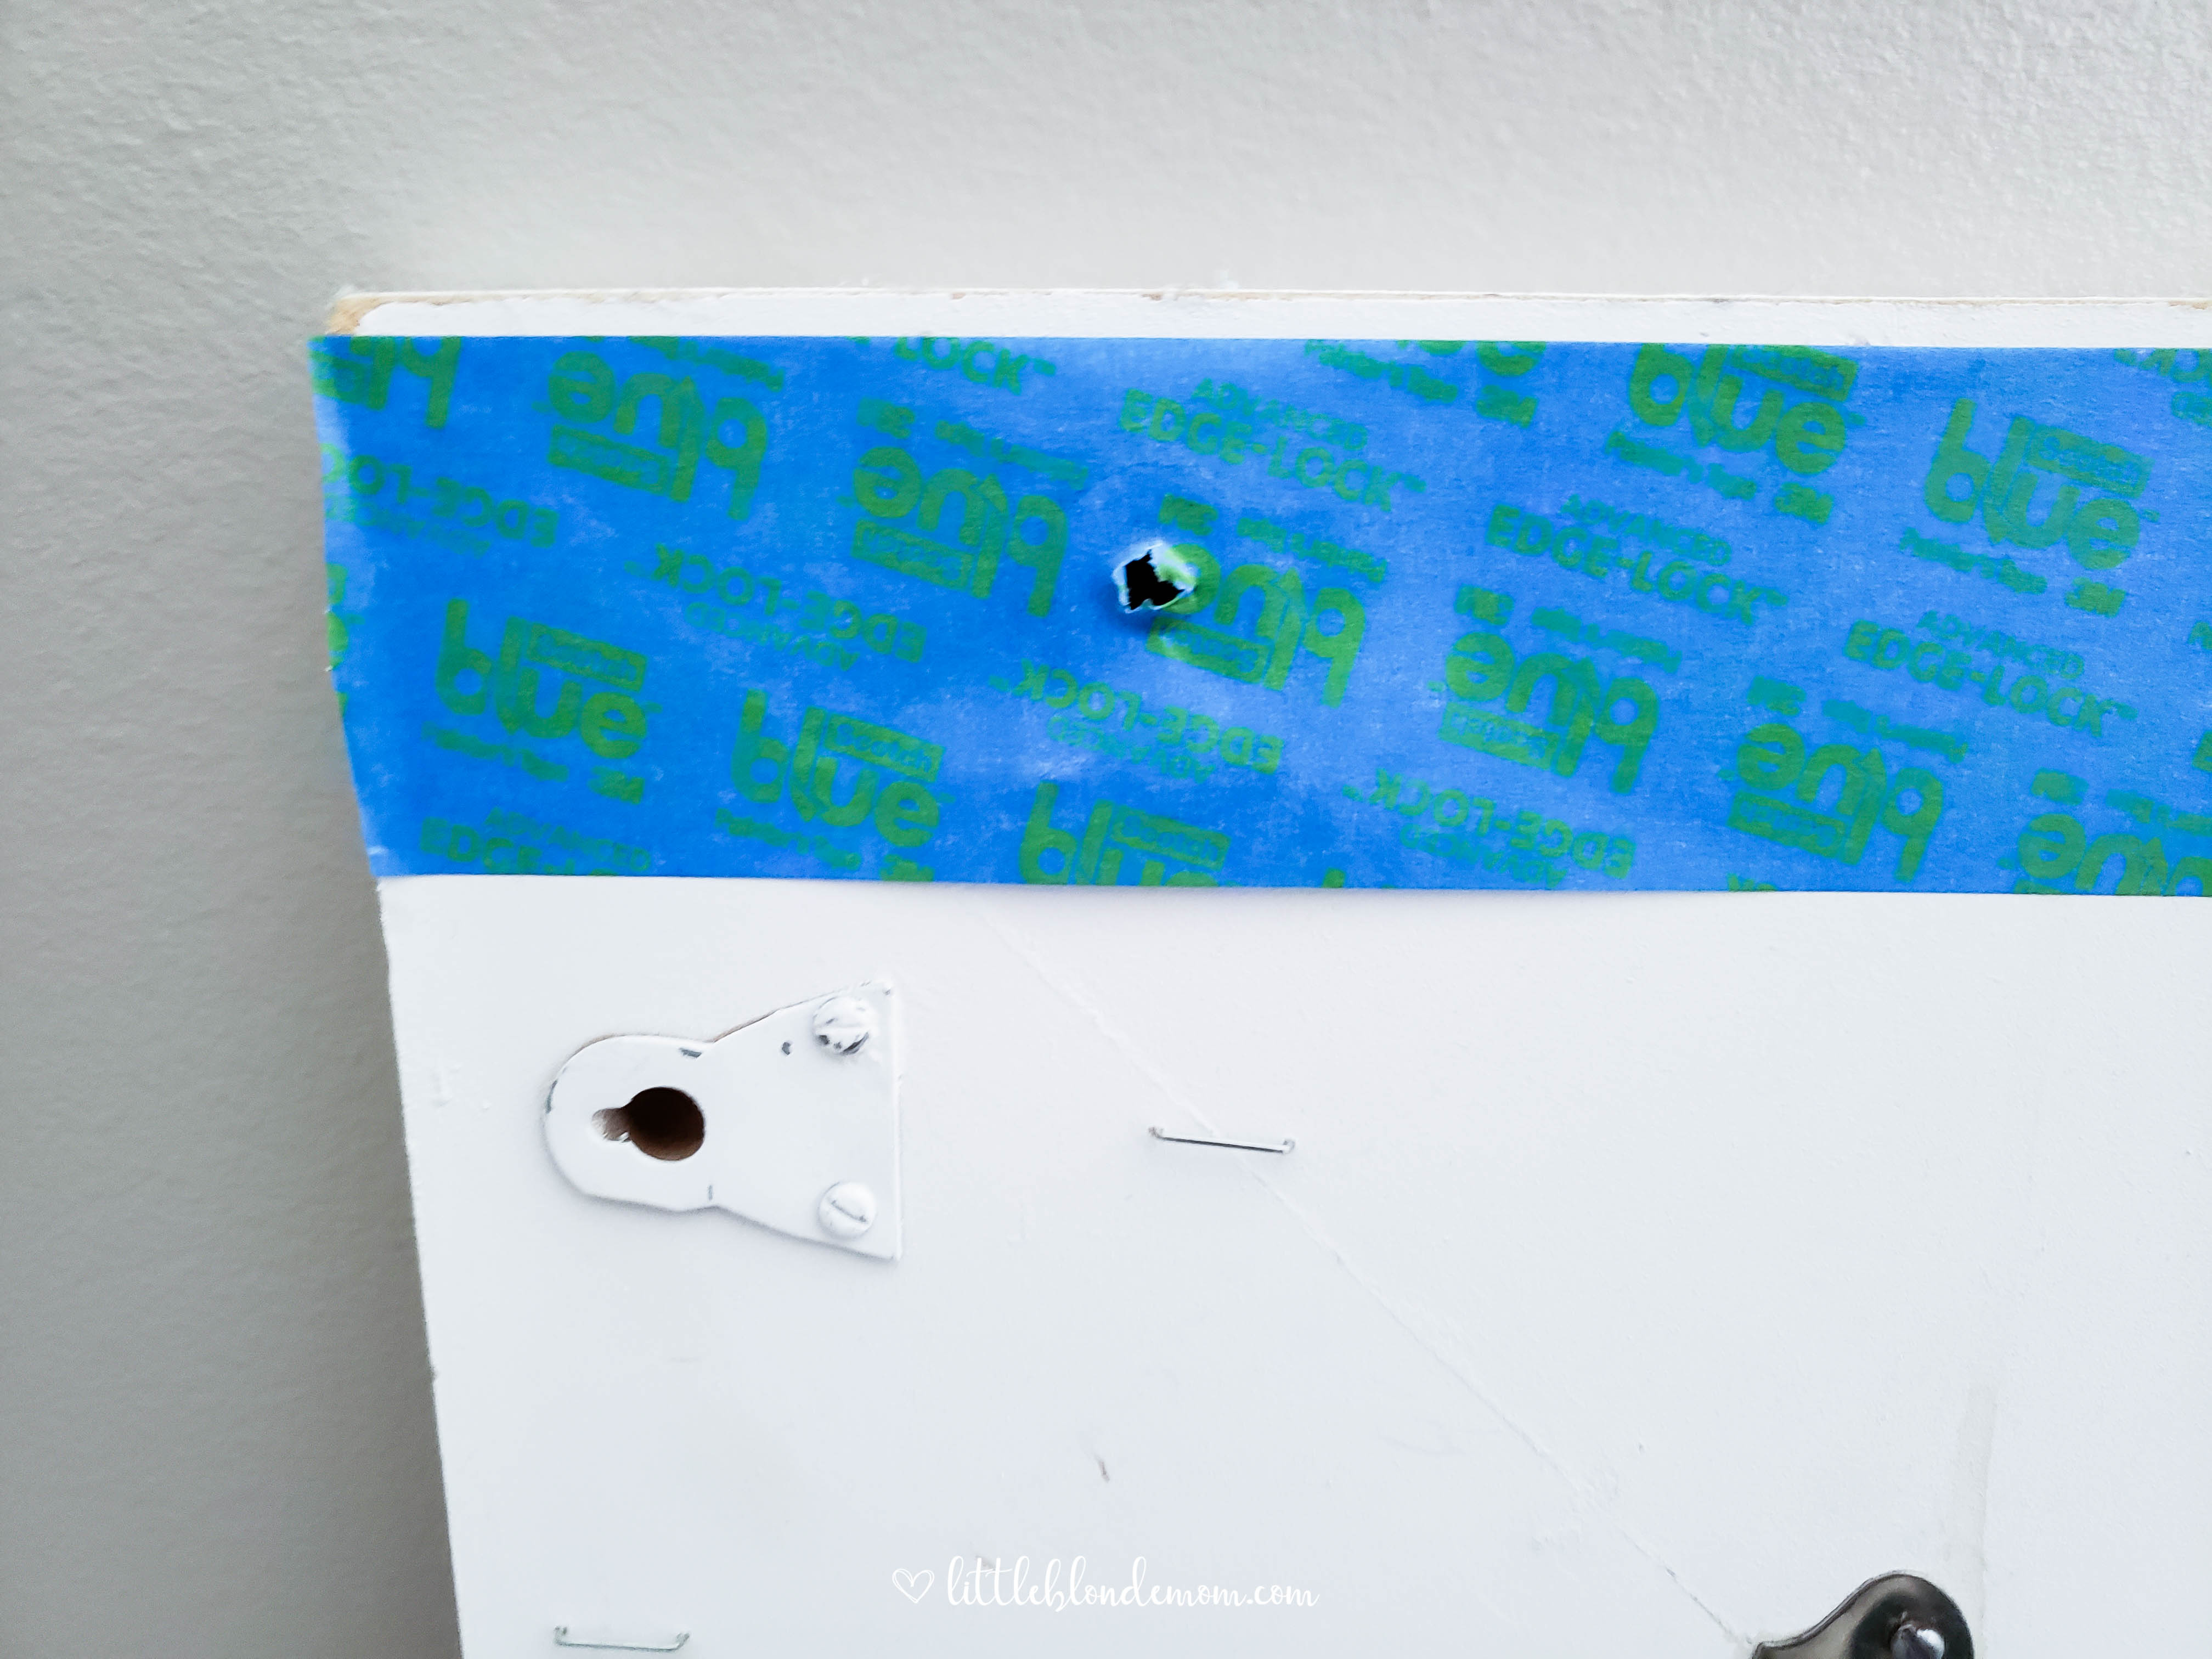
Step 3. Poke holes in tape
Using a screw, I poked holes through the tape into the actual hole on the mirror. This is to show where we needed to drill holes in the wall for perfect placement.
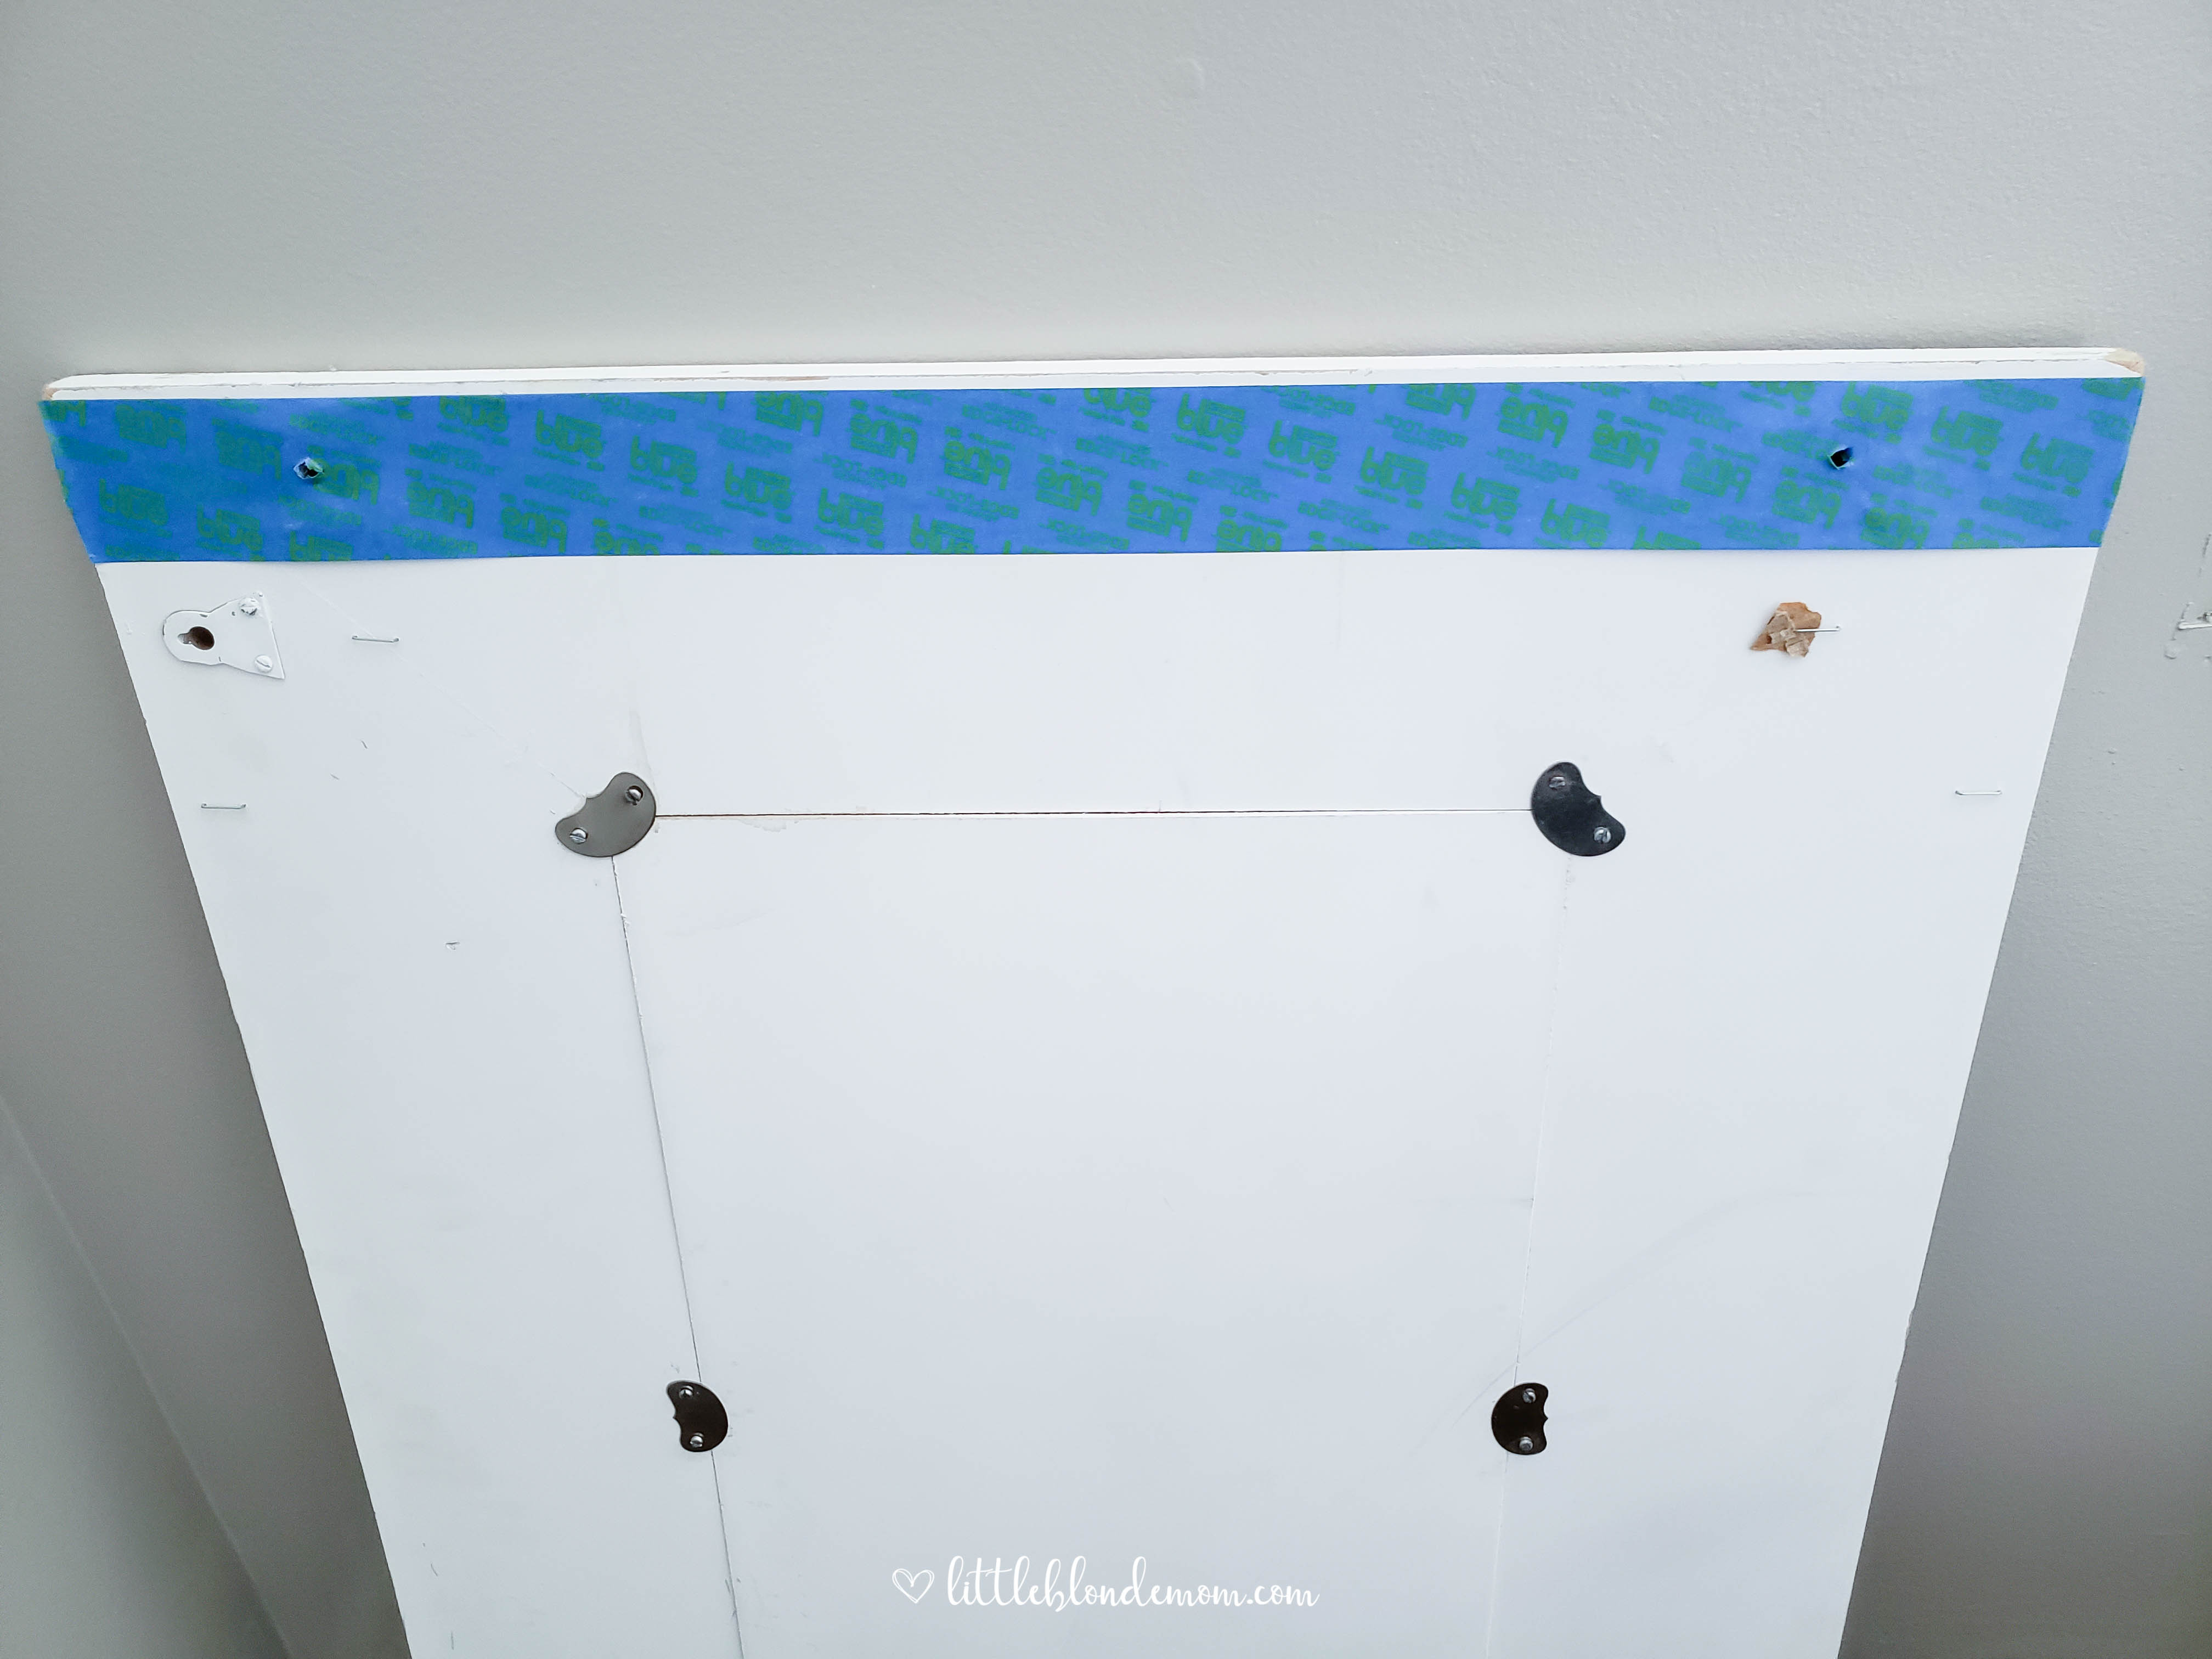
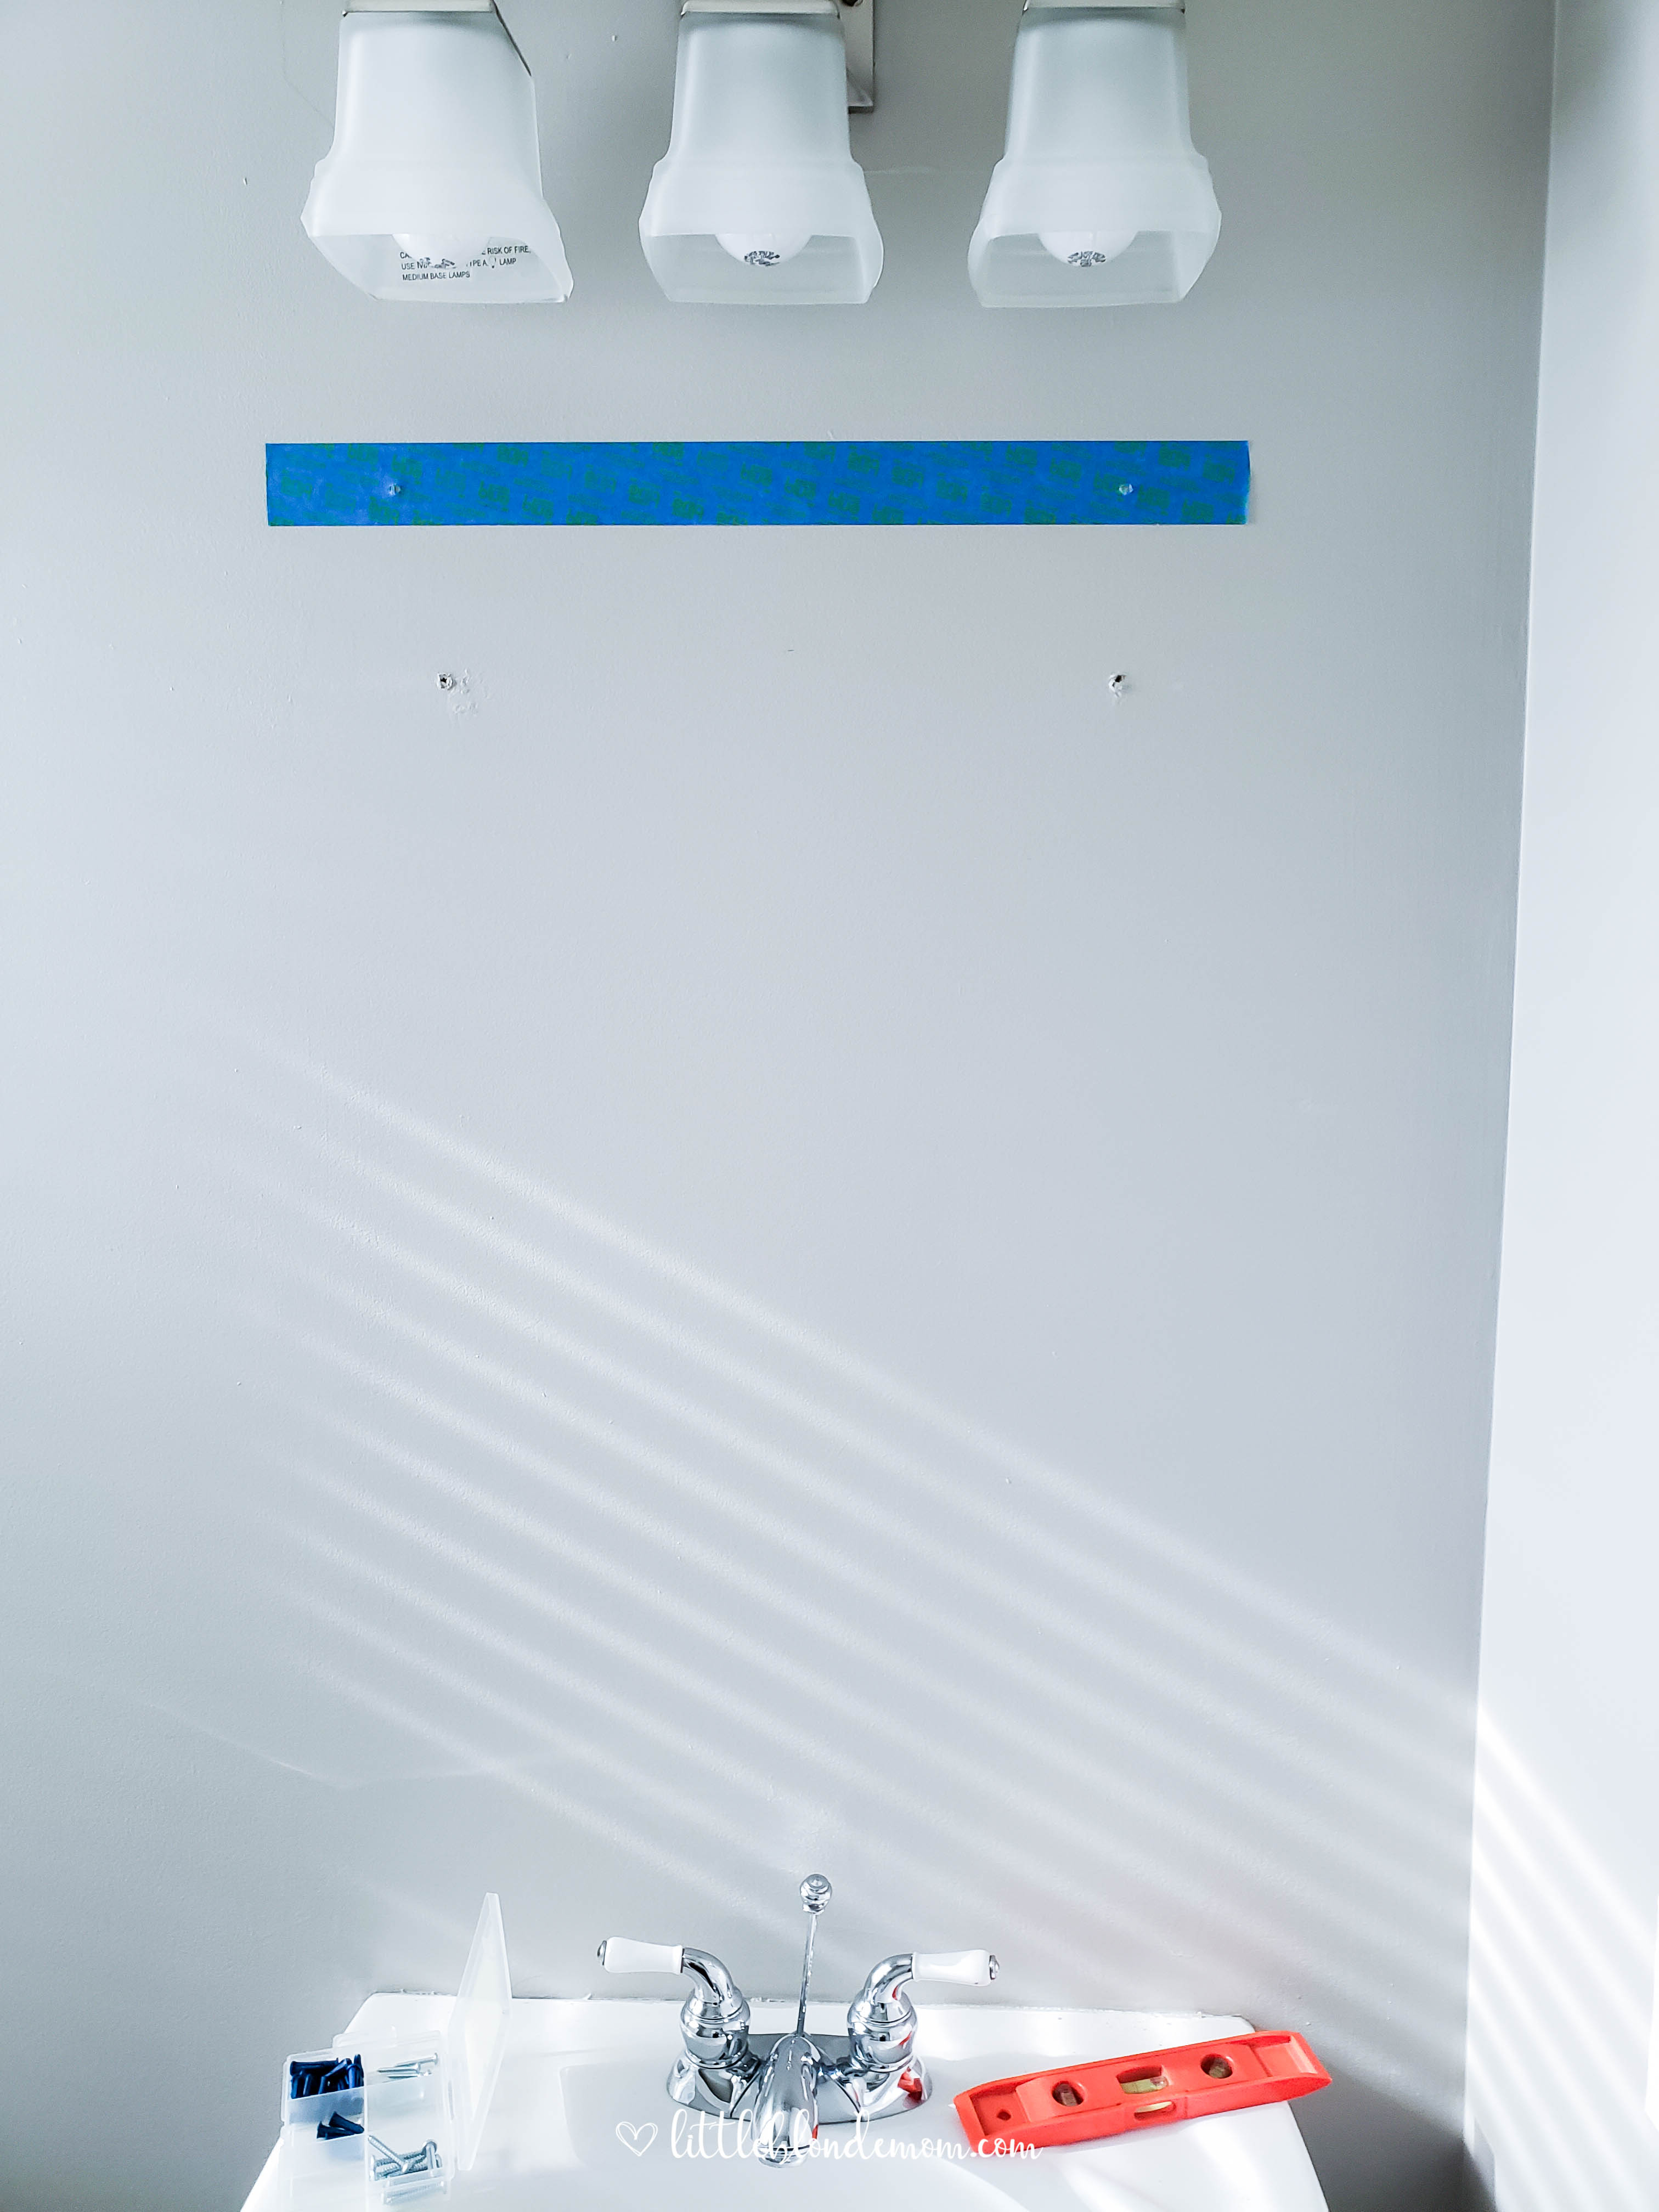
Step 4. Peel tape off & place onto wall
After peeling the tape off of the mirror, we went ahead and placed the tape on the wall. Using painters tape is awesome, because we were able to move it around and figure out exactly where we wanted the mirror hung. (The previous homeowner’s mirror was not centered below the lights, as seen below. In hindsight, we should have patched up their holes before we painted, but oh well.)
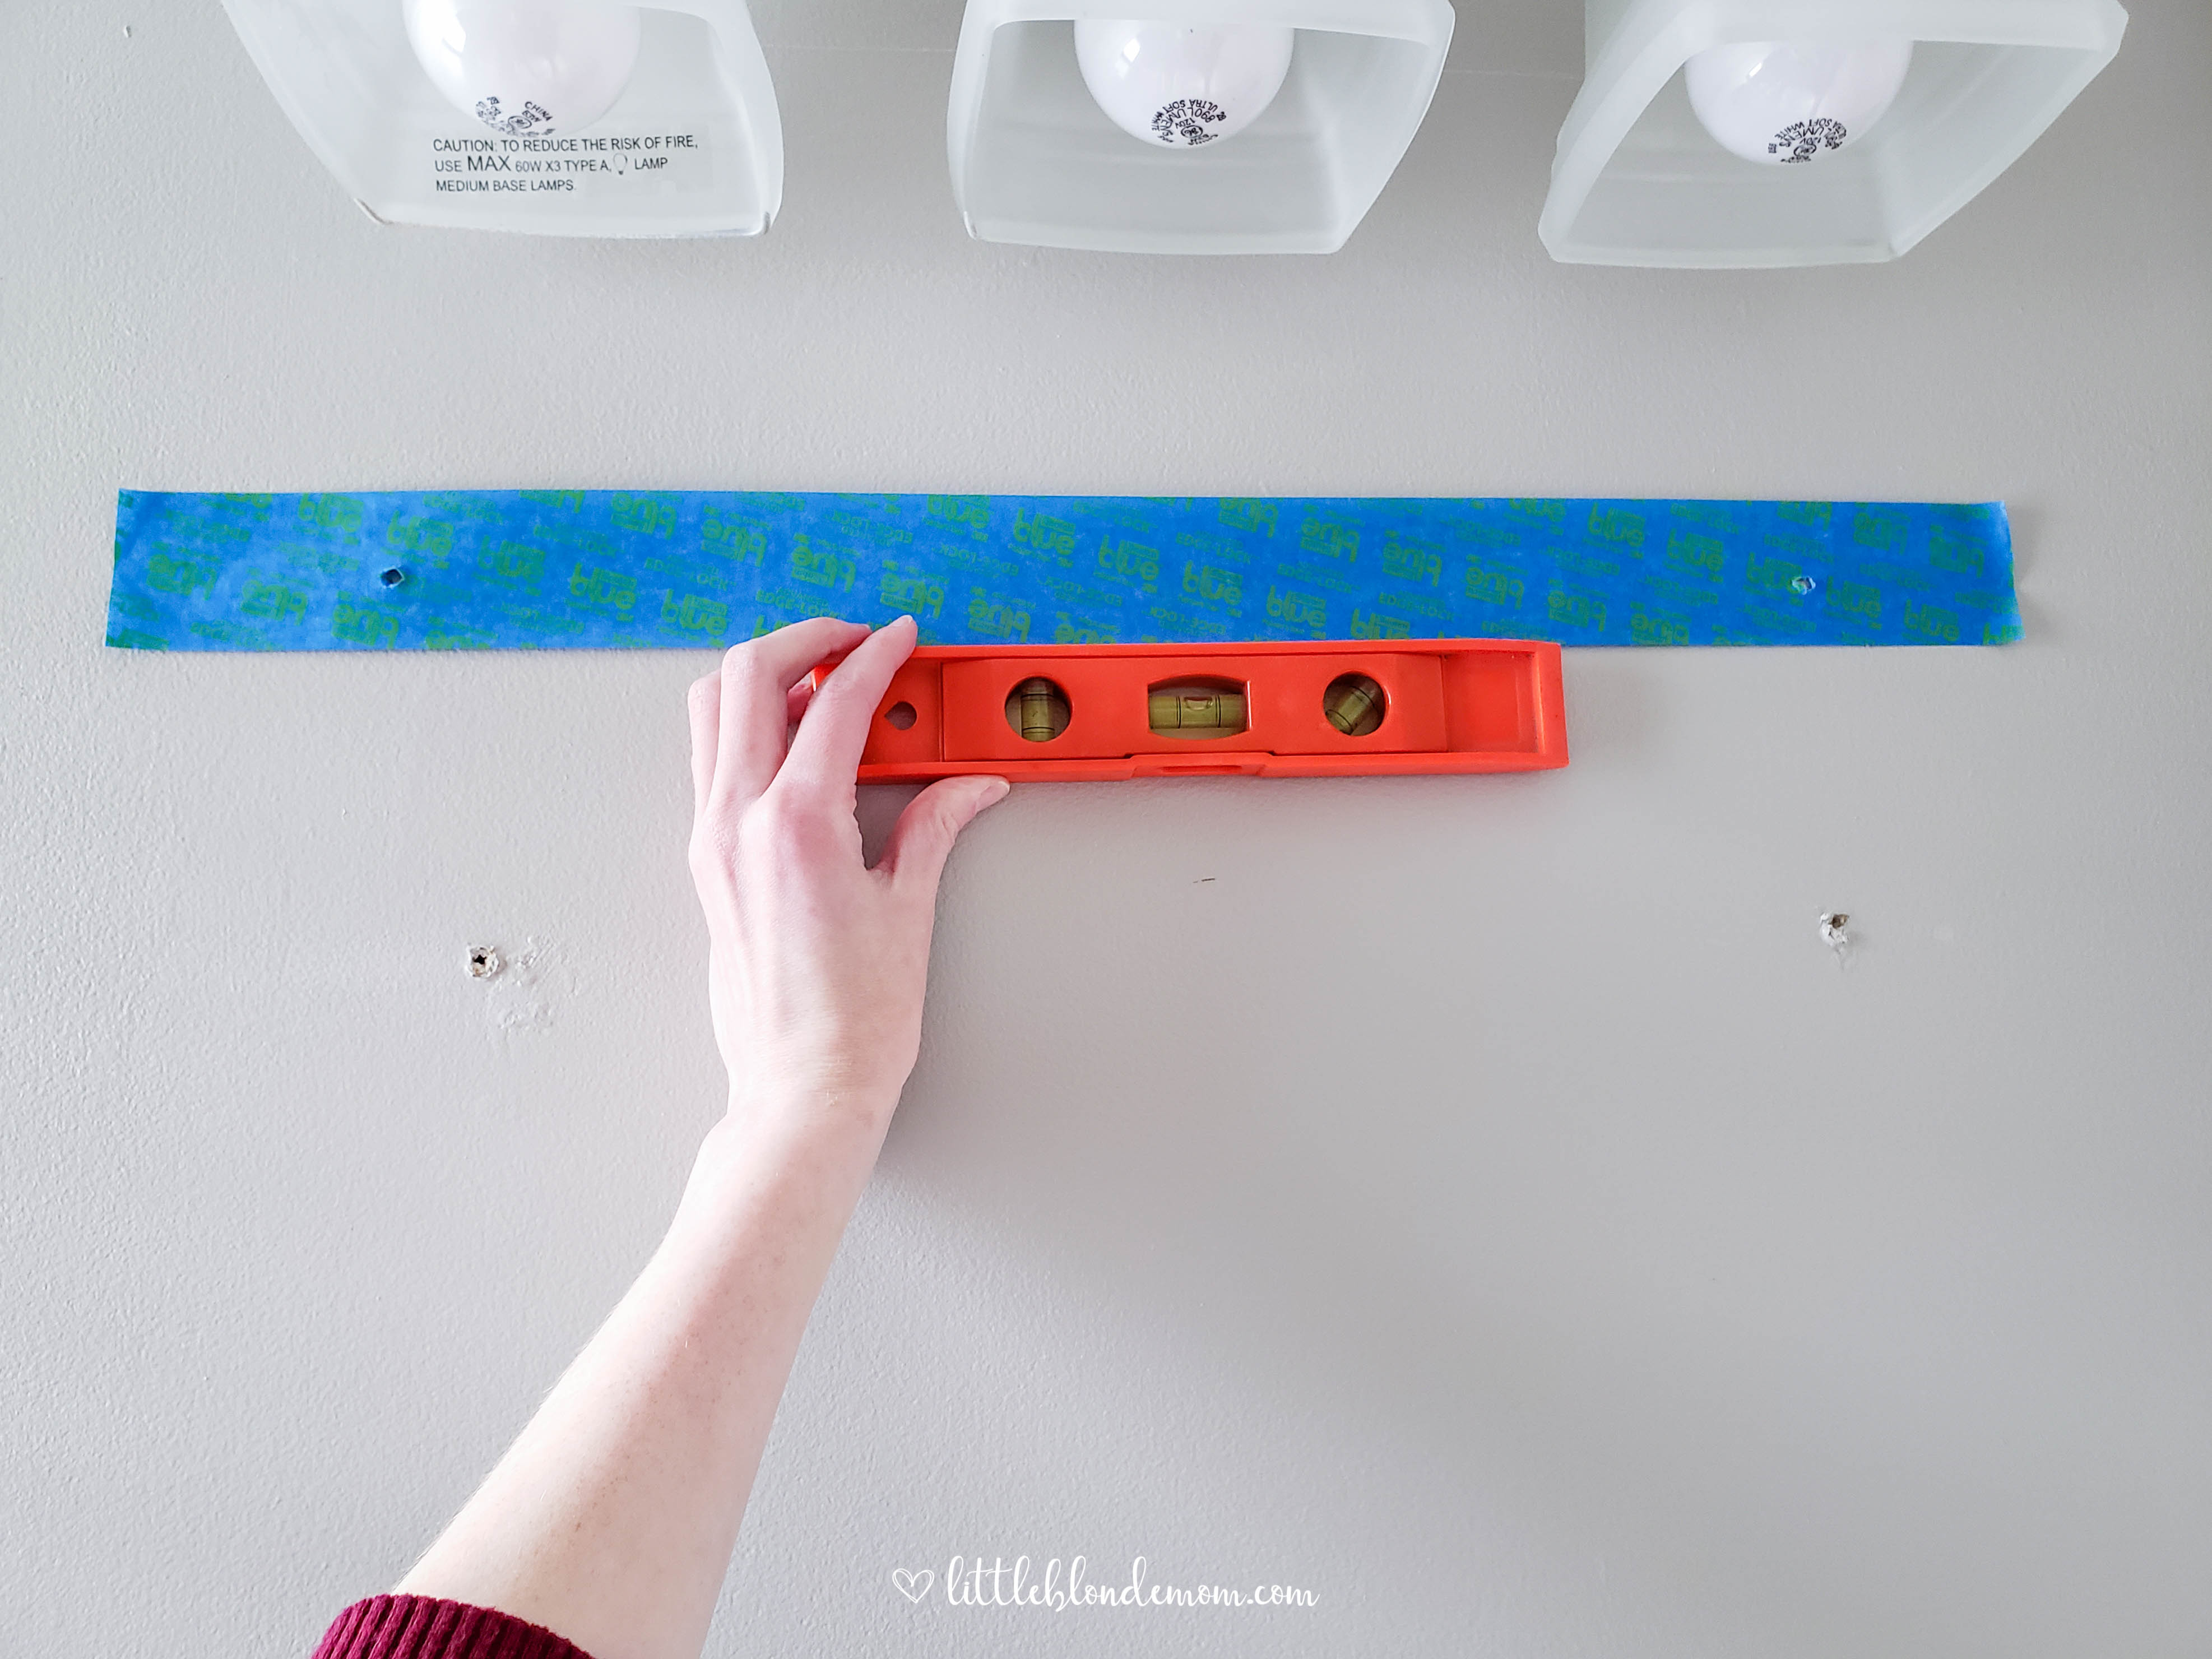
Step 5. Make sure it’s level
Don’t forget after you place the tape where you want it – make sure it is level. Super easy to move the tape slightly if it’s not. Trust me, you won’t want to drill new holes or deal with a crooked mirror/art piece.
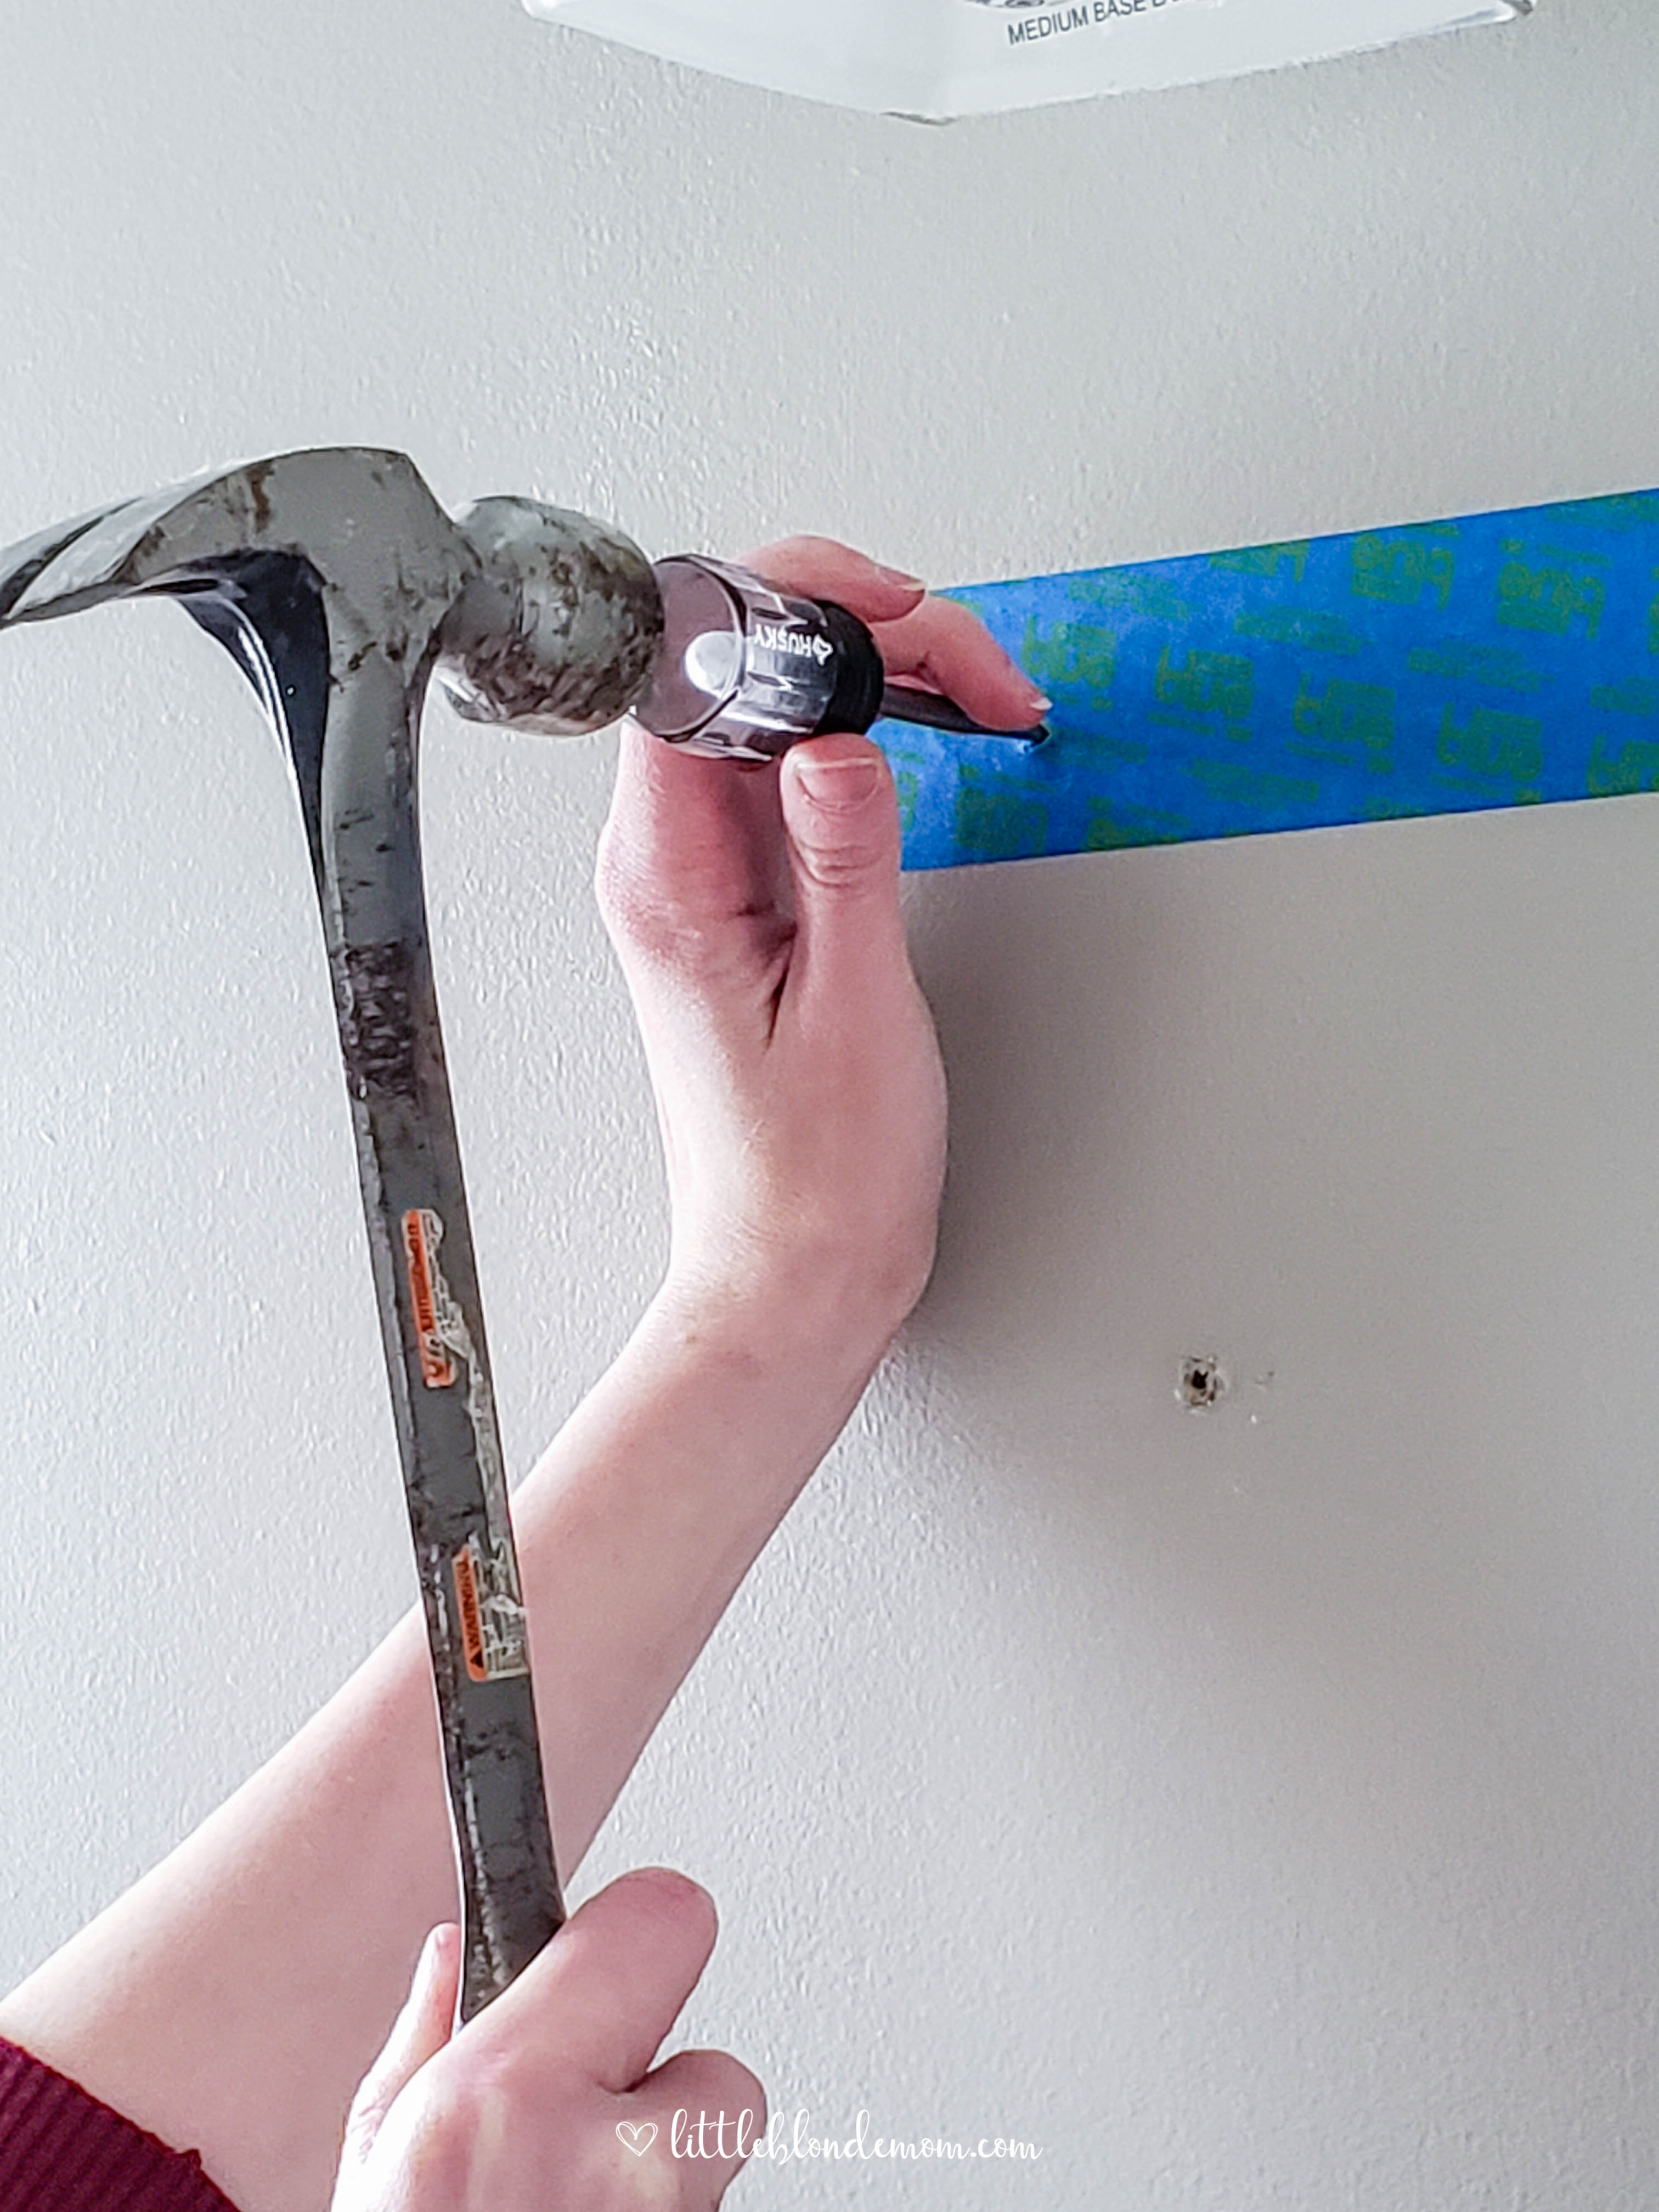
Step 6. Put some holes in the walls
Now it’s time to put some holes in the walls! If I were single & living alone, I would have just started putting screws or nails in the wall at this point. But, Chris had me punch holes in the wall (below) so he could put in the dry wall anchors first. We made sure to place the hole directly through the hole in the tape. Then the screws will line up with the holes on the back of the mirror.
Step 7. Anchors
After we made the holes, we peeled off the blue tape & inserted the anchors like so:
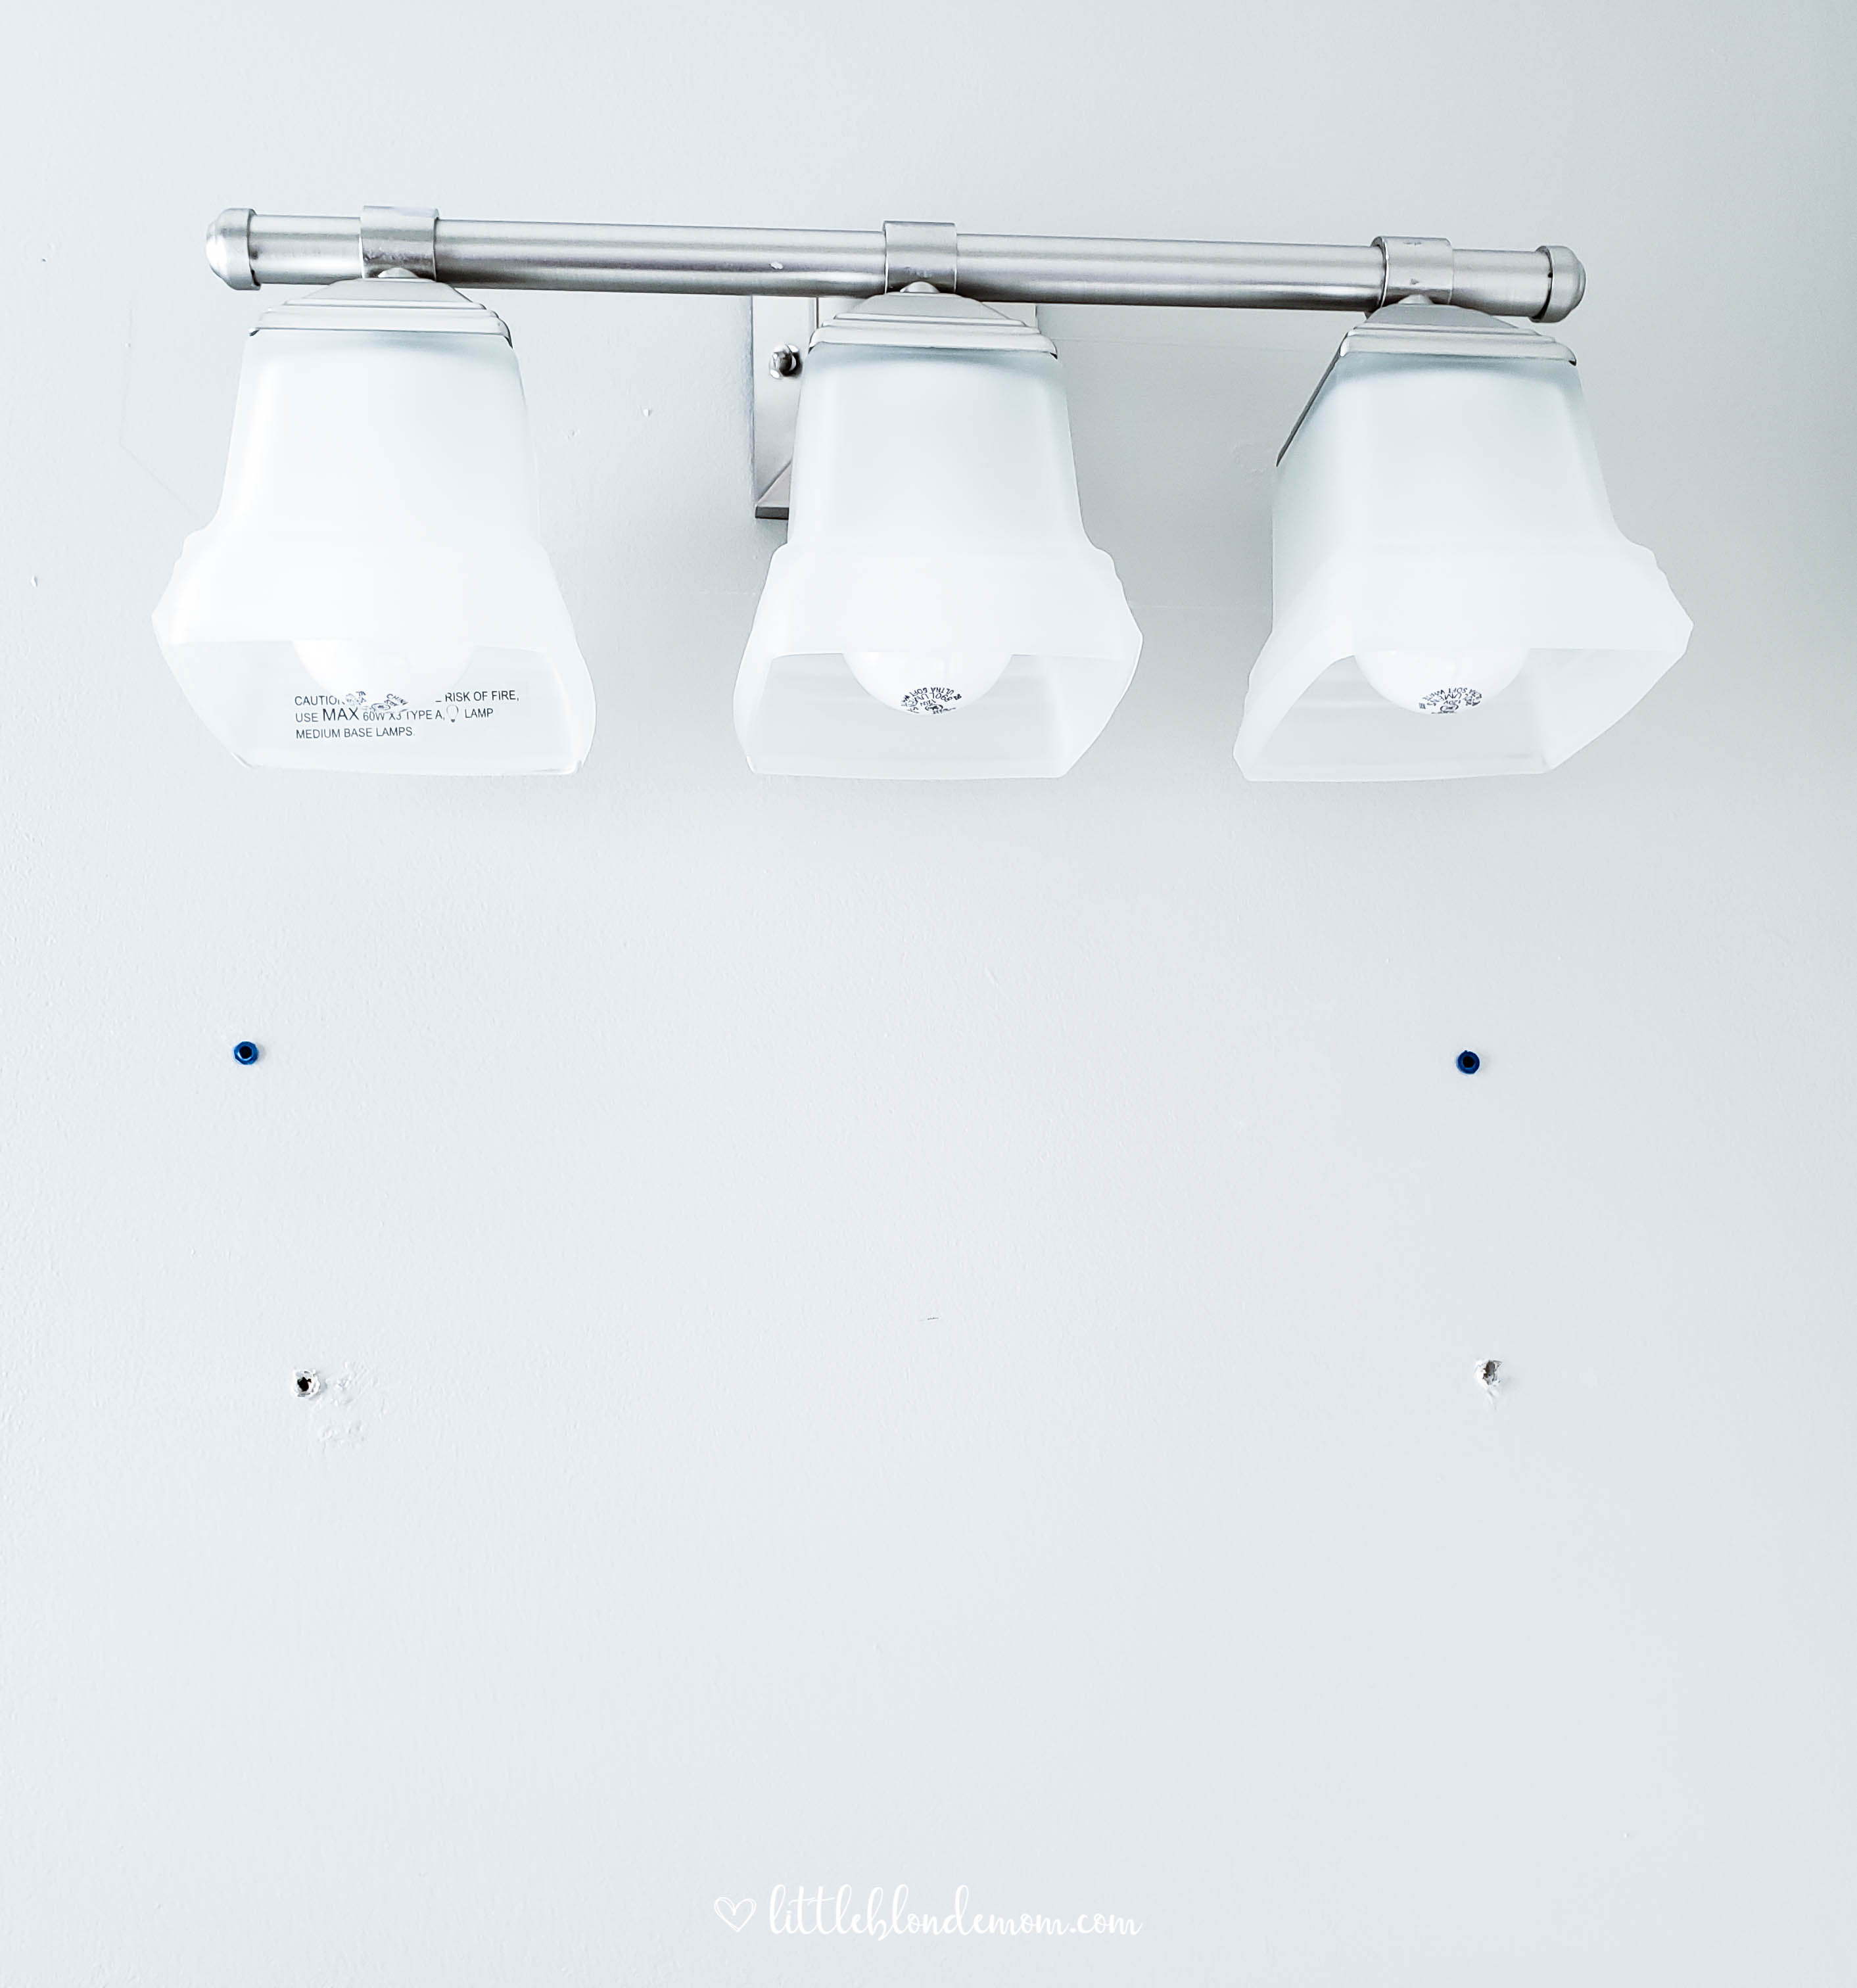
Step 8. Screws
Next, Chris drilled screws into the anchors for me. I can definitely do this part & so can you. However, I seriously looked like a troll, so I refused to be photographed during these steps.
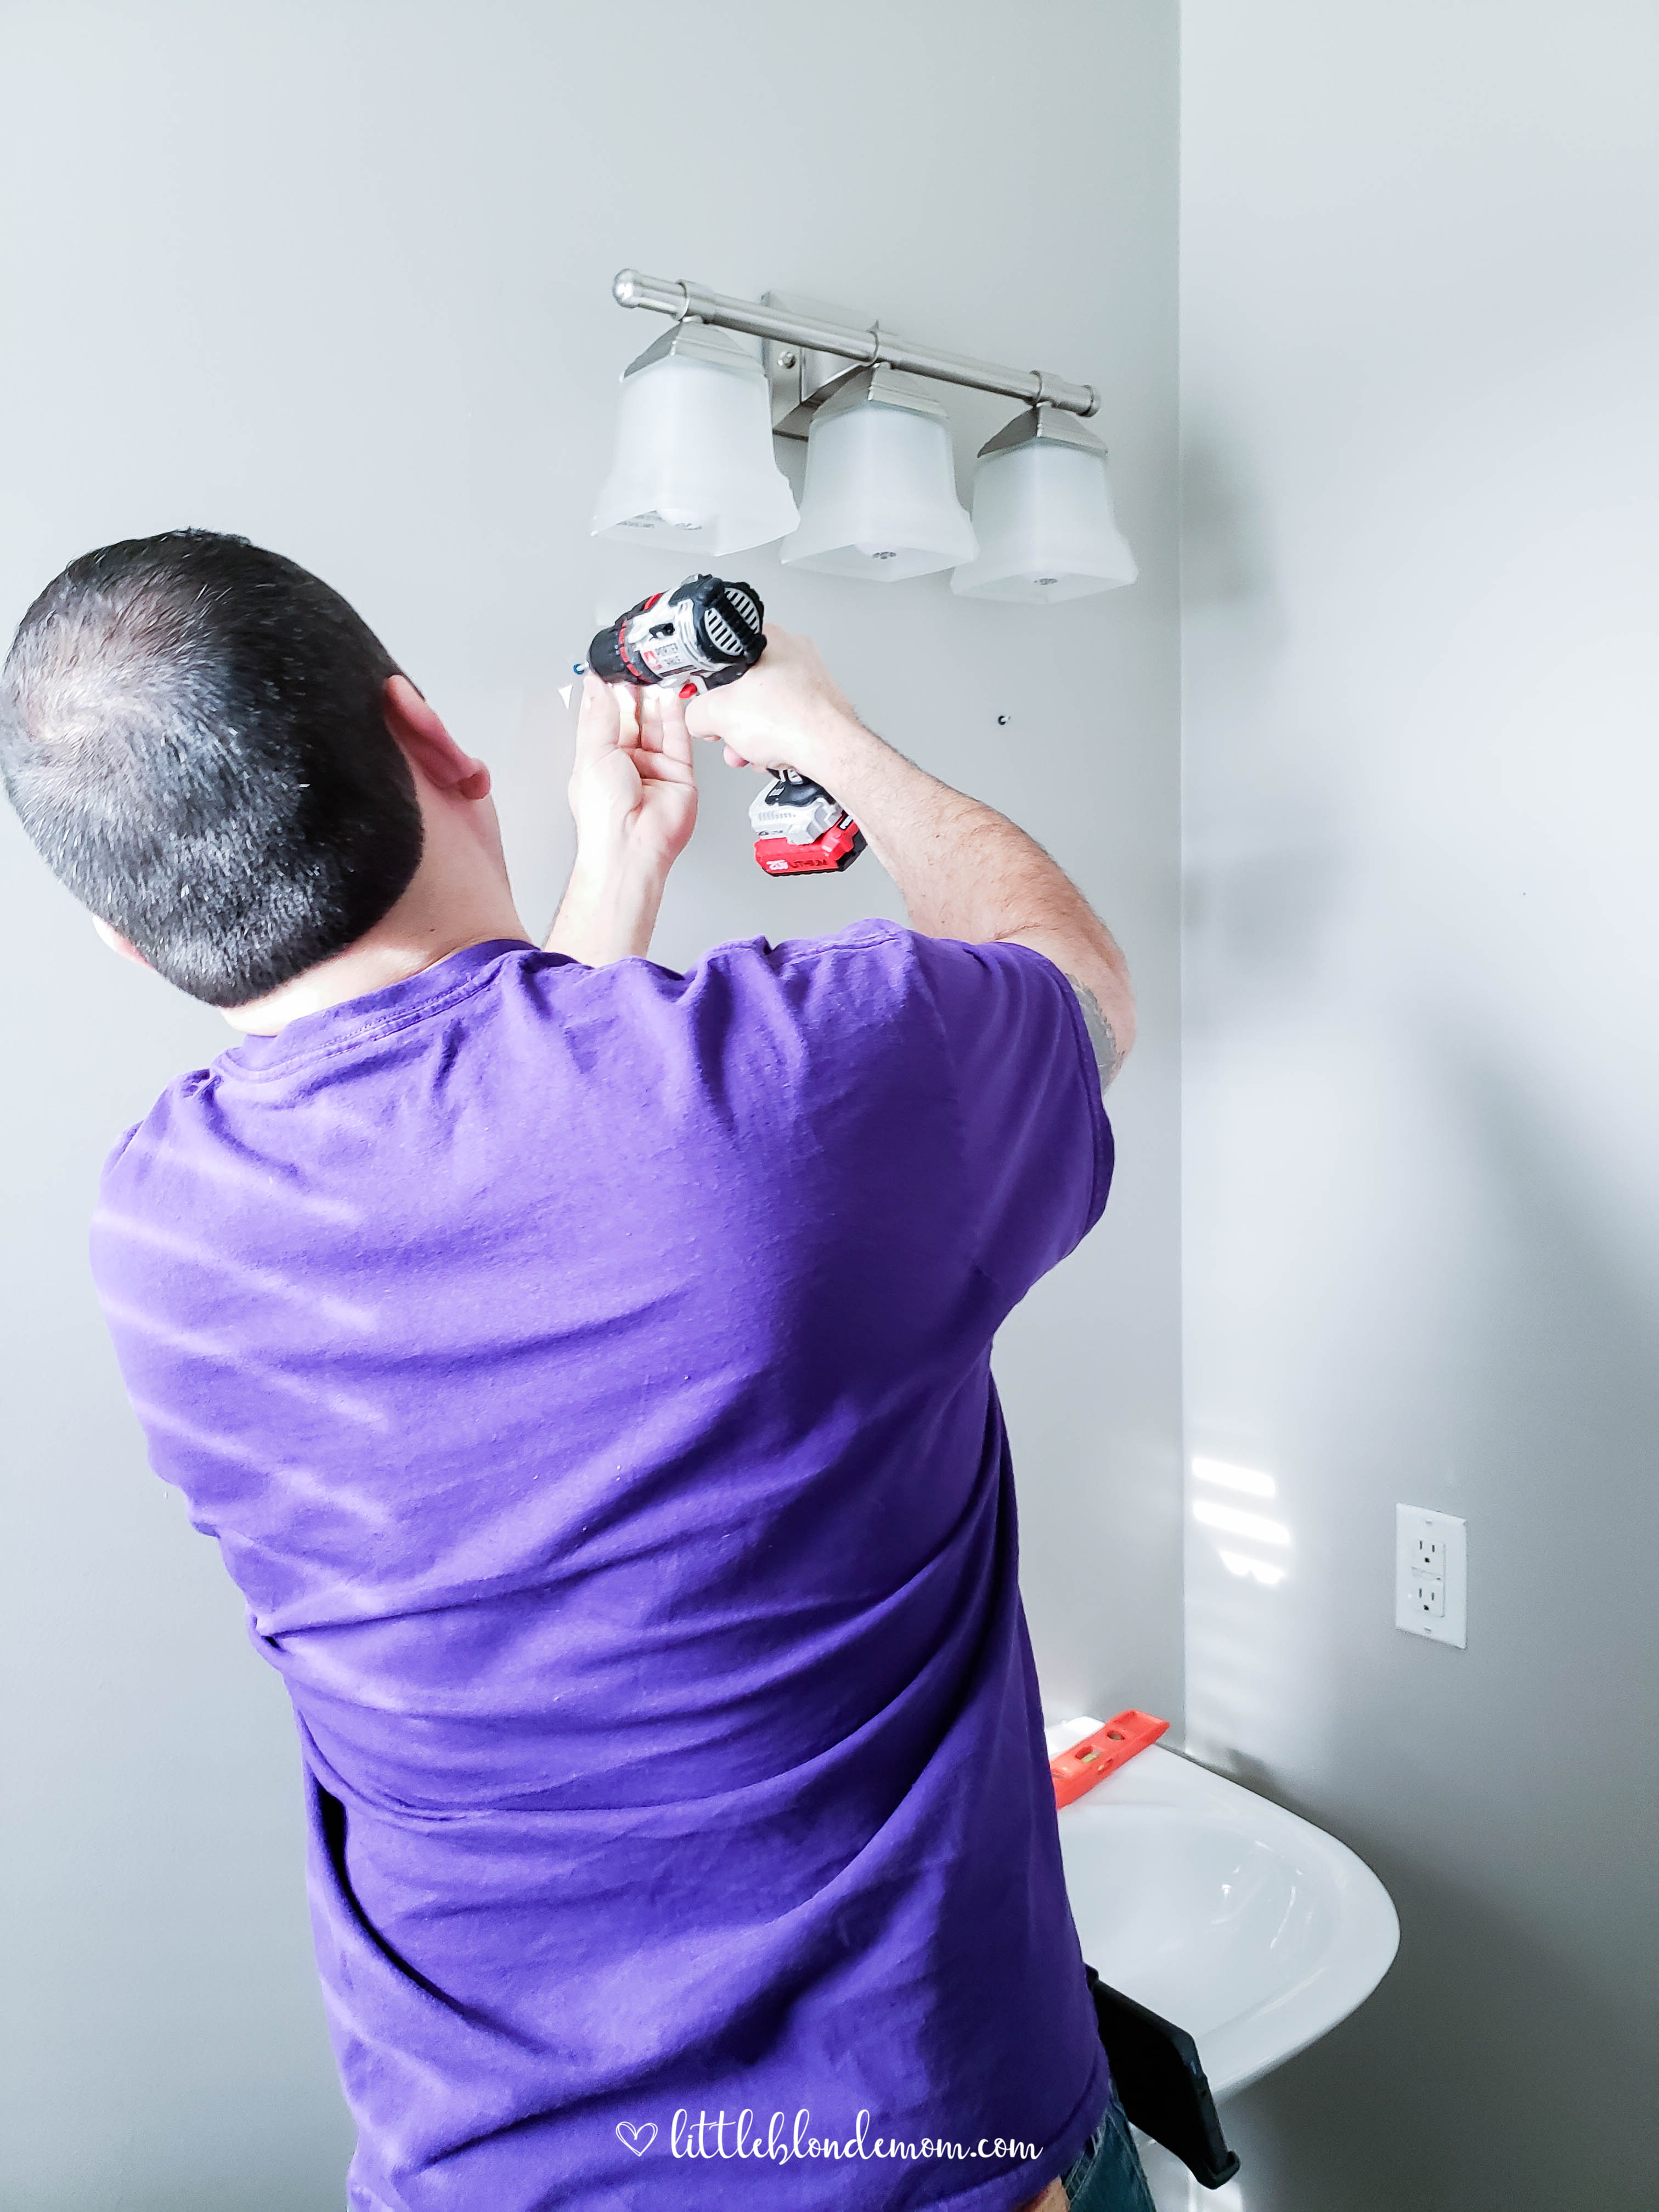
Step 9. Hang it up!
For me, this was the most satisfying part. Sometimes, because Chris is so “by-the-book” handy, and I am so “creatively get it done somehow,” I think he doesn’t trust me. He was so surprised with how easily it hung up perfectly. Surprised that my method actually worked! It was easy to match up the holes to the screws & was centered & level. It took us honestly less than 10 minutes.
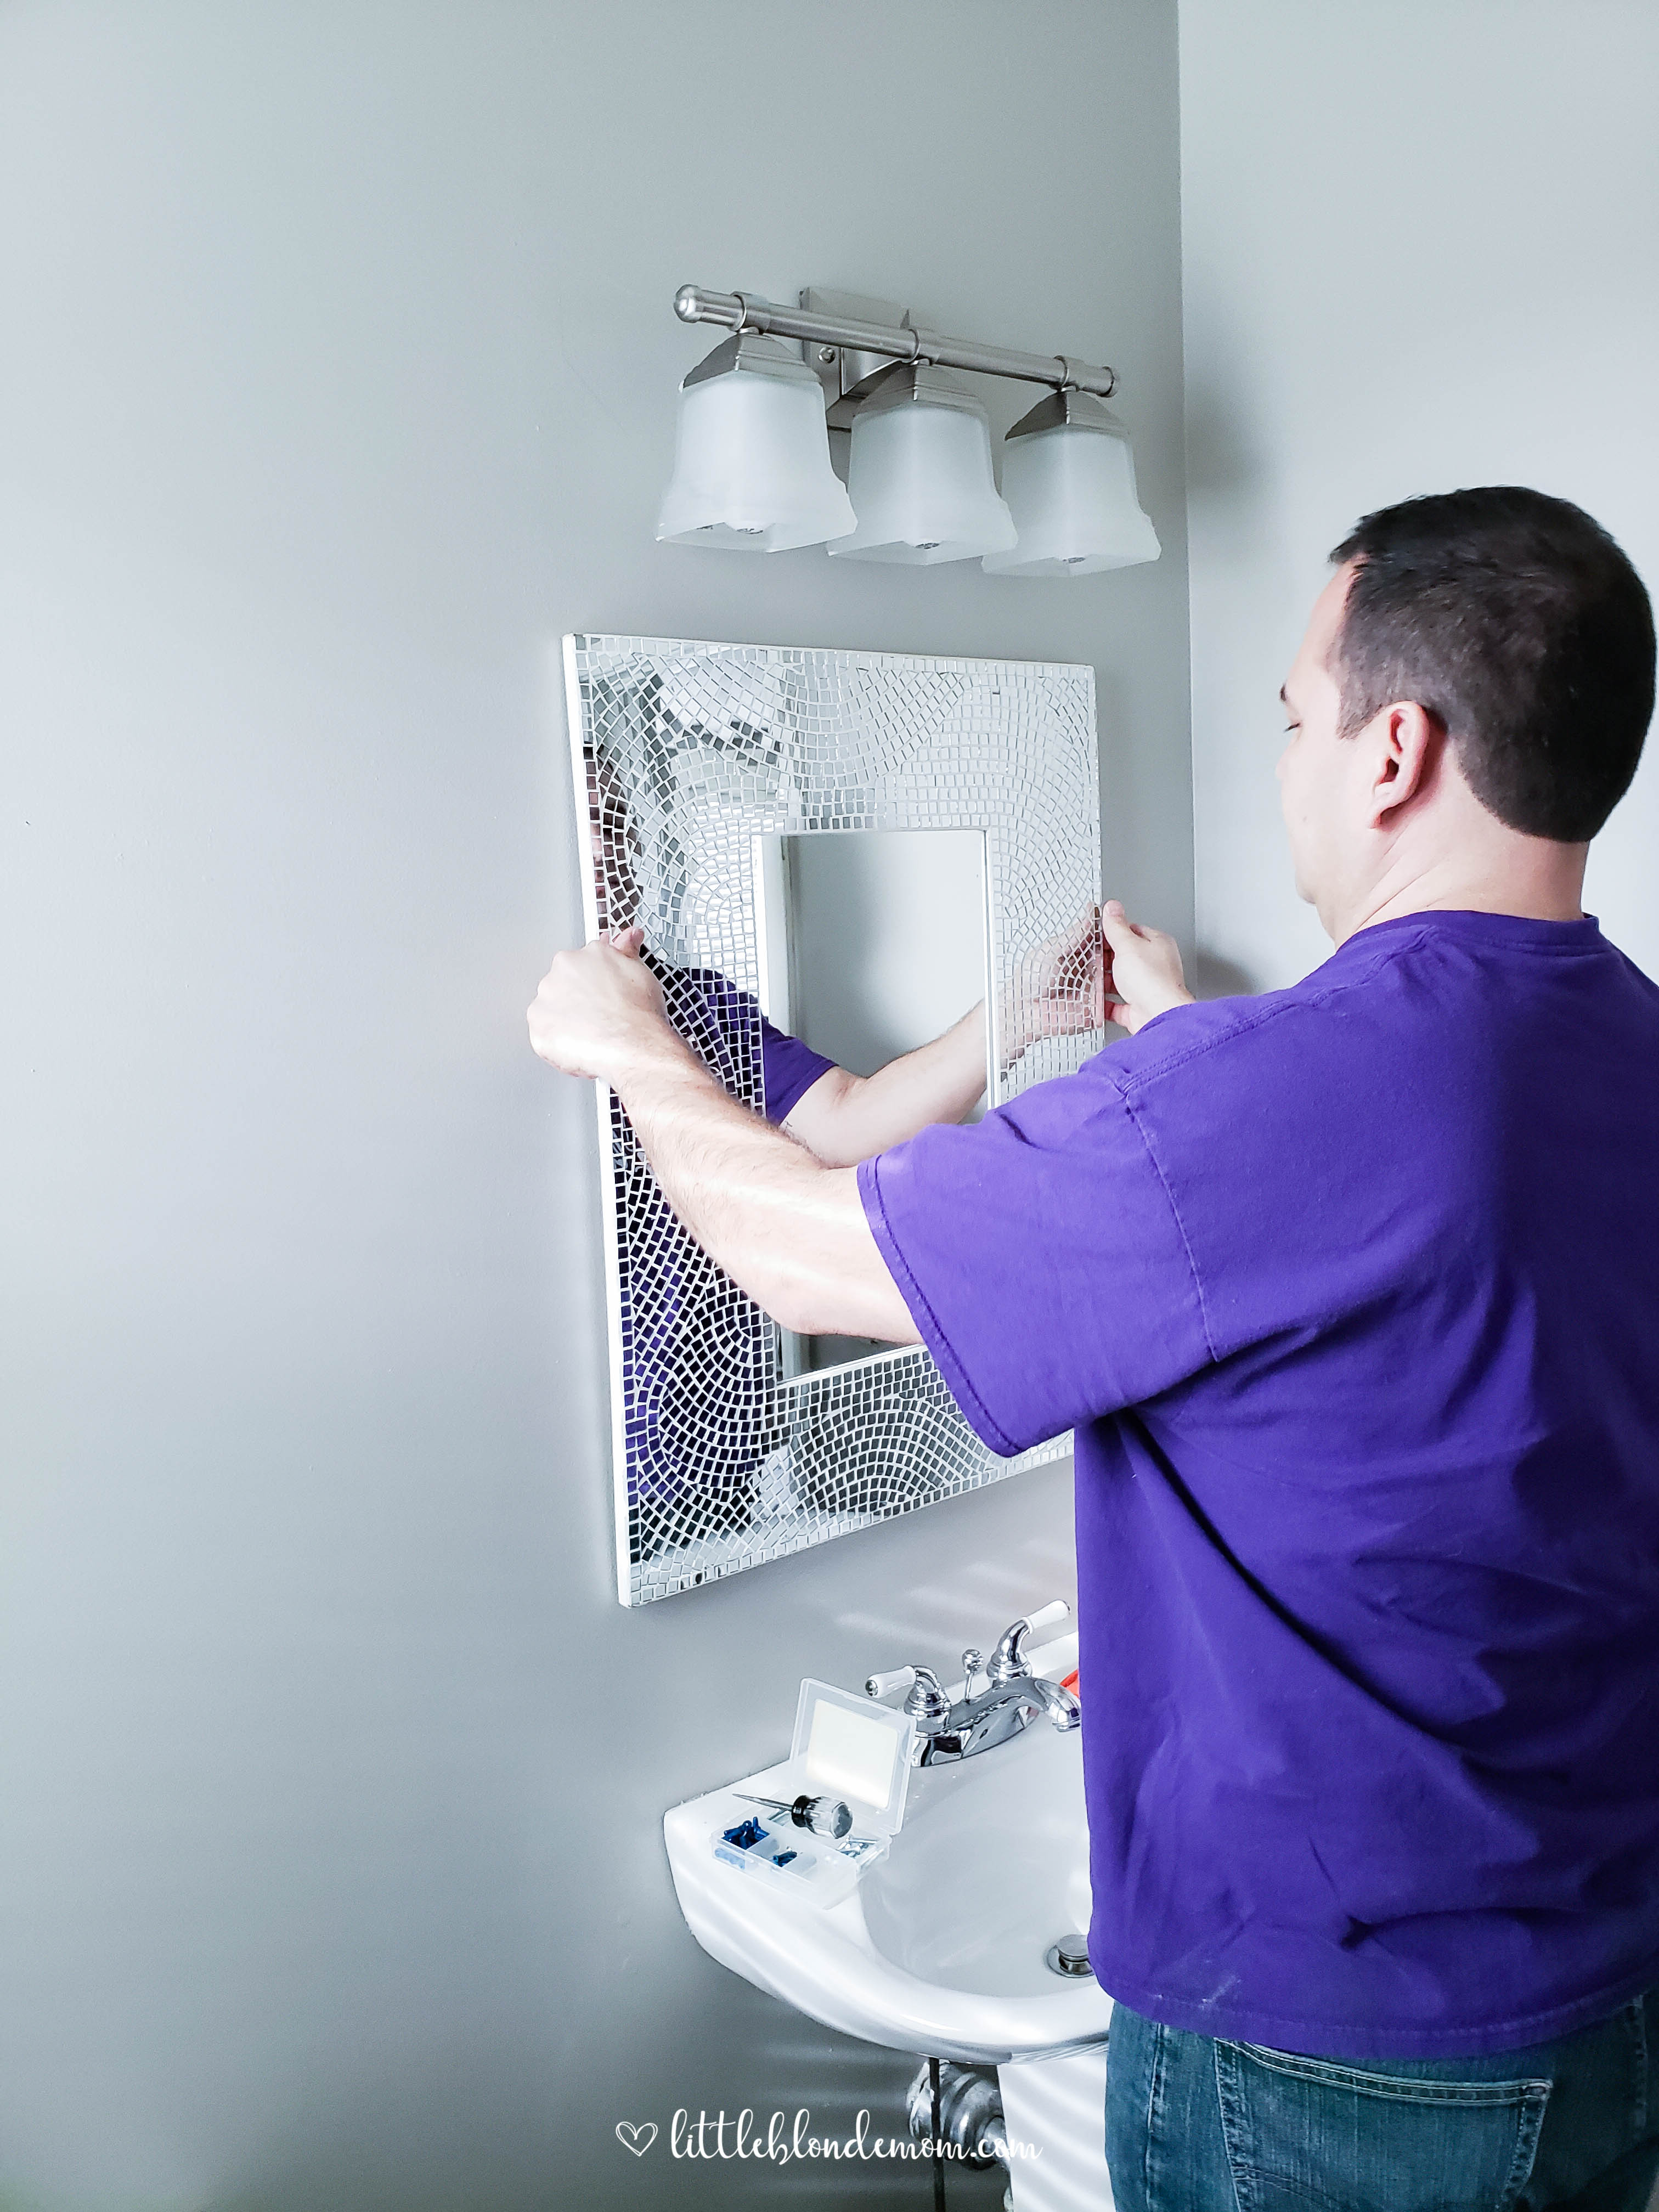
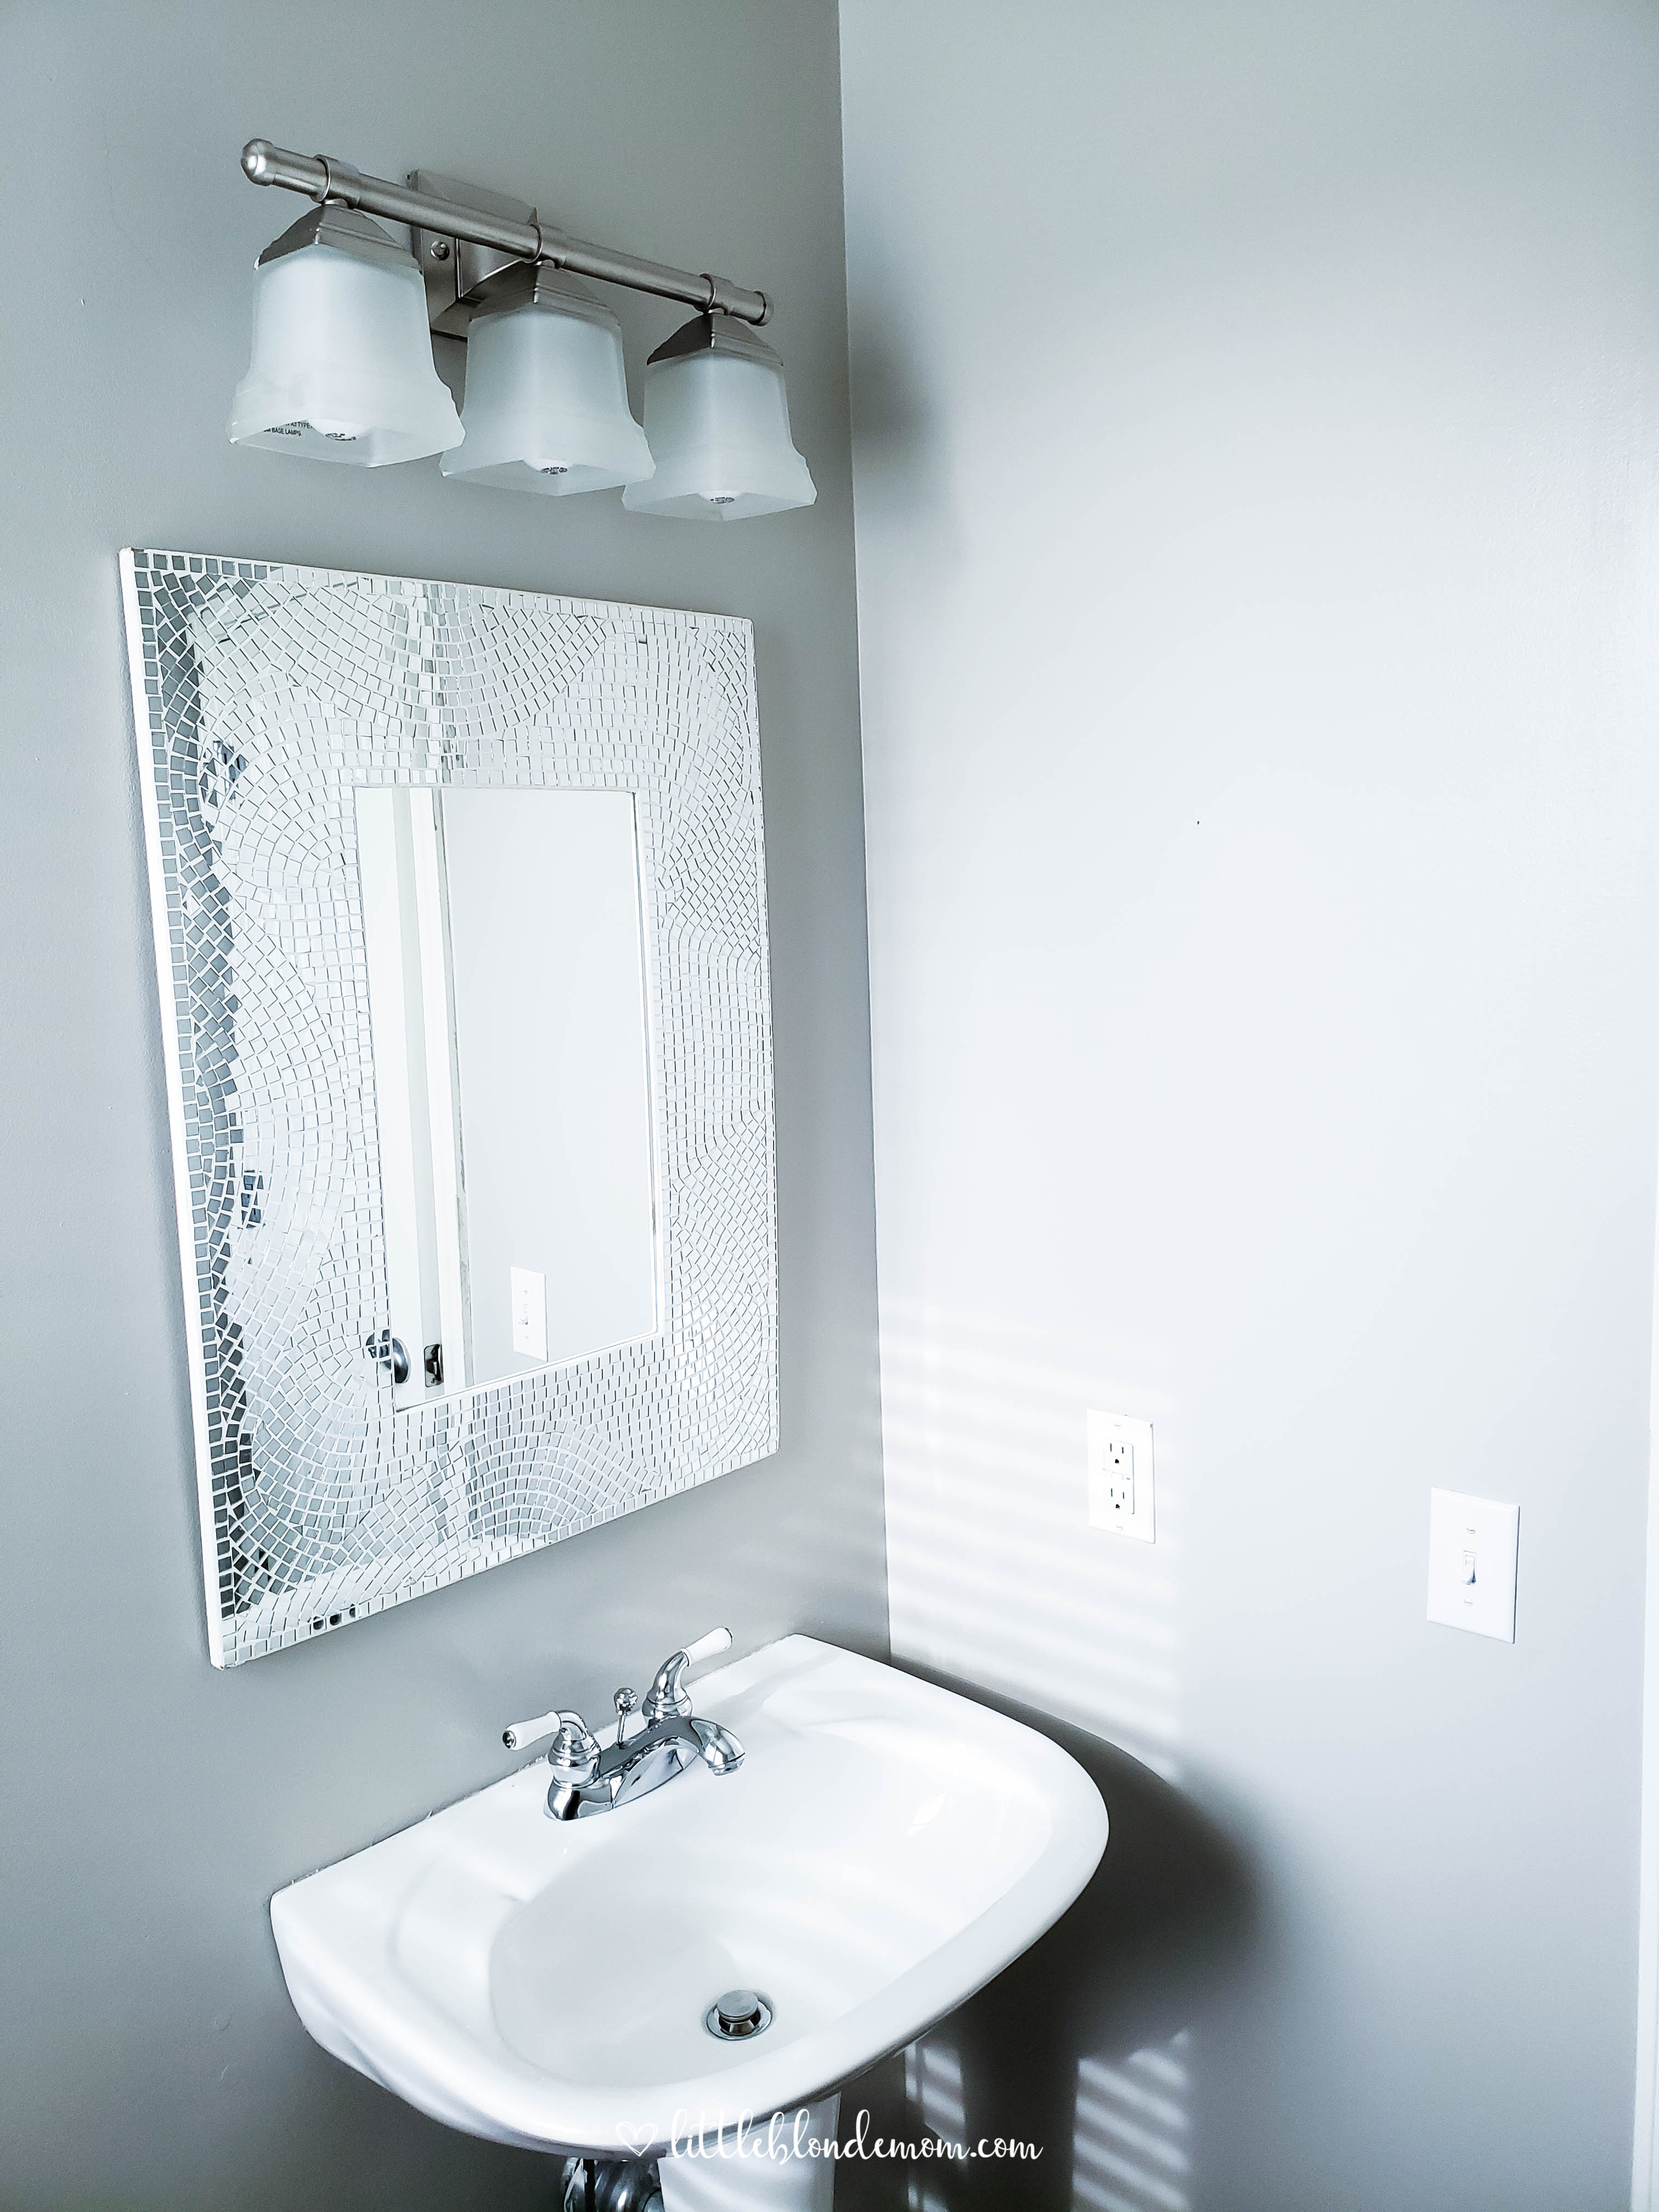
By the way, anyone remember the before photo from our house tour post?
Before
After
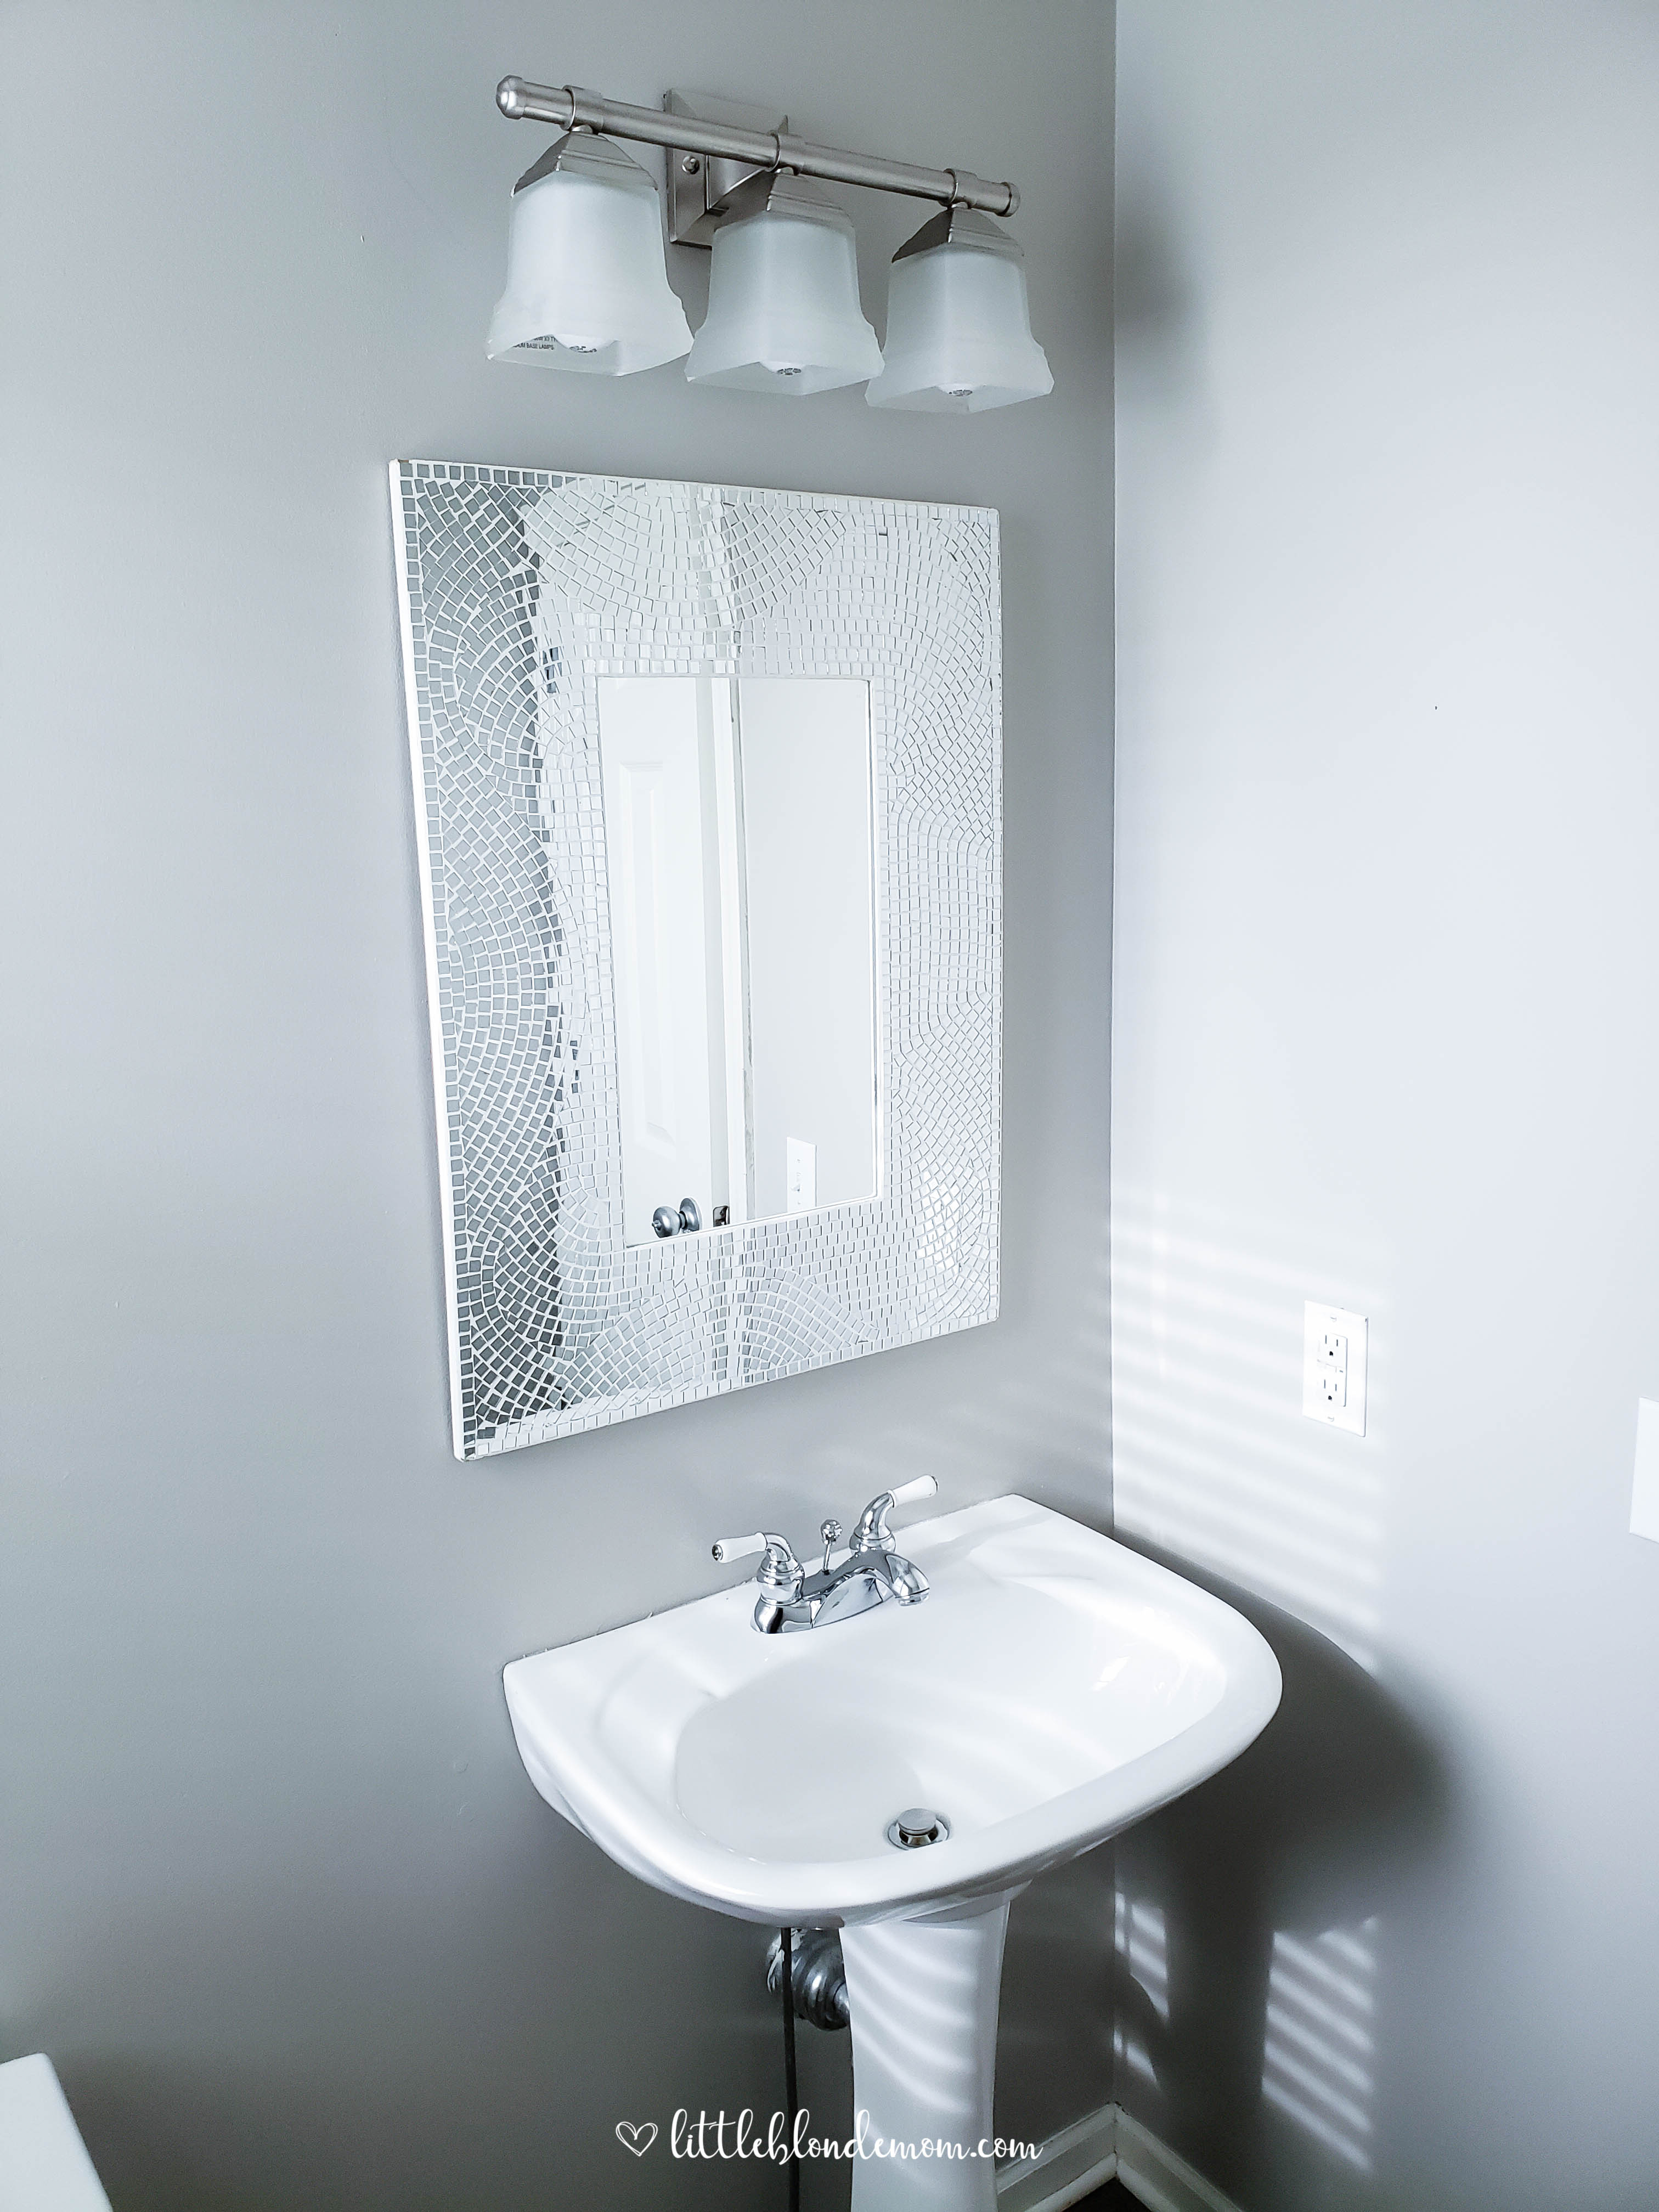
Yuck! I’m so glad we updated the paint color (Sherwin Williams Anew Gray – 10 coats later) & put up a new mirror. Really brightened up the room for sure.
Our new mirror is actually old – but I found some comparable tiled mirrors below:
Hopefully this little tutorial will help you hang your wall art & mirrors with ease!
Be sure to follow along on Instagram for more home updates!

Thanks for this! ❤️
Hope it worked for you! Thanks for visiting!! 🙂